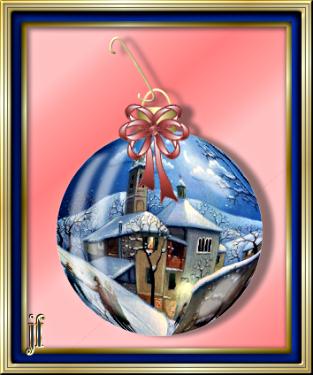
CHRISTMAS GLOBE
PSP7
Novice
or Artists Level
No 3rd party Plugins used.
This
tutorial was created by Jemima ~ June
2003
If you need PSP7 an evaluation copy can
be obtained HERE
************************************
You will need the following for this
tutorial:
Highlight1, Highlight2, Fine and Bow,
Base tubes
which you can get here

Download and save in a folder on your
computer
*****************************************
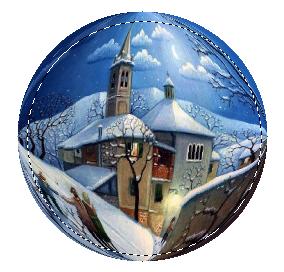
Right click and save this Winter Scene
image to your computer
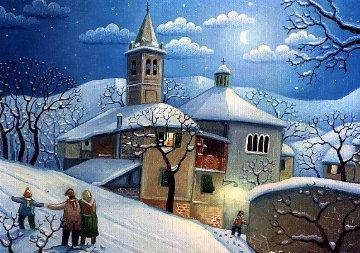
Open up the image in PSP
Go to Window >>> Duplicate
Close the original image.
Set your background colour to WHITE
Go to EFFECTS >>> Geometric
Effects >>> Circle

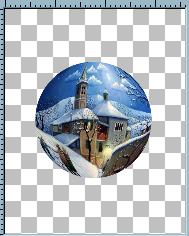
Go to LAYER >>> Promote to Layer
Go to IMAGE >>> Canvas Size
Change the Height to 450
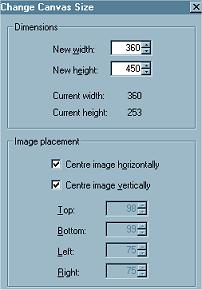
Click OK
With your SELECTION tool
and the following settings
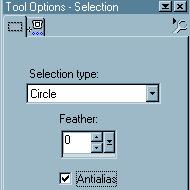
draw a circle inside the 'globe', not
quite reaching the outer edge.
Go to SELECTIONS >>> Invert
Depress your DELETE key
DESELECT
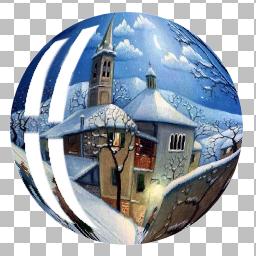
Go to LAYER >>>New Raster Layer
(Layer2)
Open up the 'Highlight' tubes
Right Click on the title bar of
'Highlight1' and
select COPY from the drop down options
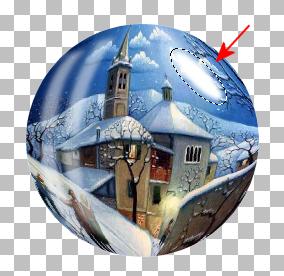
Right click on the title bar of your
'globe' image and
select PASTE AS NEW SELECTION
from the drop down options.
and place as shown on the image below.
DESELECT
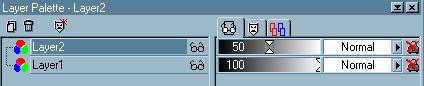
Go to your LAYER PALETTE and reduce the
opacity
on your HIGHLIGHT layer (Layer 2) to 50
Go to EFFECTS >>> Blur
>>> Gaussian Blur
Use this setting
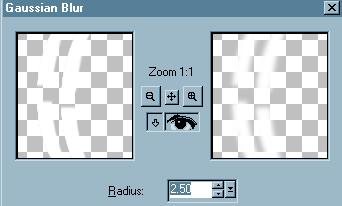
Click OK
Go to LAYER >>>New Raster Layer
(Layer3)
Right Click on the title bar of
'Highlight2' and
select COPY from the drop down options
Right click on the title bar of your
'globe' image and
select PASTE AS NEW SELECTION
from the drop down options.
and place as shown on the image below.
DESELECT
Go to your LAYER PALETTEand reduce the
opacity
on your HIGHLIGHT2 layer (Layer 3) to 50
Go to LAYER >>>New Raster Layer
(Layer4)
Right click on the title bar of your
'globe' image and
select PASTE AS NEW SELECTION
from the drop down options.
Go to IMAGE >>> Mirror
and place as shown on the image below.
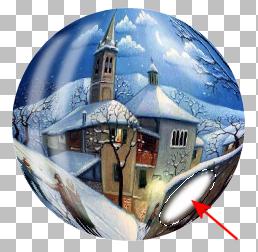
DESELECT
Go to your LAYER PALETTE and reduce the
opacity
on your HIGHLIGHT layer (Layer 4) to 50
Go to LAYERS >>> Merge
>>> Merge Visible
This would
be a good time to SAVE your image
as a .psp file
OK Now we have a couple of options..
we can add the 'fine (hanger) and bow' to
the top
OR
add a base to the bottom.
In any case we have to add a couple of
layers. So...
Go to LAYERS >>> New Raster
Layer
Go to your LAYER PALETTE and drag Layer1
under the Merged layer.
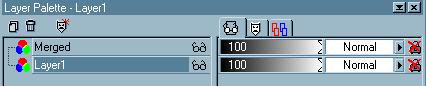
Click on the MERGED layer on your LAYER
PALLETTE
to make it active.
We want the next layer to be above this
one *S*
Go to LAYERS >>> New Raster
Layer
NEXT

Copyright
© 2000-2003 Artistry In PSP / PSP
Artistry
All rights reserved.
Unless specifically made available for
download,
no graphics or text may be removed from
this site for any reason
without written permission from Artistry
In PSP / PSP Artistry

EMAIL

|