This is a VERY LONG 3 page tutorial
mostly taken up with creating the wreath and placing the bulbs.
If you wish to ""cheat"" you can download the completed_wreath HERE
and go straight to STEP 15
|
STEP 1
Open a new tag image 500 x 500
Transparent background
PSPX - X2: Colour Depth = 8bits/channel
PSPX3: Colour Depth RGB = 8bits/channel
VIEW >>> RULERS |
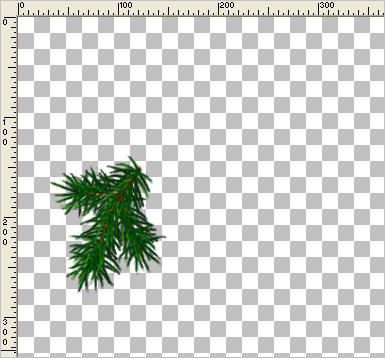
STEP 2
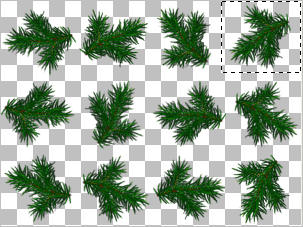
Open up the xm-Spruce image in your PSP workspace
Choose your SELECTION TOOL
Selection Type = Rectangle
Mode = Replace
Feather = 0
Antialias = UNhecked
Select the spruce branch indicated
Right click on the Title Bar and select COPY from the options
|
|
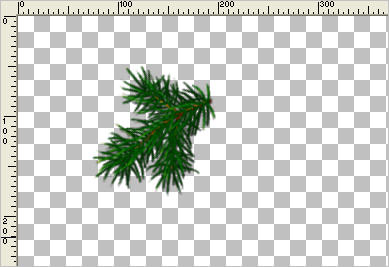
STEP 3
Right click on the Title Bar of your blank tag image
and select PASTE AS NEW LAYER from the options.
EFFECTS >>> PLUGINS >>> MuRa's Meister >>> Copies >>> Encircle

ADJUST >>> SHARPNESS >>> SHARPEN MORE
|
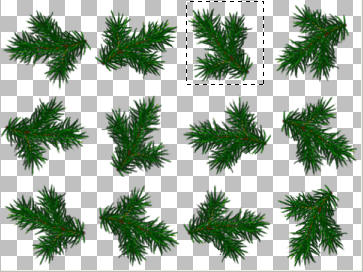
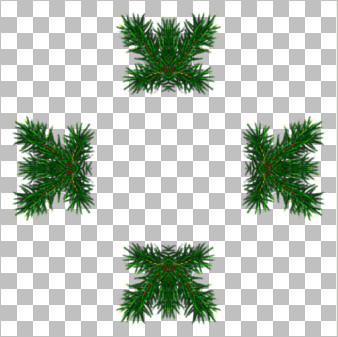
STEP 4
Open up the xm-Spruce image in your PSP workspace
Choose your SELECTION TOOL
Same settings
Select the spruce branch indicated
Right click on the Title Bar and select COPY from the options
|
|
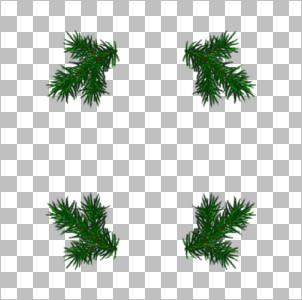
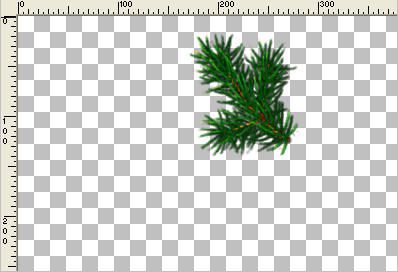
STEP 5
Right click on the Title Bar of your tag image
and select PASTE AS NEW LAYER from the options.
CLOSE RASTER 2
Reposition with your MOVER tool
|
|
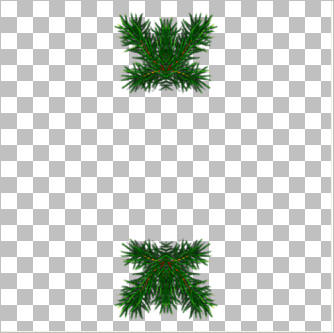
STEP 6
EFFECTS >>> PLUGINS >>> SIMPLE >>> TOP LEFT MIRROR
ADJUST >>> SHARPNESS >>> SHARPEN MORE
|
|
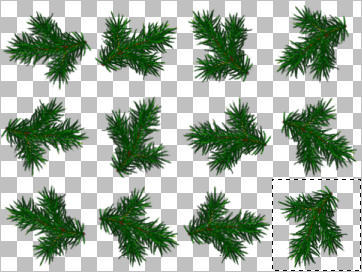
STEP 7
CLOSE RASTER 3
Open up the xm-Spruce image in your PSP workspace
Choose your SELECTION TOOL
Same settings
Select the spruce branch indicated
Right click on the Title Bar and select COPY from the options
|
|
STEP 8
Right click on the Title Bar of your tag image
and select PASTE AS NEW LAYER from the options.
Reposition with your MOVER tool |
|
STEP 9
EFFECTS >>> PLUGINS >>> SIMPLE >>> TOP LEFT MIRROR
ADJUST >>> SHARPNESS >>> SHARPEN MORE |
|
STEP 10
CLOSE RASTER 4
Open up the xm-Spruce image in your PSP workspace
Choose your SELECTION TOOL
Same settings
Select the spruce branch indicated
Right click on the Title Bar and select COPY from the options |
|
STEP 11
Right click on the Title Bar of your tag image
and select PASTE AS NEW LAYER from the options.
Reposition with your MOVER tool |
|
STEP 12
EFFECTS >>> PLUGINS >>> SIMPLE >>> TOP LEFT MIRROR
ADJUST >>> SHARPNESS >>> SHARPEN MORE |
|
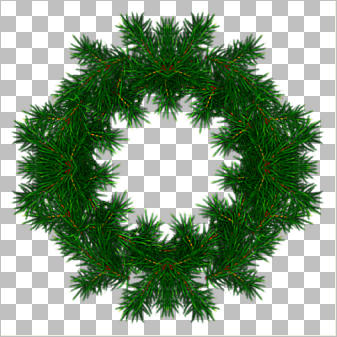
STEP 13
LAYERS >>> DUPLICATE
PSP8 - PSP9:IMAGE >>> ROTATE >>> FREE ROTATE = RIGHT 90
Ensure "All layers" is UNCHECKED
PSPX - PSPX3: IMAGE >>> FREE ROTATE = RIGHT 90
Ensure "All layers" is UNCHECKED
|
|
STEP 14
CLOSE RASTER 1
OPEN ALL OTHER LAYERS
ACTIVATE RASTER 2
LAYERS >>> MERGE >>> MERGE VISIBLE
|
|
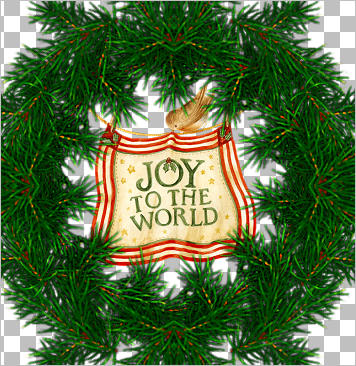
STEP 15
Open up the CGS~VH-JoyToTheWorld-dxi09 image
in your PSP workspace
Right click on the Title Bar and select COPY from the options
Right click on the Title Bar of your tag image
and select PASTE AS NEW LAYER from the options.
IMAGE >>> RESIZE = 35%
Ensure "Resize all layers" is UNCHECKED
Resample using WEIGHTED AVERAGE
ADJUST >>> SHARPNESS >>> SHARPEN MORE
LAYERS >>> ARRANGE >>> MOVE DOWN
|
|
STEP 16
EFFECTS >>> 3D EFFECTS >>> DROP SHADOW
Vertical & Horizontal offsets = 3
Colour = Black
Opacity = 60
Blur = 5.00
ACTIVATE THE MERGED LAYER
|
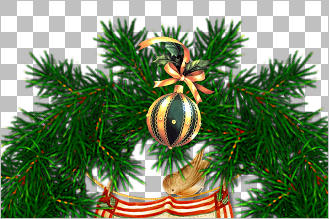
STEP 17
Open up the CherSwitz~GreenOrnament image
in your PSP workspace
Right click on the Title Bar and select COPY from the options
Right click on the Title Bar of your tag image
and select PASTE AS NEW LAYER from the options.
IMAGE >>> RESIZE = 30%
Ensure "Resize all layers" is UNCHECKED
Resample using WEIGHTED AVERAGE
ADJUST >>> SHARPNESS >>> SHARPEN
Reposition with your MOVER tool
|
|
.... |
| |