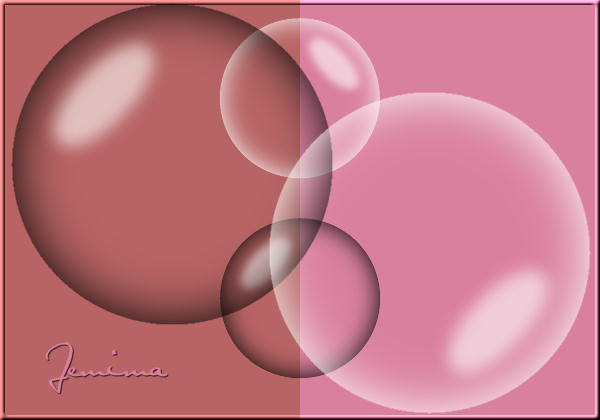
First we'll create a globe to use on light images,
then next we'll create one to use on dark images.
|
Open a new image 500 x 500
Transparent background
PSPX - X2: Colour Depth = 8bits/channel
PSPX3: Colour Depth RGB = 8bits/channel
VIEW >>> RULERS
|
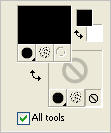
In your MATERIALS PALETTE
Load BLACK in your foreground
Load WHITE in your background
(Close) NULL your background |
|
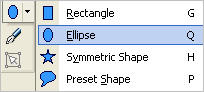
Select your PRESET SHAPES tool >> Ellipse
Use these settings
Line Style = +SOLID

Starting at 50 pixels across and 50 pixels down
drag your cursor to 450 pixels across and 450 pixels down and release
CLICK "APPLY"
|
In your LAYER PALETTE
Right click on the VECTOR layer and select
Convert to Raster Layer
With your MAGIC WAND
Mode = Replace
Match Mode = RGB Value
Tolerance = 5
Feather = 0
Antialias = Checked
Sample Merged = UNCHECKED
PSP9 - X3: Check CONTIGUOUS
PSPX - X3: There is no " Sample Merged"
PSPX - X3: Use all layers = UNChecked
PSP9 - X3: ANTIALIAS = Outside
Select the OUTER transparent area
SELECTIONS >>> INVERT
|
|
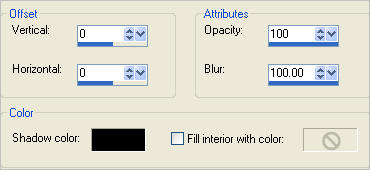
EFFECTS >>> 3D EFFECTS >>> CUTOUT
DESELECT
|
|
With your MAGIC WAND
Mode = Replace
Match Mode = RGB Value
Tolerance = 5
Feather = 2
Antialias = Checked
Sample Merged = UNCHECKED
PSP9 - X3: Check CONTIGUOUS
PSPX - X3: There is no " Sample Merged"
PSPX - X3: Use all layers = UNChecked
PSP9 - X3: ANTIALIAS = Outside
Select the OUTER transparent area |
|
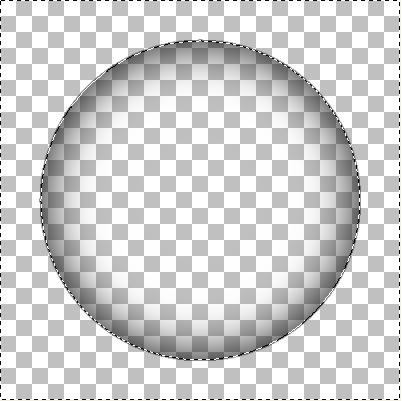
Depress your DELETE key 4 times
DESELECT
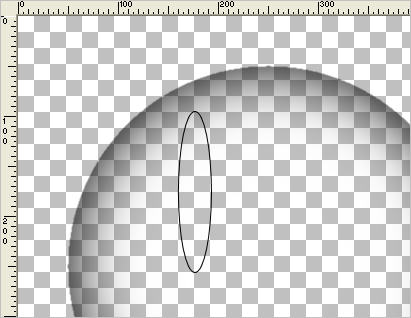
Select your PRESET SHAPES tool >> Ellipse
Same settings
BUT
select ellipse Mode this time

Create an oval shape as shown
CLICK "APPLY"
|
|
With your MAGIC WAND
Mode = Replace
Match Mode = RGB Value
Tolerance = 5
Feather = 0
Antialias = Checked
Sample Merged = UNCHECKED
PSP9 - X3: Check CONTIGUOUS
PSPX - X3: There is no " Sample Merged"
PSPX - X3: Use all layers = UNChecked
PSP9 - X3: ANTIALIAS = Outside
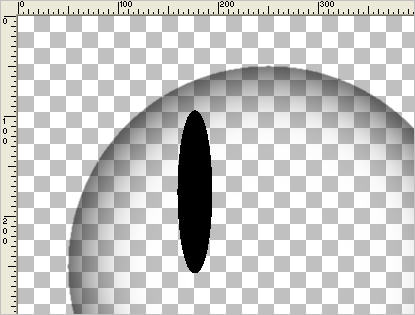
Select the OUTER transparent area
SELECTIONS >>> INVERT
In your LAYER PALETTE
Right click on the VECTOR layer and select
Convert to Raster Layer
Flood fill with BLACK
DESELECT
|
|
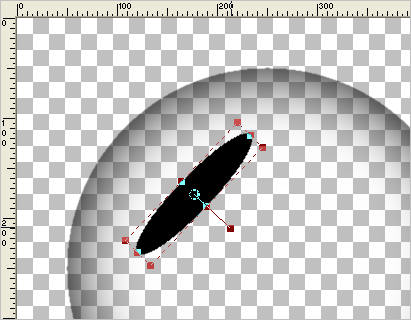
Select your DEFORMATION tool
Mode = SCALE
use default settings
PSPX-X3:Select your PICK tool
Drag the rotating arm down as shown
|
|
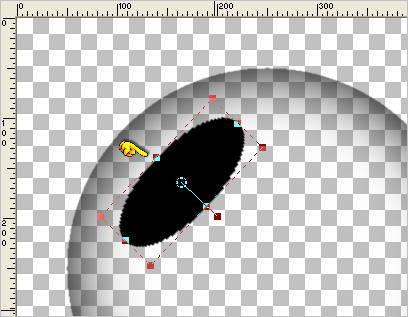
Drag the centre node indicated upwards
towards the top left corner
of your image
|
|
Click the RESET RECTANGLE arrow
Select your MOVER tool to disengage
the Deformation / Pick tool
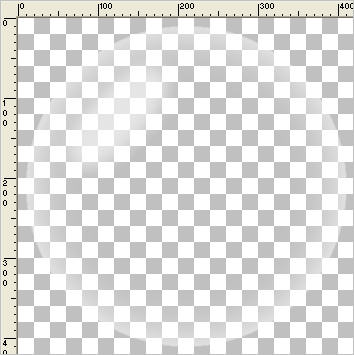
ADJUST >>> BLUR >>> GAUSSIAN BLUR
Radius = 10.00
ADJUST >>> COLOUR BALANCE >>> NEGATIVE IMAGE
PSPX - X3: IMAGE >>> NEGATIVE IMAGE
|
|
In your LAYER PALETTE change the OPACITY to 60%
on Raster 3
WINDOW >>> DUPLICATE
Minimize duplicated image
Back to your original image
LAYERS >>> MERGE >>> MERGE VISIBLE
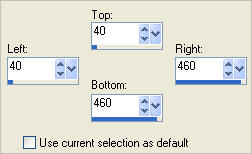
Choose your SELECTION TOOL then click on the
CUSTOM SELECTION symbol
and enter these coordinates.
IMAGE >>> CROP TO SELECTION
|
|
Save as globe1.psp image
This globe is to be used on light coloured images |
|
....... |
Maximize the duplicated image
ACTIVATE RASTER 2
ADJUST >>> COLOUR BALANCE >>> NEGATIVE IMAGE
PSPX - X3: IMAGE >>> NEGATIVE IMAGE
LAYERS >>> MERGE >>> MERGE VISIBLE
Choose your SELECTION TOOL then click on the
CUSTOM SELECTION symbol
and enter these coordinates.
IMAGE >>> CROP TO SELECTION
Save as globe2.psp image
This globe is to be used on dark coloured images
|
|
|
|
To create something from the globes you made.... PART 2
|