.
To create this tag we'll have to create the 'hearts' first.
Once they're done you have 2 animation options.
.
|
Open up the Img_838.jpg image in your PSP workspace
WINDOW >>> DUPLICATE
Close the original Image
LAYERS >>> Promote background Layer |
EFFECTS>>> GEOMETRIC EFFECTS >>>
Perspective >>> Vertical |
|
EFFECTS>>> GEOMETRIC EFFECTS >>> CIRCLE |
|
EDIT >>> Repeat Circle |
|
IMAGE >>> FLIP
EFFECTS>>> GEOMETRIC EFFECTS >>>
Perspective >>> Vertical
Same settings
|
|
EFFECTS>>> GEOMETRIC EFFECTS >>> CIRCLE
Same settings
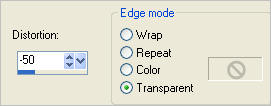
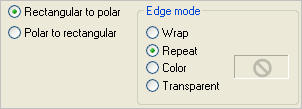
EFFECTS >>> DISTORTION EFFECTS >>> POLAR COORDINATES
|
|
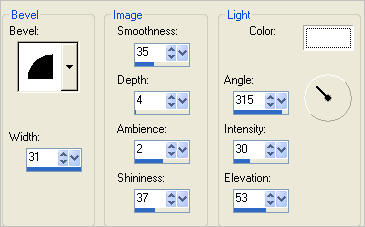
EFFECTS >>> 3D EFFECTS >>> INNER BEVEL |
|
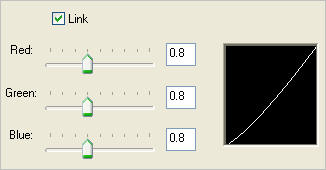
PSP8 - PSP9: ADJUST >>> BRIGHTNESS and CONTRAST >>>
GAMMA CORRECTION
|
|
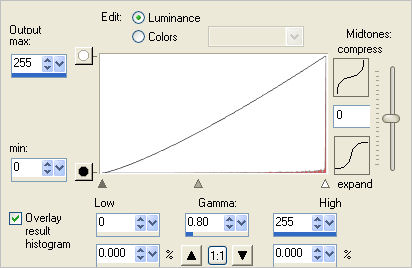
PSPX - X3:- ADJUST >>> Brightness & Contrast >>> Histogram Adjustment |
|
Move the heart up slightly
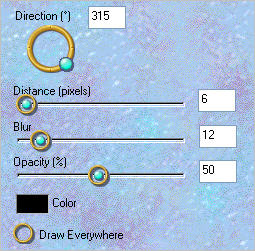
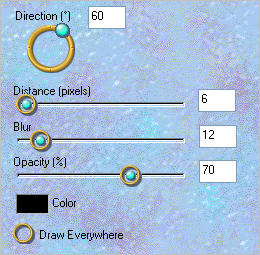
EFFECTS >>> PLUGINS >>> EYE CANDY 3 >>> DROP SHADOW
|
|
EDIT >>> Repeat Drop Shadow.. change DIRECTION to 225 |
|
Open a new image 600 x 600
Transparent background
PSPX - X2: Colour Depth = 8bits/channel
PSPX3: Colour Depth RGB = 8bits/channel
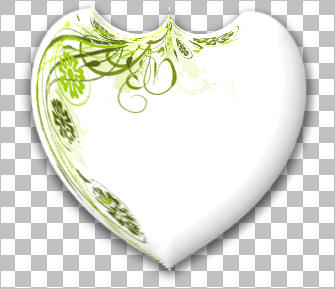
On your Heart image
Right click on the Title Bar and select COPY from the options
Right click on the Title Bar of your blank image
and select PASTE AS NEW LAYER from the options.
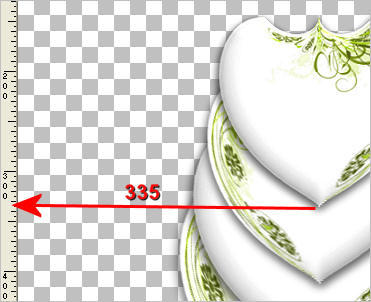
Reposition with your MOVER tool by dragging straight down
so the bottom peak is around 35 pixels from the bottom
of your image
Rename this layer heart 1
|
|
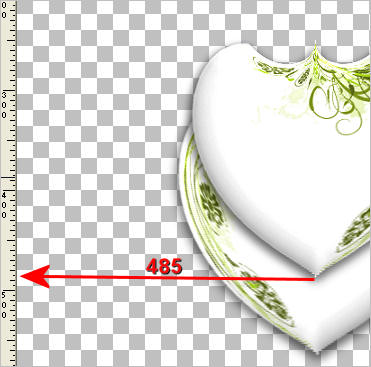
LAYERS >>> DUPLICATE
IMAGE >>> RESIZE = 90%
Ensure "Resize all layers" is UNCHECKED
Resample using WEIGHTED AVERAGE
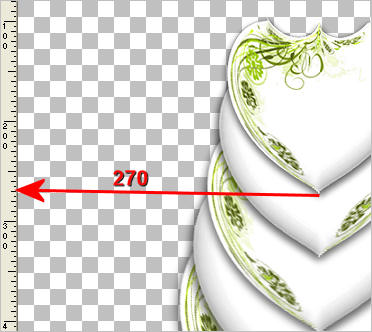
IMAGE >>> MIRROR
Reposition with your MOVER tool
ADJUST >>> SHARPNESS >>> SHARPEN
Rename this layer heart 2
|
|
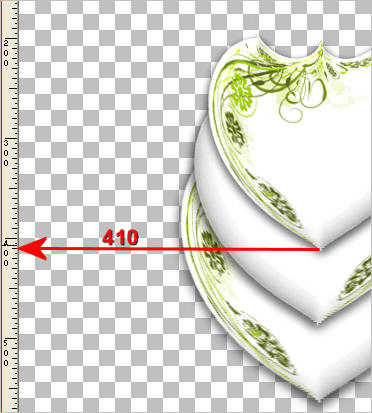
LAYERS >>> DUPLICATE
IMAGE >>> RESIZE = 90%
Ensure "Resize all layers" is UNCHECKED
Resample using WEIGHTED AVERAGE
IMAGE >>> MIRROR
Reposition with your MOVER tool
ADJUST >>> SHARPNESS >>> SHARPEN
Rename this layer heart 3
|
|
LAYERS >>> DUPLICATE
IMAGE >>> RESIZE = 90%
Ensure "Resize all layers" is UNCHECKED
Resample using WEIGHTED AVERAGE
IMAGE >>> MIRROR
Reposition with your MOVER tool
ADJUST >>> SHARPNESS >>> SHARPEN
Rename this layer heart 4 |
|
LAYERS >>> DUPLICATE
IMAGE >>> RESIZE = 90%
Ensure "Resize all layers" is UNCHECKED
Resample using WEIGHTED AVERAGE
IMAGE >>> MIRROR
Reposition with your MOVER tool
ADJUST >>> SHARPNESS >>> SHARPEN
Rename this layer heart 5 |
|
ACTIVATE RASTER 1
Flood fill with WHITE
EFFECTS >>> TEXTURE EFFECTS >>> SCULPTURE
COLOUR = #c0c0c0
Pattern = 106NLLt
Rename this layer bgd
|
|
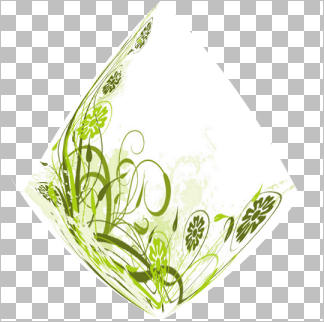
Open up the Abstract Design 2B.jpg image in your PSP workspace
Right click on the Title Bar and select COPY from the options
Right click on the Title Bar of your tag image
and select PASTE AS NEW LAYER from the options.
CLOSE all the heart layers
With your MAGIC WAND
Mode = Replace
Match Mode = RGB Value
Tolerance =33
Feather = 2
Antialias = Checked
Sample Merged = UNCHECKED
PSP9 - X3: Check CONTIGUOUS
PSPX - X3: There is no " Sample Merged"
PSPX - X3: Use all layers = UNChecked
PSP9 - X3: ANTIALIAS = Inside
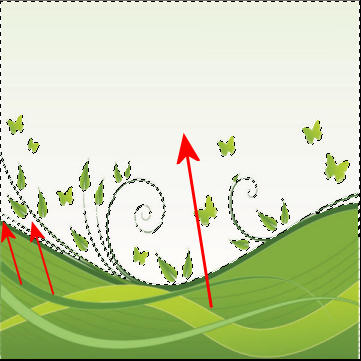
and while depressing your SHIFT KEY...
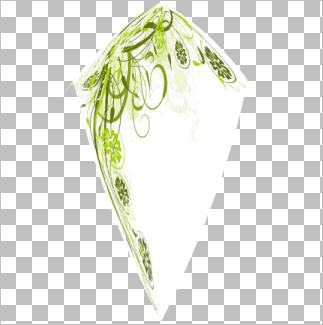
Select the areas shown
|
|
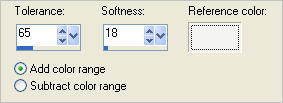
SELECTIONS >>> MODIFY >>> SELECT COLOR RANGE
Reference color =
#f4f4f0
Click OK |
|
Hit your DELETE key 2 times
SELECTIONS >>> INVERT
EFFECTS >>> PLUGINS >>> EYE CANDY 3 >>> DROP SHADOW
DESELECT
Rename this layer bgd2
|
|
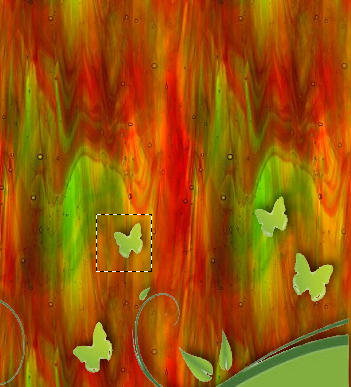
Choose your SELECTION TOOL
Selection Type = Rectangle
Mode = Replace
Feather = 0
Antialias = UNChecked
Select the butterfly shown
(right side of image)
Hit your DELETE key to remove
DESELECT
|
|
ACTIVATE the bgd layer
Open up the DINGEL-MORNING COFFEE 9-28-06~GOLD700 image
in your PSP workspace
Right click on the Title Bar and select COPY from the options
Right click on the Title Bar of your tag image
and select PASTE AS NEW LAYER from the options.
Rename this layer tube
|
|
ACTIVATE the bgd2 layer
LAYERS >>> NEW RASTER LAYER
Flood fill with #5e923f
SELECTIONS >>> SELECT ALL
SELECTIONS >>> MODIFY >>> CONTRACT = 3
EDIT >>> CLEAR
EFFECTS >>> 3D EFFECTS >>> DROP SHADOW
Vertical & Horizontal offsets = 1
Colour = Black
Opacity = 100
Blur = 0
Repeat Drop Shadow effect changing
Vertical & Horizontal Offsets to - ( minus ) 1
Click OK
DESELECT
LAYERS >>> MERGE >>> MERGE DOWN |
|
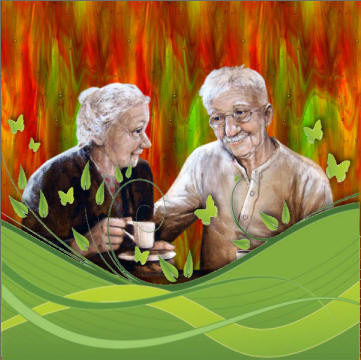
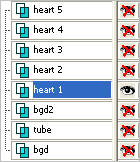
Set up LAYER PALETTE as shown |
|
Open up the YouMakeMeSmile~CI~ image
in your PSP workspace
Right click on the Title Bar and select COPY from the options
Right click on the Title Bar of your tag image
and select PASTE AS NEW LAYER from the options.
IMAGE >>> RESIZE = 60%
Ensure "Resize all layers" is UNCHECKED
Resample using WEIGHTED AVERAGE
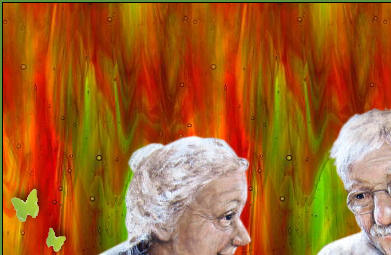
Reposition with your MOVER tool
LAYERS >>> DUPLICATE
LAYERS >>> MERGE >>> MERGE DOWN (Twice)
|
|
CLOSE heart 1 layer
OPEN & ACTIVATE heart 2
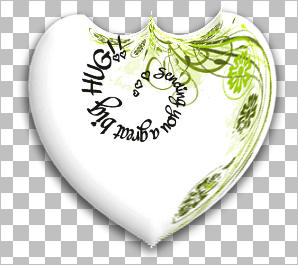
Open up the sending hug image
in your PSP workspace
Right click on the Title Bar and select COPY from the options
Right click on the Title Bar of your tag image
and select PASTE AS NEW LAYER from the options.
IMAGE >>> RESIZE = 45%
Ensure "Resize all layers" is UNCHECKED
Resample using WEIGHTED AVERAGE
Reposition with your MOVER tool
LAYERS >>> DUPLICATE
LAYERS >>> MERGE >>> MERGE DOWN (Twice)
|
|
|
|
| |
|
|