STEP 1
Open the
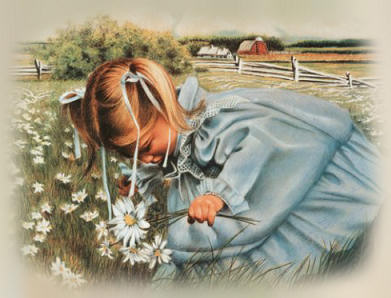
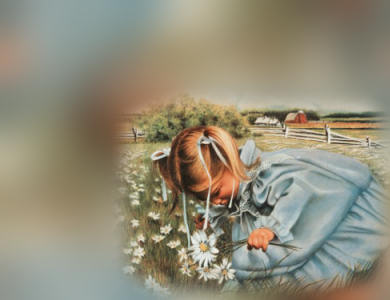
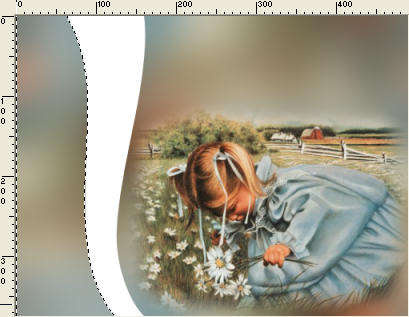
_Katie's Garden_Misted by Kathy_Kms
in your PSP workspace.
WINDOW >>> DUPLICATE
Close the original image.
Activate the girl in
the layer palette
(Mist layer)
Right click and select DUPLICATE from the options.
Close this layer.
Delete the artist logo layer.
(Watermark layer)
LAYERS >> Promote background layer
and open.
LAYERS >> MERGE >> MERGE VISIBLE
|
|
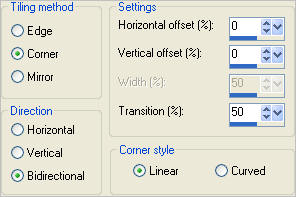
STEP 2
With the Merged layer active
EFFECTS >> IMAGE EFFECTS >>
SEAMLESS TILING
use the default setting.
|
|
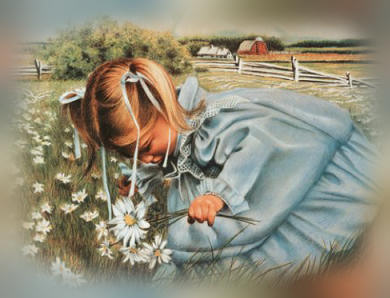
STEP 3
ADJUST >> BLUR >> GAUSSIAN BLUR
Radius = 25.00.
Open the 'Copy of Mist' layer.
|
|
STEP 4
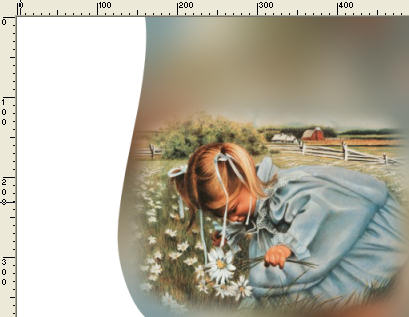
Activate the 'Copy of Mist' layer
IMAGE >> RESIZE = 75%
Ensure "Resize all layers" is UNCHECKED
Move it to the right lower corner.
|
|
STEP 5
In your MATERIALS PALETTE load
WHITE in the background
and make the foreground NULL.
VIEW >>> RULERS
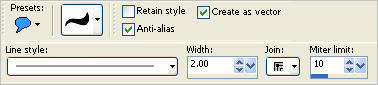
Select your PRESET SHAPES tool
locate the Happy Tail shape
Use these settings
|
|
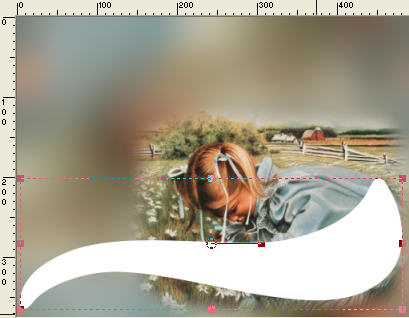
STEP 6
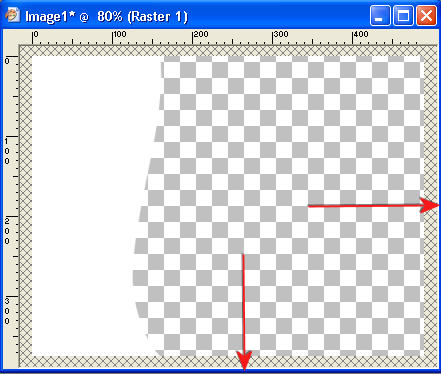
Starting at 3 pixels across
and 200 pixels down
Draw the shape across the bottom of picture as shown, almost across the frame.
Select your MOVER tool
|
|
STEP 7
PSP8 - PSP9:
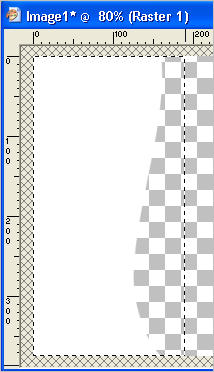
IMAGE >> ROTATE >> FREE ROTATE = LEFT 90
Ensure "All layers" is UNCHECKED
PSPX - PSPX2:
IMAGE >> FREE ROTATE = LEFT 90
Ensure "All layers" is UNCHECKED
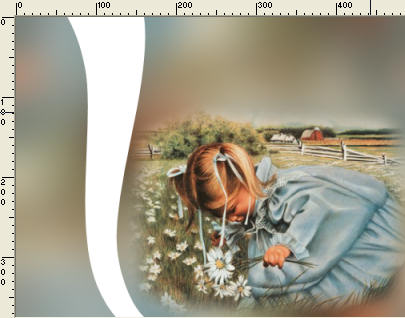
With your MOVER tool
Reposition the shape as shown
In your LAYER PALETTE
Right click on the VECTOR layer
and select
'Convert to Raster Layer'
|
|
STEP 8
With your MAGIC WAND
Mode = Replace
Match Mode = RGB Value
Tolerance = 0
Feather = 0
Antialias = UNchecked
Sample Merged = UNCHECKED
PSP9 - X3: Check CONTIGUOUS
PSPX - X3: There is no " Sample Merged"
PSPX - X3: Use all layers = UNChecked
Select the area to the left side of the white shape
|
|
STEP 9
SELECTIONS >> MODIFY >>
EXPAND = 3
Flood Fill this area with WHITE
DESELECT |
|
STEP 10
Note: the next couple of steps will make sure there are no extra pixels on the
outside that will make the image jump.
Close all layers except Raster 1
(
the white shape )
Pull the top and side of the frame out
just a little to give room.
|
|
STEP 11
Choose your SELECTION TOOL
Selection Type = Rectangle
Mode = Replace
Feather = 0
Antialias = UNChecked
draw around the image.
Click inside marching ants
to select shape
.
SELECTIONS >>> DEFLOAT
|
|
STEP 12
SELECTIONS >>> INVERT
EDIT >> CLEAR
SELECTIONS >> SELECT NONE
LAYERS >> DUPLICATE
LAYERS >> NEW RASTER LAYER
|
|
|