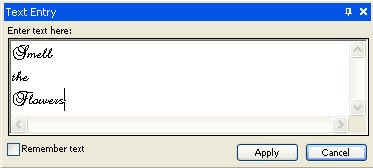
NOTE.. Using the TEXT Tool in PSPX3
Click the "A" tool
then before clicking on the work
hold down the shift key and then click,
it will bring up the entry box as other versions do
|
STEP 13
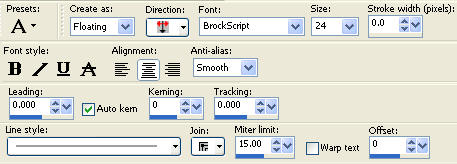
Select your TEXT tool
and a font of choice,
I used Brock Script.
In your MATERIALS PALETTE
Set the background to #588885
and NULL the foreground.
|
 |
STEP 14
Type the words you would like,
Click APPLY |
|
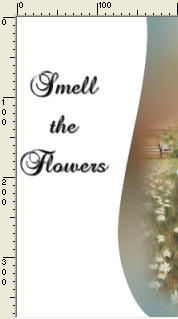
STEP 15
Reposition your text
SELECTIONS >> SELECT NONE
|
|
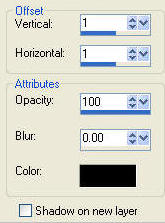
STEP 16
add a drop shadow if needed
I used.... |
|
STEP 17
Activate Copy of Raster 1
EDIT >> Repeat Drop Shadow
Activate Raster 1
EDIT >> Repeat Drop Shadow
|
|
STEP 18
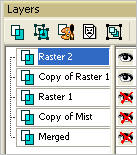
Activate Raster 2
CLOSE
Raster 1
Copy of Mist
Merged
|
|
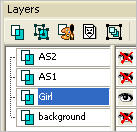
STEP 19
LAYERS >> MERGE >> MERGE VISIBLE
Rename this layer AS2
Activate Raster 1
Rename this layer AS1
Activate Copy of Mist layer
Rename this layer Girl
Activate the Merged layer
Rename this layer background
Open & Activate the Girl layer
CLOSE other layers
|
|
NOTE.. Using the TEXT Tool in PSPX3
Click the "A" tool
then before clicking on the work
hold down the shift key and then click,
it will bring up the entry box as other versions do |
STEP 20
LAYERS >> NEW RASTER LAYER
Select your TEXT tool
and a font of choice
Add your name on the right side so it doesn't interfere with the animation.
LAYERS >> MERGE >> MERGE VISIBLE
Rename this layer Girl
|
|
STEP 21
Open all layers and with the AS2
layer active
Open the flower strip image
Right click on the Title Bar and select COPY from the options
Right click on the Title Bar of your
working image
and select PASTE AS NEW LAYER from the options.
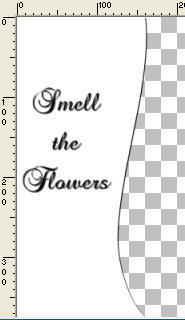
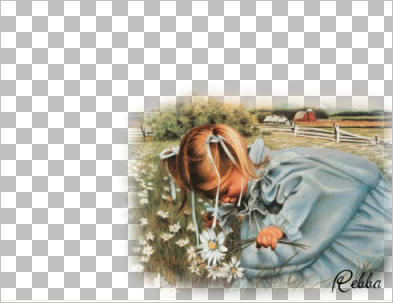
Reposition with your Mover Tool
as shown
Rename this layer Flowers
|
|
STEP 22
Activate AS1 ( all other layers closed.)
Right click on the Title Bar and select COPY from the options ( not Copy >> Merge)
Open ANIMATION SHOP
Right click in work space and select Paste As New Animation.
Back to PSP.
Close AS1
Open and Activate AS2
Right click on the Title Bar and select COPY from the options (not Copy >> Merge)
In ANIMATION SHOP right click on the Title Bar
Select >> Paste After Current Frame.
|
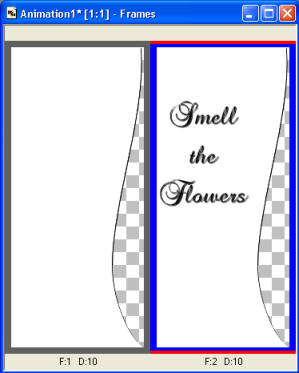
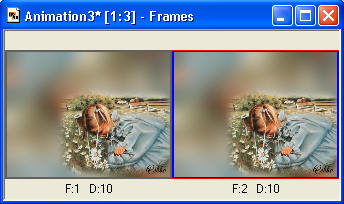
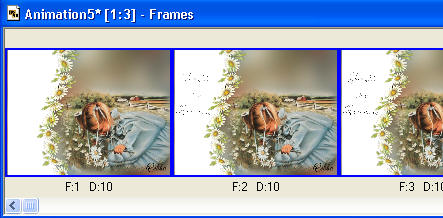
STEP 23
Now we're ready to create an animation.
Right click (and hold the mouse down)
the right side of the image and pull to the right so you can see both images.
This is what you should have.
|
|
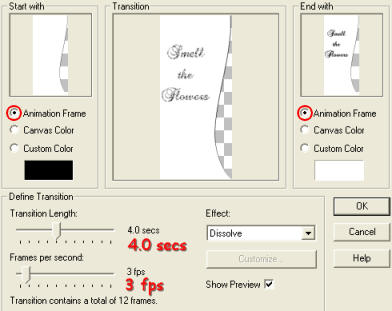
STEP 24
Click on the left frame to highlight it,
Effects >> Insert Image Transition.
When the box opens click the down arrow and select dissolve.
Use my settings.
Click OK.
|
|
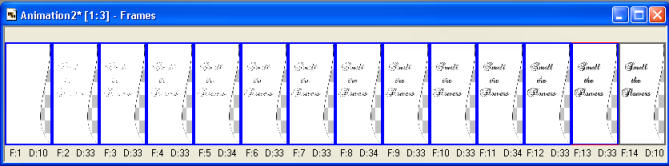
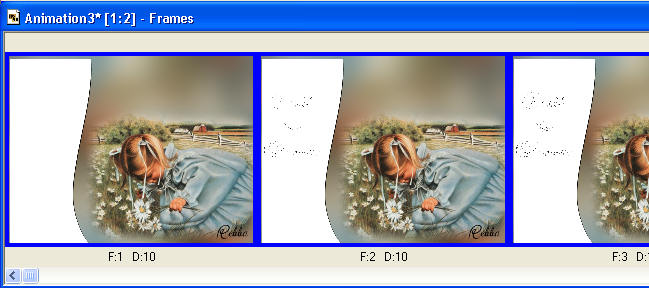
STEP 25
Check your animation, you now have 14 frames.
Back to PSP
Close layer AS2
Open the background and Girl layers
Activate the Girl layer
Right click onTitle Bar and select Copy >> Merged
In Animation Shop
Right click in work space and select Paste As New Animation.
|
STEP 26
We need to have 14 frames of the Girl,
EDIT >> COPY
EDIT >> Paste After Current Frame.
EDIT >> Select All
EDIT >> Copy,
EDIT >>Propogate Paste
EDIT >> Paste After Current Frame.

You need to do this 3 more times
until you have 16 frames.
EDIT >> Select All
EDIT >> Copy
EDIT >>Propogate Paste
EDIT >> Paste After Current Frame
EDIT >> Paste After Current Frame
EDIT >> Paste After Current Frame
Highlight the last frame
hold down the CTRL key
Select
the second last frame
EDIT >> Delete
You should now have 14 frames

|
STEP 27
EDIT >> Select All
Now go to the TEXT animation click Title Bar to select
EDIT >> Select All
EDIT >> Copy
Now select the GIRL animation
EDIT >>Propogate Paste
EDIT >> Paste Into Selected Frame.
Your image will be attached to the arrow, move it to the left side of the first frame,
making sure you have it lined up on all sides then click the mouse and it will be in place
in all 14 frames
.
Scroll to frame 14 and click the edge around the picture to select it.
Right click onTitle Bar
Right
click and select Frame Properties from the options.
Set Display Time to 150
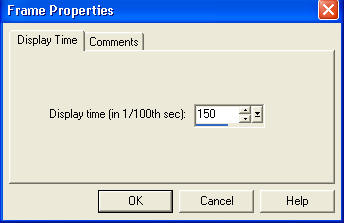 .
Check your animation
|
STEP 28
Back to PSP.
Close the Girl layer and the background layer
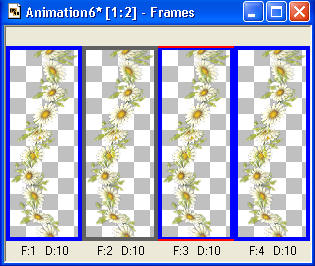
Open and Activate the Flowers layer
Right click onTitle Bar and select Copy (not Copy >> Merged),
In Animation Shop
Right click in work space and select Paste As New Animation.
(Sorry folks we need 14 layers again but we are almost through.)
EDIT >> COPY
EDIT >> Paste After Current Frame.
EDIT >> Select All
EDIT >> Copy,
EDIT >>Propogate Paste
EDIT >> Paste After Current Frame.
You need to do this 3 more times until you have 16 frames.
EDIT >> Select All
EDIT >> Copy
EDIT >>Propogate Paste
EDIT >> Paste After Current Frame
EDIT >> Paste After Current Frame
EDIT >> Paste After Current Frame
Highlight the last frame
hold down the CTRL key
Select the second last frame
EDIT >> Delete
You should now have 14 frames
EDIT >> Select All
EDIT >> Copy
|
STEP 29
Now go to the Girl animation click the Title Bar to select
EDIT >> Select All
EDIT >> Propogate Paste
EDIT >> Paste into Selected Frame.
Your image will be attached to the arrow, move it to the left side and line up to
cover the edge of animation.
Scroll to frame 14 and click the edge around the picture to select it.
Right click onTitle Bar
and select Frame Properties from the options.
Check that Set Display Time is 150
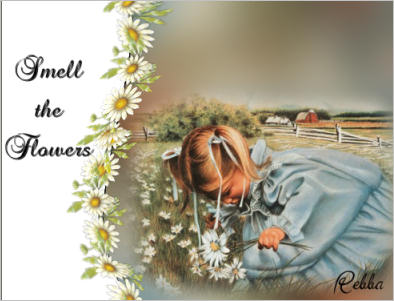
Now check your animation again.
Save your completed animation
File >> Save As
Name your animation.
With the Gif Optimiser keep pressing NEXT
until you get to the last one... click FINISH
Close the Animation
Close the frames.
Close Animation Shop
|
I hope you have enjoyed this tut and had some fun.
|