SPIROGRAPH
PSP8 to PSPX3
PART 2
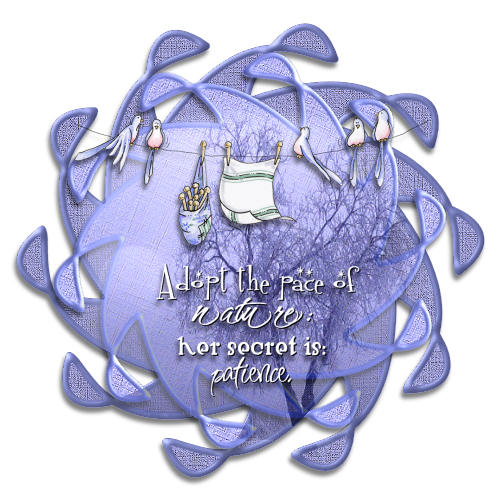
This tutorial was written by Jemima ~ SEPTEMBER 2011
Copyright © 2011 ~ Jemima ~ All rights reserved
********************************
This was created using PSP9 but can be adapted for other versions of PSP.
********************************
We are going to use your DUPLICATED image
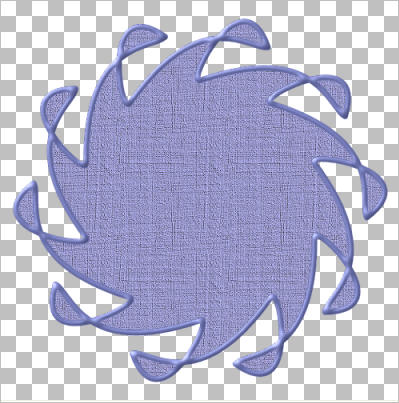
LAYERS >>> DUPLICATE
IMAGE >>> RESIZE = 85%
Ensure "Resize all layers" is UNCHECKED
Resample using WEIGHTED AVERAGE
PSP8 - PSP9:IMAGE >>> ROTATE >>> FREE ROTATE = LEFT 22.50
Ensure "All layers" is UNCHECKED
PSPX - PSPX3: IMAGE >>> FREE ROTATE = LEFT 22.50
Ensure "All layers" is UNCHECKED
IMAGE >>> MIRROR
ADJUST >>> SHARPNESS >>> SHARPEN
ADJUST >>> BRIGHTNESS and CONTRAST >>> BRIGHTNESS/CONTRAST

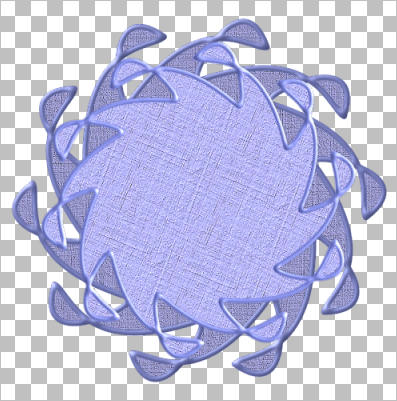
Open up the SS_1483_Misted image in your PSP workspace
Right click on the Title Bar and select COPY from the options
Right click on the Title Bar of your tag image
and select PASTE AS NEW LAYER from the options.
IMAGE >>> RESIZE = 75%
Ensure "Resize all layers" is UNCHECKED
Resample using WEIGHTED AVERAGE
Select your DEFORMATION tool
Mode = SCALE
use default settings
PSPX-X3:Select your PICK tool
Drag the centre bottom node down to the 480 mark on the left ruler.
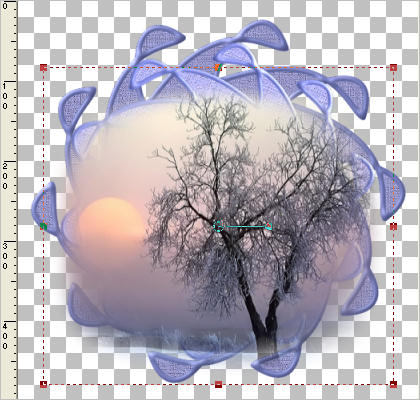
Drag the centre right node across to the 440 mark on the top ruler.
Drag the centre left node across to the 60 mark on the top ruler.
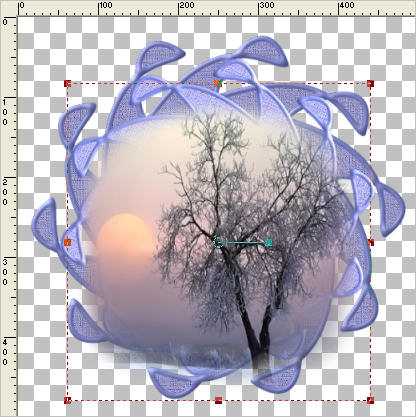
Click the RESET RECTANGLE arrow
ACTIVATE RASTER 1
With your MAGIC WAND
Mode = Replace
Match Mode = RGB Value
Tolerance = 0
Feather = 0
Antialias = UNchecked
Sample Merged = UNCHECKED
PSP9 - X3: Check CONTIGUOUS
PSPX - X3: There is no " Sample Merged"
PSPX - X3: Use all layers = UNChecked
Select the OUTER transparent area
SELECTIONS >>> MODIFY >>> EXPAND = 2
ACTIVATE RASTER 2
EDIT >>> CLEAR
DESELECT
In your LAYER PALETTE change the OPACITY to 70%
Change the BLEND MODE to LUMINANCE (L)
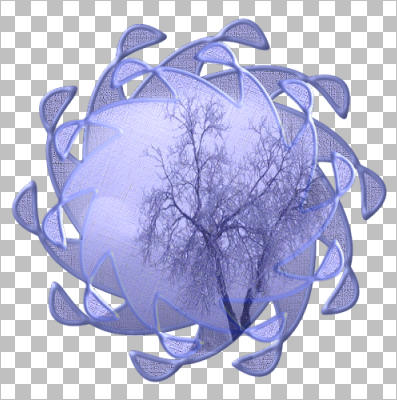
Open up the Mira_oiseaux_fil_a_linge_pcc image in your PSP workspace
Right click on the Title Bar and select COPY from the options
Right click on the Title Bar of your tag image
and select PASTE AS NEW LAYER from the options.
IMAGE >>> RESIZE = 45%
Ensure "Resize all layers" is UNCHECKED
Resample using WEIGHTED AVERAGE
ADJUST >>> BRIGHTNESS and CONTRAST >>> CLARIFY
Strength of effect = 5
PSPX3: BRIGHTNESS and CONTRAST >>> LOCAL TONE
Mapping strength = 5
EFFECTS >>> 3D EFFECTS >>> DROP SHADOW
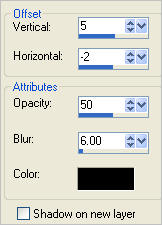
Reposition with your MOVER tool
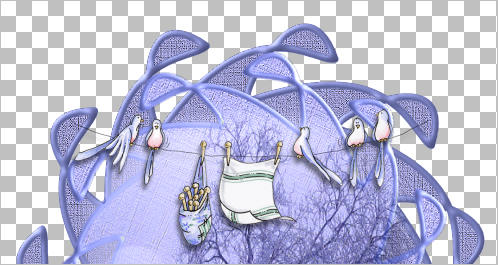
Open up the 10pawa image in your PSP workspace
Right click on the Title Bar and select COPY from the options
Right click on the Title Bar of your tag image
and select PASTE AS NEW LAYER from the options.
IMAGE >>> RESIZE = 45%
Ensure "Resize all layers" is UNCHECKED
Resample using WEIGHTED AVERAGE
ADJUST >>> COLOUR BALANCE >>> NEGATIVE IMAGE
PSPX - X3: IMAGE >>> NEGATIVE IMAGE
EFFECTS >>> 3D EFFECTS >>> DROP SHADOW
Vertical & Horizontal offsets = 1
Colour = Black
Opacity = 100
Blur = 0
EFFECTS >>> 3D EFFECTS >>> DROP SHADOW

Reposition with your MOVER tool
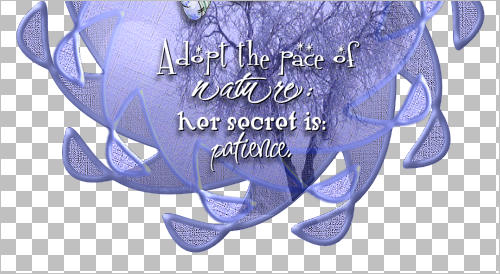
ACTIVATE Copy of RASTER 1
EDIT >>> Repeat Drop Shadow.
ACTIVATE RASTER 1
EDIT >>> Repeat Drop Shadow.
LAYERS >>> MERGE >>> MERGE VISIBLE
Save as .psp image
NOTE: By changing the Number of Sides / Radius and Width on the Symmetric Shape tool
you can have an infinite numer of creations.
Check HERE for more examples
.
Page designed by

for
http://www.artistrypsp.com/
Copyright ©
2000-2011 Artistry In PSP / PSP Artistry
All rights reserved.
Unless specifically made available for
download,
no graphics or text may be removed from
this site for any reason
without written permission from Artistry
In PSP / PSP Artistry
|