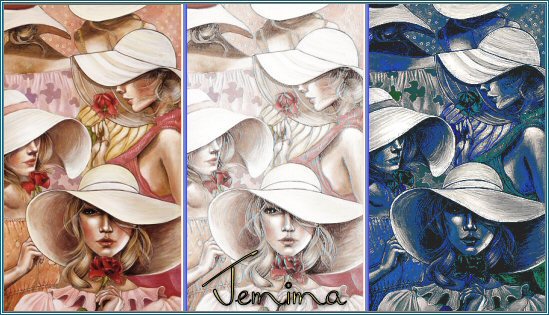
Playing With PSP
PSP8/9
This tutorial was
written by Jemima ~ January 2007
Copyright © 2007 ~ Jemima
~ All rights reserved
********************************
You will need the
following to complete this tutorial
Materials
RIGHT CLICK & Save in a folder on your computer
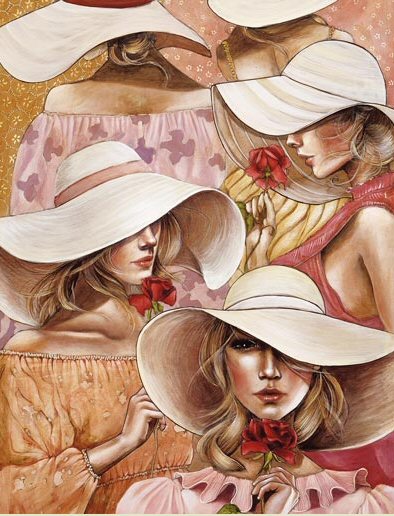
Stepford_Wives_Lisel_Ashlock.jpg
Lisel Jane Ashlock's work can be found here:
http://www.liseljane.com/
Plugins
NONE
********************************
Open up the "Stepford_Wives_Lisel_Ashlock.jpg"
WINDOW >>> DUPLICATE (3 times)
Close the original Image
EFFECT 1
Select one of the duplicated images
IMAGE >>> GREYSCALE
IMAGE >>> INCREASE COLOUR DEPTH >>> 16 MILL COLOURS
WINDOW >>> DUPLICATE
Minimise this greyscale image
With your first greyscale image.. ('working image')
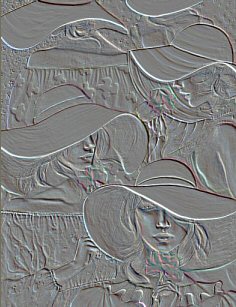
EFFECTS >>> EDGE EFFECTS >>> ENHANCE
EFFECTS >>> EDGE EFFECTS >>> FIND VERTICAL
Maximise one of the coloured 'duplicated' images
Right click on the Title Bar and select COPY from the options
Right click on the Title Bar of your 'working image'
and select PASTE AS NEW LAYER from the options.
Go to your LAYER PALETTE and change the BLEND MODE to EXCLUSION

Maximise the 2nd grayscale image
Right click on the Title Bar and select COPY from the options
Right click on the Title Bar of your 'working image'
and select PASTE AS NEW LAYER from the options.
Go to your LAYER PALETTE and change the BLEND MODE to SCREEN
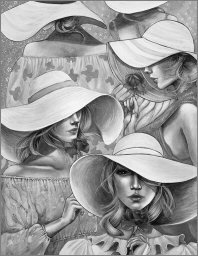
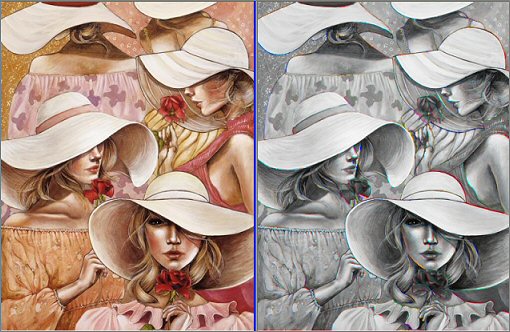
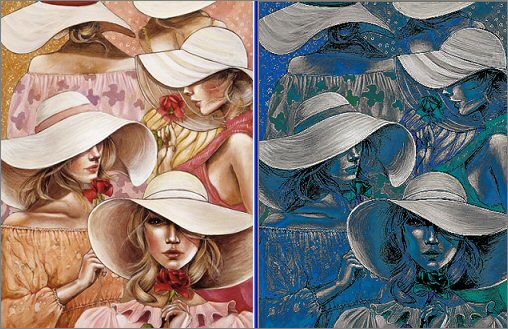
Below is the 'before' and 'after' result.
LAYERS >>> MERGE >>> MERGE ALL (Flatten)
Save as .jpg image
EFFECT 2
Select another one of the coloured duplicated images
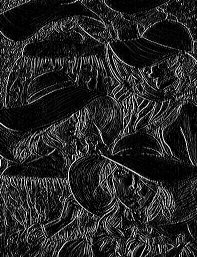
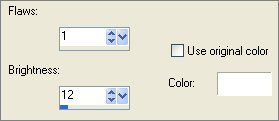
EFFECTS >>> TEXTURE EFFECTS >>> EMBOSS
Open up the GREYSCALE duplicated image
Right click on the Title Bar and select COPY from the options
Go to your 'working' image
Right click on the Title Bar
and select PASTE AS NEW LAYER from the options.
Go to your LAYER PALETTE and change the BLEND MODE to LUMINANCE
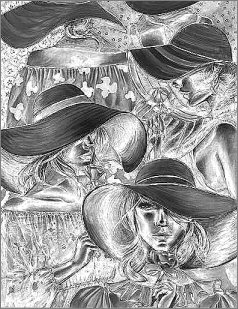
Below is the 'before' and 'after' result.
LAYERS >>> MERGE >>> MERGE ALL (Flatten)
Save as .jpg image
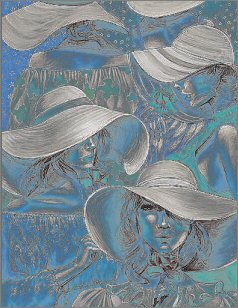
EFFECT 3
Select the 3rd coloured duplicated image
LAYERS >>> DUPLICATE
Open up the GREYSCALE duplicated image
Right click on the Title Bar and select COPY from the options
Go to your 'working' image
Right click on the Title Bar and select PASTE AS NEW LAYER from the options.
CLOSE Raster 2 and 3
ACTIVATE RASTER 1
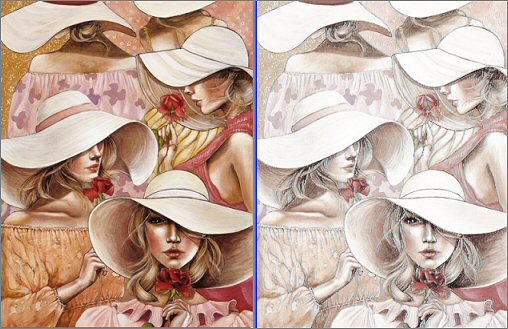
EFFECTS >>> ARTISTIC EFFECTS >>> CHROME
OPEN & ACTIVATE Raster 2
Go to your LAYER PALETTE and change the BLEND MODE to EXCLUSION
OPEN & ACTIVATE Raster 3
Go to your LAYER PALETTE and change the BLEND MODE to BURN
and change the OPACITY to 60%
Below is the 'before' and 'after' result.
LAYERS >>> MERGE >>> MERGE ALL (Flatten)
Save as .jpg image
If you enjoyed this.....
You can learn lots more about PSP Effects and Tools
by subscribing to lessons at "Artistry In PSP"
For information on the classes please go HERE
http://www.artistrypsp.com/

Page designed by

for

http://www.artistrypsp.com/
Copyright ©
2000-2007 Artistry In PSP / PSP Artistry
All rights reserved.
Unless specifically made available for
download,
no graphics or text may be removed from
this site for any reason
without written permission from Artistry
In PSP / PSP Artistry
TUTORIAL
INDEX
|