SHAPES
Page 3
This
tutorial was written by Jemima ~
September 2003..
Copyright © 2003/4
~ Jemima ~ All rights reserved
********************************
OK... Let's do something a little
different this time.
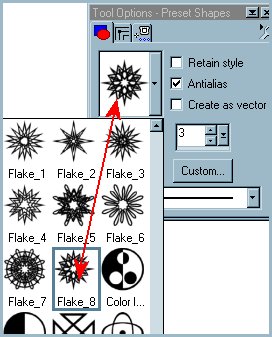
Select your PRESET tool 
In your TOOL Options
Same settings as before
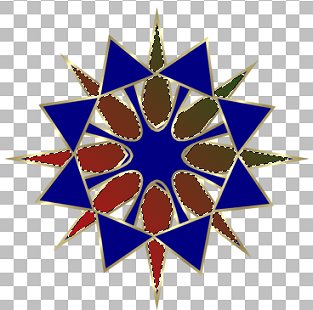
Locate the SnowFlakes Shapes
and select 'Flake 8'
Open up a new image 400 x 400
Transparent background.
Go to LAYERS <<< New Raster
Layer
Click OK
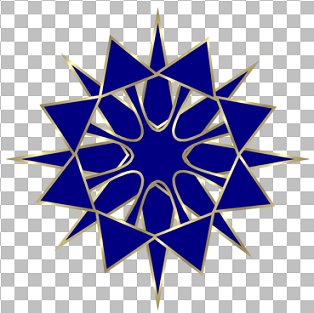
Leave the 'Goldfold in the foreground
STYLES box
and set the Background to DARK BLUE

Starting in the top left corner of your
canvas
drag your cursor to the bottom right of
the canvas
and you should end up with this *S*
With your MAGIC WAND
Settings:
Match Mode = RGB Value
Tolerance - 0
Feather = 0
Sample Merged = UNchecked
Select the 'teardrop shaped' sections of
your image.
You'll have to hold down your SHIFT key
as you do this.
Go to SELECTIONS >>> Modify
>>> Expand = 1
On your COLOUR PALETTE
Load the Red-Dark Green GRADIENT into
your Background Materials box
and change the Foreground Materials box
to NULL
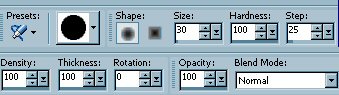
Select your AIRBRUSH tool
Use these settings
Depress your Right Mouse Button
and colour in the selected sections
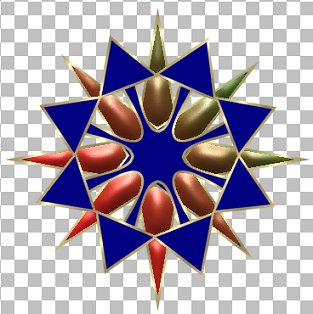
Go to EFFECTS >>>3D Effects
>>> Inner Bevel
Use these settings
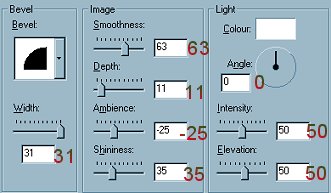
Click OK
DESELECT
With your SELECTION TOOL
Settings:
Selection Type = Rectangle
Feather = 0
Antialias = UNchecked
Draw a RECTANGLE around the outside of
your shape
Click once INSIDE the Rectangle
(This will select all sections of your
shape)
Be careful your shape doesn't MOVE...
If it does.. just place your cursor in
the centre and reposition.
Go to EFFECTS >>> 3D Effects
>>> Drop Shadow
and use the same settings you used
previously.
Save your image as a .psp file
*******
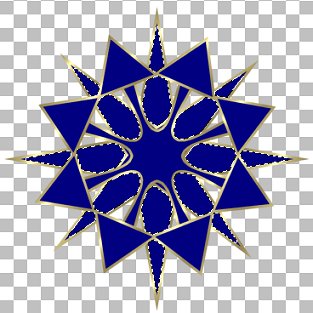
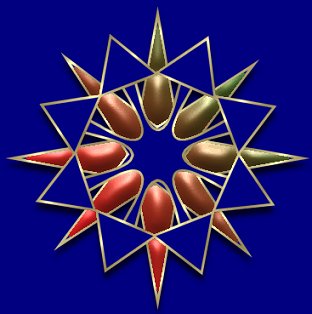
On Raster 1 I used the same DARK BLUE
that I used in the shape.
Then I went to
LAYERS >>> Merge >>>
Merge All (Flatten)
and saved the image below as a .jpg file
On the next one.. we'll do something
totally different *S*
NEXT
Page designed by

Copyright ©
2000-2004 Jemima
All rights reserved.
Unless specifically made available for
download,
no graphics or text may be removed from
this site for any reason
without written permission from Jemima

 NEW TUTORIAL INDEX NEW TUTORIAL INDEX
|