STEP 1
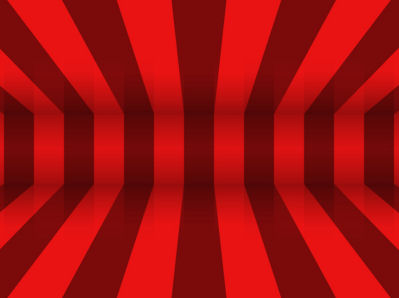
Open a new image 800 x 600
Transparent background
PSP9: Colour Depth = 16 Million Colors (24bit)
PSPX - PSP2020: Colour Depth RGB = 8bits/channel
SELECTIONS >>> SELECT ALL
Open up the red-stripes-16491 image in your PSP workspace
Right click on the Title Bar and select COPY from the options
Right click on the Title Bar of your frame image
and select PASTE INTO SELECTION from the options.
PSP9 - PSPX3: IMAGE >>> FLIP
PSPX4 - PSPX8: Use script available for download at top of page.
(Higher versions follow your version's method)
DESELECT
. .
|
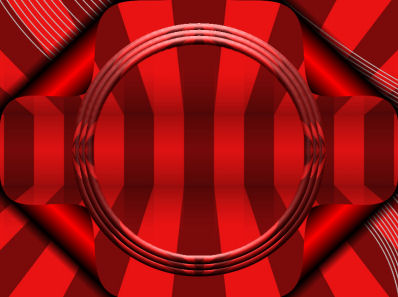
STEP 2
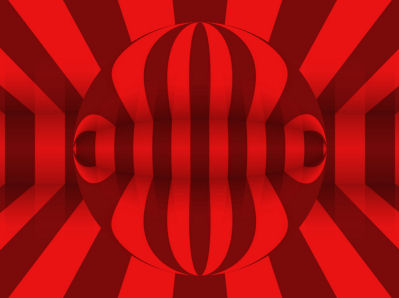
EFFECTS >>> PLUGINS >>> SIMPLE >>> TOP LEFT MIRROR
, |
|
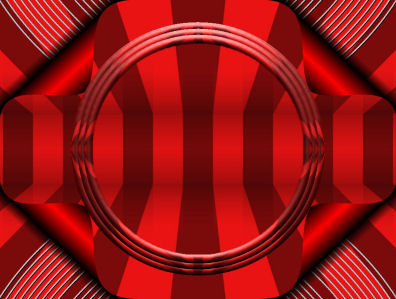
STEP 3
LAYERS >>> DUPLICATE
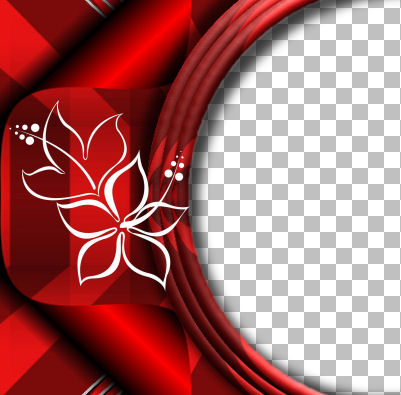
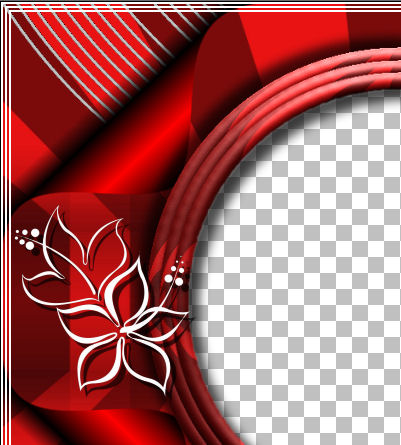
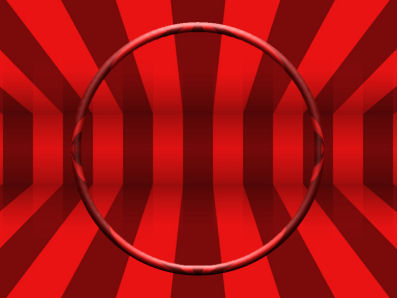
EFFECTS >>> GEOMETRIC EFFECTS >>> CIRCLE
Edge Mode = Transparen
IMAGE >>> RESIZE = 85%
Check "Lock aspect ratio."
Ensure "Resize all layers" is UNCHECKED
Resample using WEIGHTED AVERAGE
ADJUST >>> SHARPNESS >>> SHARPEN
, |
|
STEP 4
With your MAGIC WAND
Mode = Replace
Match Mode = RGB Value
Tolerance = 0
Feather = 2
Antialias = UNchecked
Sample Merged = UNCHECKED
PSP9 - PSP2020: Check CONTIGUOUS
PSPX - PSP2020: There is no " Sample Merged"
PSP9 - PSP2020: Use all layers = UNChecked
PSP9 - PSP2020: ANTIALIAS = Outside
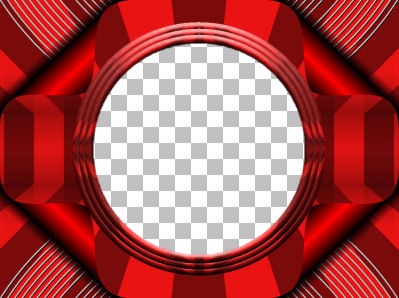
Select the area outside the circle image
SELECTIONS >>> INVERT
SELECTIONS >>> MODIFY >>> CONTRACT = 20
EDIT >>> CLEAR
DESELECT, |
|
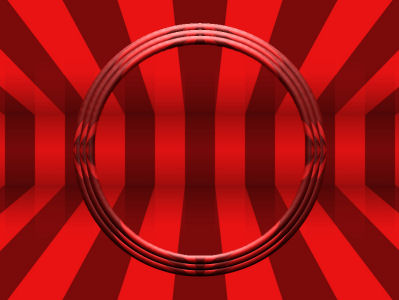
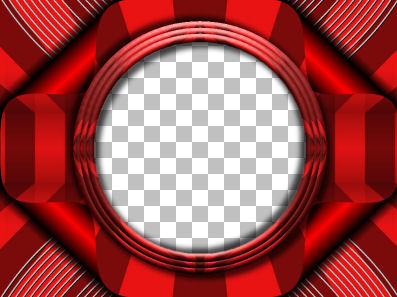
STEP 5
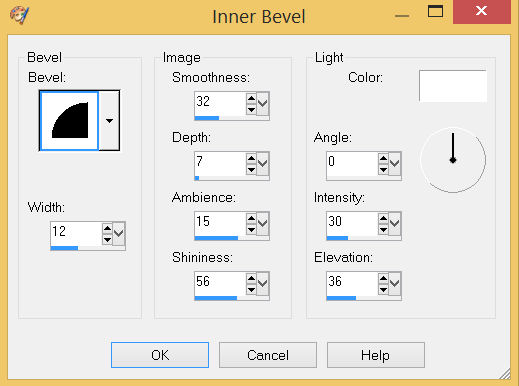
EFFECTS >>> 3D EFFECTS >>> INNER BEVEL
SAVE YOUR WORK |
STEP 6
LAYERS >>> DUPLICATE
IMAGE >>> RESIZE = 95%
Check "Lock aspect ratio."
Ensure "Resize all layers" is UNCHECKED
Resample using WEIGHTED AVERAGE
LAYERS >>> DUPLICATE
IMAGE >>> RESIZE
Same settngs
LAYERS >>> MERGE >>> MERGE DOWN
EDIT >>> Repeat Layer Merge Down
ADJUST >>> SHARPNESS >>> SHARPEN
SAVE YOUR WORK |
|
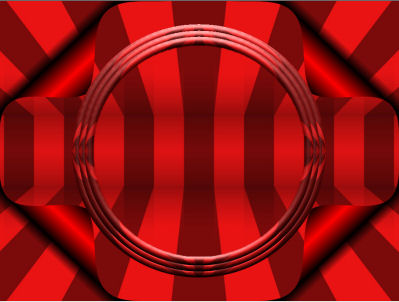
STEP 7
ACTIVATE Raster 1
LAYERS >>> DUPLICATE
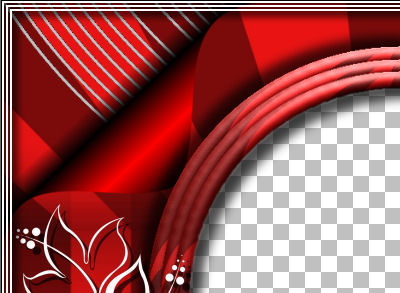
EFFECTS >>> IMAGE EFFECTS >>> PAGE CURL
Curl Settings Color = #ff0000
Edge Mode = Transparent

. |
STEP 8
EFFECTS >>> IMAGE EFFECTS >>> PAGE CURL
Same settings
Click on UPPER RIGHT corner
EFFECTS >>> IMAGE EFFECTS >>> PAGE CURL
Same settings
Click on LOWER RIGHT corner
EFFECTS >>> IMAGE EFFECTS >>> PAGE CURL
Same settings
Click on LOWER LEFT corner
LAYERS >>> MERGE >>> MERGE DOWN
SAVE YOUR WORK
|
|
STEP 9
ACTIVATE Raster 1
LAYERS >>> NEW RASTER LAYER
SELECTIONS >>> SELECT ALL
Open up the waves image in your PSP workspace
Right click on the Title Bar and select COPY from the options
Right click on the Title Bar of your frame image
and select PASTE INTO SELECTION from the options.
DESELECT
PSP9 - PSPX3: IMAGE >>> MIRROR
PSPX4 - PSPX8: Use script available for download at top of page.
(Higher versions follow your version's method) |
|
STEP 10
LAYERS >>> DUPLICATE
LAYERS >>> MERGE >>> MERGE DOWN
LAYERS >>> DUPLICATE
LAYERS >>> MERGE >>> MERGE DOWN
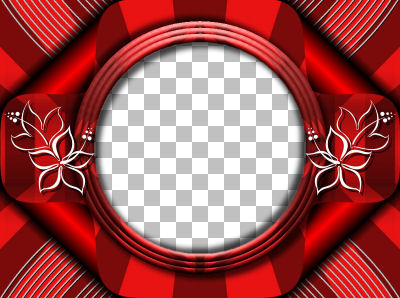
EFFECTS >>> PLUGINS >>> SIMPLE >>> TOP LEFT MIRROR
EFFECTS >>> 3D EFFECTS >>> DROP SHADOW
Vertical & Horizontal offsets = 1
Colour = Black
Opacity = 100
Blur = 0.00
LAYERS >>> MERGE >>> MERGE DOWN
SAVE YOUR WORK |
|
STEP 11
ACTIVATE the top layer
With your MAGIC WAND
Mode = Replace
Match Mode = RGB Value
Tolerance = 0
Feather = 0
Antialias = UNchecked
Sample Merged = UNCHECKED
PSP9 - PSP2020: Check CONTIGUOUS
PSPX - PSP2020: There is no " Sample Merged"
PSP9 - PSP2020: Use all layers = UNChecked
Select the CENTRE of your image ,
SELECTIONS >>> MODIFY >>> EXPAND = 10 |
|
STEP 12
ACTIVATE the middle layer
EDIT >>> CLEAR
ACTIVATE Raster 1
EDIT >>> CLEAR
DESELECT.
SAVE YOUR WORK
|
|
STEP 13
ACTIVATE the top layer
EFFECTS >>> 3D EFFECTS >>> DROP SHADOW
Vertical & Horizontal offsets = 10
Colour = Black
Opacity = 70
Blur = 15.00
Repeat Drop Shadow effect changing
Vertical & Horizontal Offsets to - ( minus ) 10
LAYERS >>> MERGE >>> MERGE VISIBLE
|
|
STEP 14
Open up the flower-design-3 image in your PSP workspace
Right click on the Title Bar and select COPY from the options
Right click on the Title Bar of your frame image
and select PASTE AS NEW LAYER from the options.
IMAGE >>> RESIZE = 25%
Check "Lock aspect ratio."
Ensure "Resize all layers" is UNCHECKED
Resample using WEIGHTED AVERAGE
, |
STEP 15
ADJUST >>> COLOUR BALANCE >>> NEGATIVE IMAGE
PSPX - PSP2020: IMAGE >>> NEGATIVE IMAGE
EFFECTS >>> IMAGE EFFECTS >>> OFFSET
Horizontal Offset = - ( minus ) 300
Vertical Offset = 0
Edge Mode = Transparent |
|
STEP 16
LAYERS >>> DUPLICATE
PSP9 - PSPX3: IMAGE >>> MIRROR
PSPX4 - PSPX8: Use script available for download at top of page.
(Higher versions follow your version's method)
LAYERS >>> MERGE >>> MERGE DOWN
EFFECTS >>> 3D EFFECTS >>> DROP SHADOW
Vertical & Horizontal offsets = 6
Colour = Black
Opacity = 70
Blur = 0.00
LAYERS >>> MERGE >>> MERGE DOWN
SAVE YOUR WORK |
|
STEP 17
In your MATERIALS PALETTE
Load WHITE " #ffffff " in your foreground
Load BLACK " #000000 " in your background
, |
STEP 18
LAYERS >>> NEW RASTER LAYER
SELECTIONS >>> SELECT ALL
Flood fill with BLACK
SELECTIONS >>> MODIFY >>> CONTRACT = 1
EDIT >>> CLEAR
Flood fill with WHITE
SELECTIONS >>> MODIFY >>> CONTRACT = 2
EDIT >>> CLEAR
SELECTIONS >>> MODIFY >>> CONTRACT = 2
Flood fill with WHITE
SELECTIONS >>> MODIFY >>> CONTRACT = 2
EDIT >>> CLEAR
SELECTIONS >>> MODIFY >>> CONTRACT = 2
Flood fill with WHITE
SELECTIONS >>> MODIFY >>> CONTRACT = 2
EDIT >>> CLEAR
DESELECT
, |
|
STEP 19
EFFECTS >>> 3D EFFECTS >>> DROP SHADOW
Vertical & Horizontal offsets = 6
Colour = Black
Opacity = 100
Blur = 10.00
Repeat Drop Shadow effect changing
Vertical & Horizontal Offsets to - ( minus ) 6
LAYERS >>> MERGE >>> MERGE DOWN
Save as .pspimage image
|
|
STEP 20
ACTIVATE Raster 1
Open up the marilyn_monroe_birthday_by_daekazu image in your PSP workspace
Right click on the Title Bar and select COPY from the options
Right click on the Title Bar of your frame image
and select PASTE AS NEW LAYER from the options.
IMAGE >>> RESIZE = 60%
Check "Lock aspect ratio."
Ensure "Resize all layers" is UNCHECKED
Resample using WEIGHTED AVERAGE
LAYERS >>> ARRANGE >>> MOVE DOWN
LAYERS >>> MERGE >>> MERGE VISIBLE |
|
STEP 21
LAYERS >>> NEW RASTER LAYER
Select your TEXT tool
and with a font of your choice add your name
, |
STEP 22
LAYERS >>> MERGE >>> MERGE ALL (Flatten)
Save as .jpg image
, |
| |
|
| |
|