NOTE:
I urge you to save your work regularly. My PSP stopped working while I was creating this tag and I lost everything.
I need to practice what I preach!
|
STEP 1
Open a new image 800 x 600
Transparent background
PSP9: Colour Depth = 16 Million Colors (24bit)
PSPX-PSP2019: Colour Depth RGB = 8bits/channel
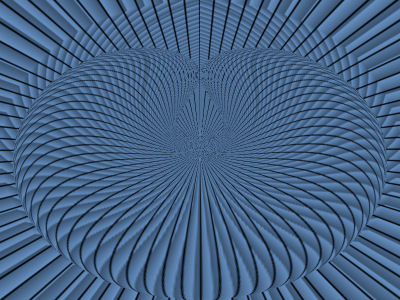
Flood fill with BLUE #547398
.
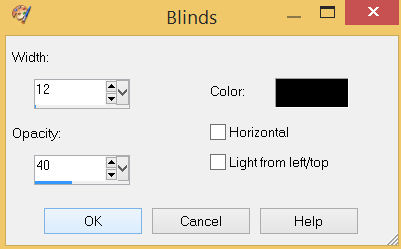
EFFECTS >>> TEXTURE EFFECTS >>> BLINDS
COLOR = BLACK
|
|
STEP 2
EFFECTS >>> PLUGINS >>> MuRa's Filter Meister >>>Perspective Tiling 1.1

|
STEP 3
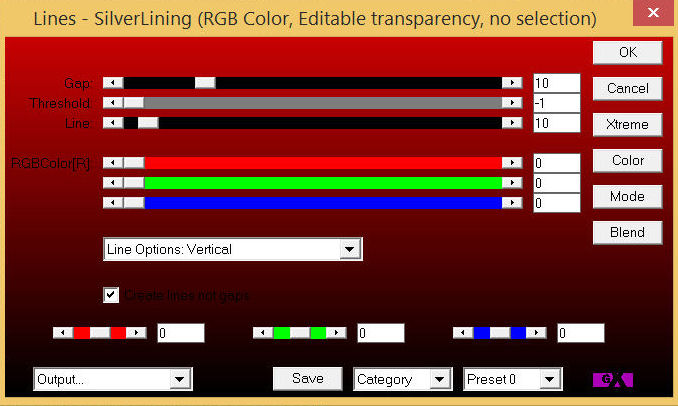
EFFECTS >>> PLUGINS >>> AP 01 [Innovations] >>>Lines >>> SilverLining
 .
.
|
STEP 4
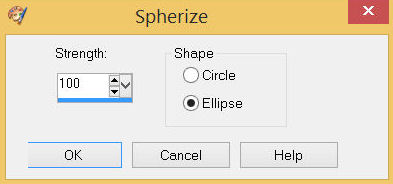
EFFECTS>>> GEOMETRIC EFFECTS >>> SPHERIZE
.
|
|
STEP 5
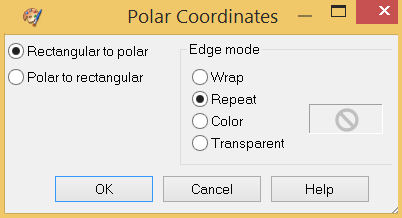
EFFECTS >>> DISTORTION EFFECTS >>> POLAR COORDINATES
,
|
|
STEP 6
ADJUST >>> BRIGHTNESS and CONTRAST >>> BRIGHTNESS/CONTRAST
Brightness = 25
Contrast = 25
PSPX6-PSP2019: Linear Mode checked
SAVE YOUR WORK
|
|
STEP 7
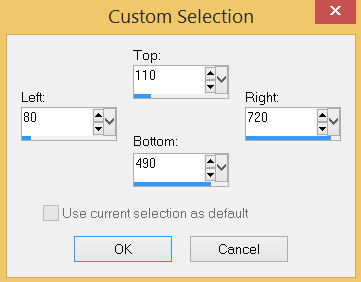
LAYERS >>> NEW RASTER LAYER
Choose your SELECTION TOOL then click on the
CUSTOM SELECTION symbol and enter these coordinates.
|
|
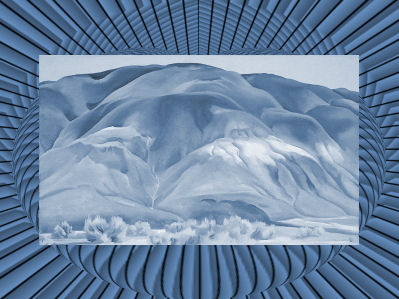
STEP 8
Open up the okeeffe2 image in your PSP workspace
Right click on the Title Bar and select COPY from the options
Right click on the Title Bar of your tag image
and select PASTE INTO SELECTION from the options.
DESELECT
|
|
STEP 9
ADJUST >>> HUE & SATURATION >>> COLORIZE
Hue = 150
Saturation = 70
SAVE YOUR WORK
|
|
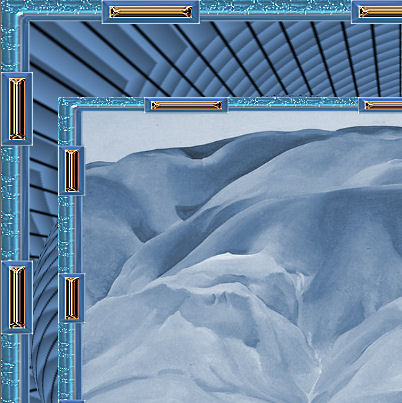
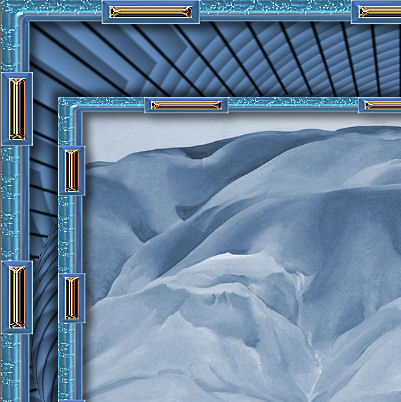
STEP 10
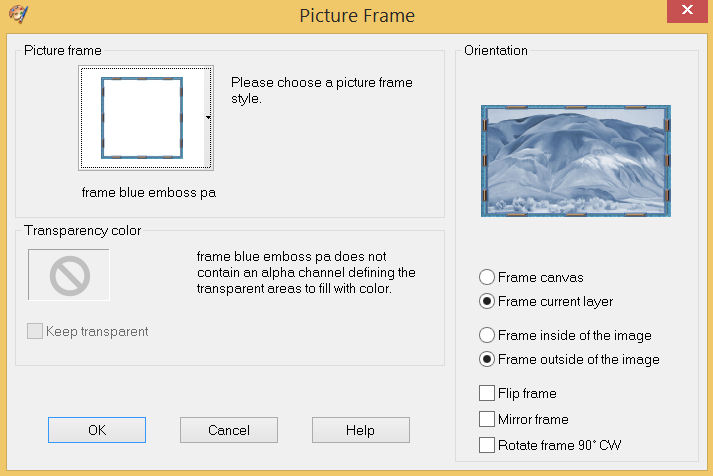
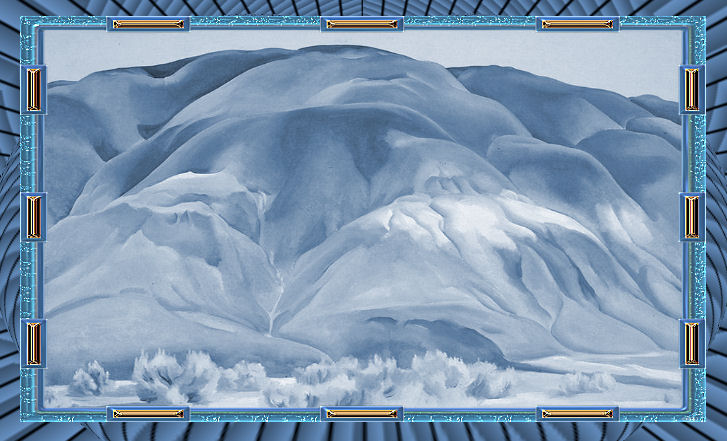
IMAGE >>> PICTURE FRAME >>> frame blue embosspa
ADJUST >>> SHARPNESS >>> SHARPEN MORE
SAVE YOUR WORK
|
STEP 11
ACTIVATE Raster 1
IMAGE >>> PICTURE FRAME >>> frame blue embosspa
Same settings
EXCEPT
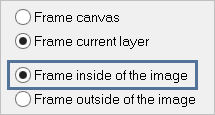
Change to "Frame inside of the image"
ADJUST >>> SHARPNESS >>> SHARPEN MORE
|
|
STEP 12
EFFECTS >>> 3D EFFECTS >>> DROP SHADOW
Vertical & Horizontal offsets = 6
Colour = Black
Opacity = 60
Blur = 12.00
ACTIVATE Raster 2 Picture Frame
EDIT >>> Repeat Drop Shadow
Repeat Drop Shadow effect changing
Vertical & Horizontal Offsets to - ( minus ) 6
ACTIVATE Raster 1 Picture Frame
EDIT >>> Repeat Drop Shadow
SAVE YOUR WORK |
|
STEP 13
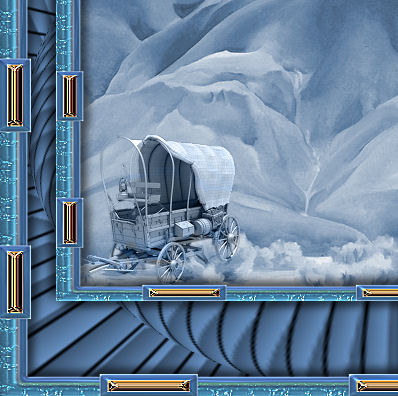
ACTIVATE Raster 2
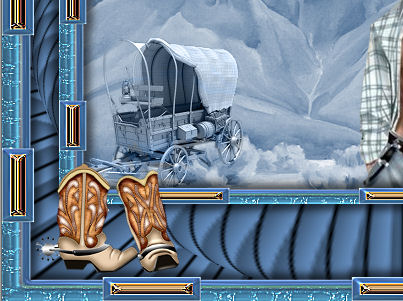
Open up the wagon image in your PSP workspace
Right click on the Title Bar and select COPY from the options
Right click on the Title Bar of your tag image
and select PASTE AS NEW LAYER from the options.
IMAGE >>> RESIZE = 40%
Check "Lock aspect ratio."
Ensure "Resize all layers" is UNCHECKED
Resample using WEIGHTED AVERAGE
ADJUST >>> SHARPNESS >>> SHARPEN
EFFECTS >>> IMAGE EFFECTS >>> OFFSET
Horizontal Offset = - ( minus ) 245
Vertical Offset = - ( minus ) 113
Edge Mode = Transparent
In your LAYER PALETTE change the
BLEND MODE to LUMINANCE (L) |
|
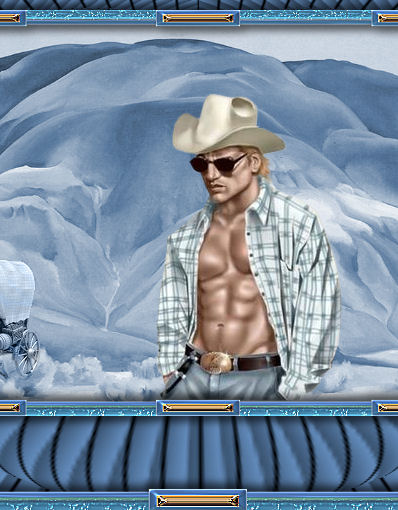
STEP 14
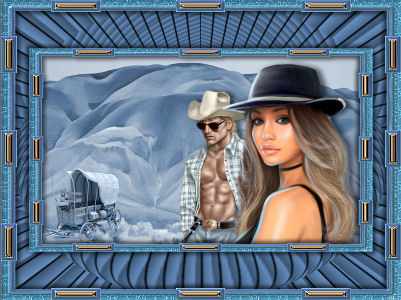
Open up the cowboy-JF image in your PSP workspace
Right click on the Title Bar and select COPY from the options
Right click on the Title Bar of your tag image
and select PASTE AS NEW LAYER from the options.
EFFECTS >>> IMAGE EFFECTS >>> OFFSET
Horizontal Offset = 50
Vertical Offset = - ( minus ) 35
Edge Mode = Transparent |
|
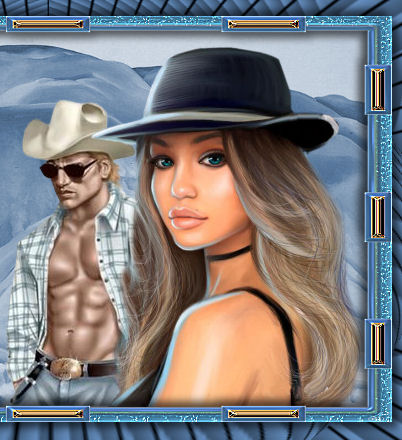
STEP 15
Open up the stunner image in your PSP workspace
Right click on the Title Bar and select COPY from the options
Right click on the Title Bar of your tag image
and select PASTE AS NEW LAYER from the options.
IMAGE >>> RESIZE = 55%
Check "Lock aspect ratio."
Ensure "Resize all layers" is UNCHECKED
Resample using WEIGHTED AVERAGE
ADJUST >>> SHARPNESS >>> SHARPEN
EFFECTS >>> IMAGE EFFECTS >>> OFFSET
Horizontal Offset = 180
Vertical Offset = 0
Edge Mode = Transparent
SAVE YOUR WORK
|
|
STEP 16
EFFECTS >>> 3D EFFECTS >>> DROP SHADOW
Vertical offset = 0
Horizontal offset = 9
Colour = Black
Opacity = 60
Blur = 15.00
ACTIVATE Raster 4
EDIT >>> Repeat Drop Shadow, |
|
STEP 17
ACTIVATE Raster 2 Picture Frame
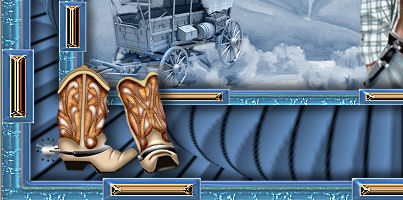
Open up the boots51 image in your PSP workspace
Right click on the Title Bar and select COPY from the options
Right click on the Title Bar of your tag image
and select PASTE AS NEW LAYER from the options.
IMAGE >>> RESIZE = 55%
Check "Lock aspect ratio."
Ensure "Resize all layers" is UNCHECKED
Resample using WEIGHTED AVERAGE
ADJUST >>> SHARPNESS >>> SHARPEN
EFFECTS >>> IMAGE EFFECTS >>> OFFSET
Horizontal Offset = - ( minus ) 295
Vertical Offset = - ( minus ) 218
Edge Mode = Transparent, |
|
STEP 18
Repeat Drop Shadow,
LAYERS >>> MERGE >>> MERGE VISIBLE
SAVE YOUR WORK
|
|
STEP 19
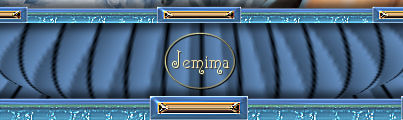
LAYERS >>> NEW RASTER LAYER
SELECT your TEXT tool
With a font of your choice add your name , |
|
STEP 20
LAYERS >>> MERGE >>> MERGE ALL (Flatten)
Save as .jpg image
, |
| |
|
| |
|