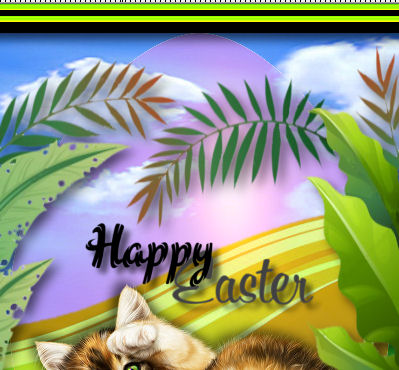
STEP 1
Open a new image 800 x 600
Transparent background
PSP9: Colour Depth = 16 Million Colors (24bit)
PSPX-PSP2019: Colour Depth RGB = 8bits/channel
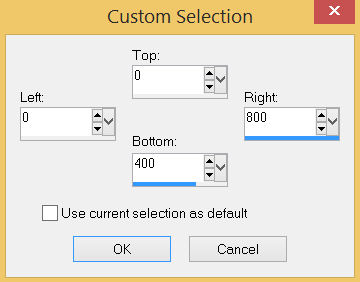
Choose your SELECTION TOOL then click on the
CUSTOM SELECTION symbol and enter these coordinates. |
|
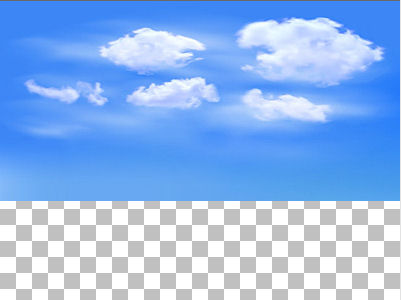
STEP 2
Open up the sky7858 image in your PSP workspace
Right click on the Title Bar and select COPY from the options
Right click on the Title Bar of your tag image
and select PASTE INTO SELECTION from the options. .
DESELECT
|
|
STEP 3
Choose your SELECTION TOOL then click on the
CUSTOM SELECTION symbol and enter these coordinates.
|
|
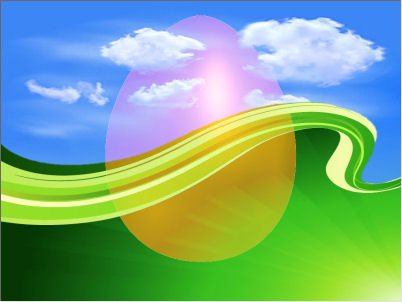
STEP 4
Open up the green ray image in your PSP workspace
Right click on the Title Bar and select COPY from the options
Right click on the Title Bar of your tag image
and select PASTE INTO SELECTION from the options. .
DESELECT
.
|
|
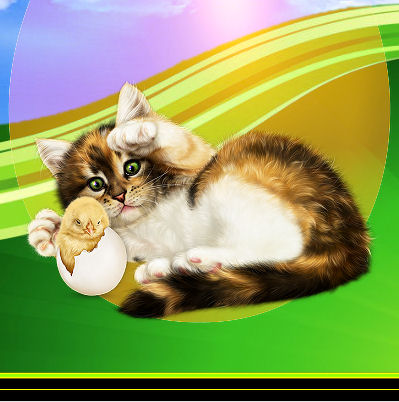
STEP 5
Open up the gold egg image in your PSP workspace
Right click on the Title Bar and select COPY from the options
Right click on the Title Bar of your tag image
and select PASTE AS NEW LAYER from the options.
EFFECTS >>> IMAGE EFFECTS >>> OFFSET
Horizontal Offset = 0
Vertical Offset = 25
Edge Mode = Transparent
In your LAYER PALETTE change the
BLEND MODE to LIGHTEN
SAVE YOUR WORK
|
|
STEP 6
Open up the 22409-abstract-wall image in your PSP workspace
Right click on the Title Bar and select COPY from the options
Right click on the Title Bar of your tag image
and select PASTE AS NEW LAYER from the options.
SELECTIONS >>> SELECT ALL
SELECTIONS >>> MODIFY >>> CONTRACT = 6
LAYERS >>> NEW RASTER LAYER
Flood fill with BLACK
SELECTIONS >>> MODIFY >>> CONTRACT = 6
EDIT >>> CLEAR
ACTIVATE Raster 3
SELECTIONS >>> MODIFY >>> CONTRACT = 6
EDIT >>> CLEAR
DESELECT
ACTIVATE Raster 4
LAYERS >>> MERGE >>> MERGE DOWN
EFFECTS >>> EDGE EFFECTS >>> ENHANCE MORE
|
|
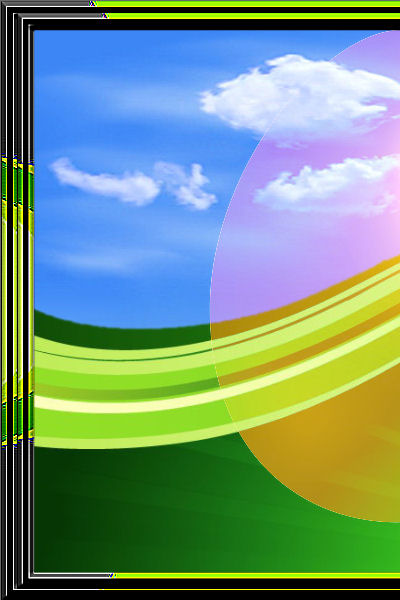
STEP 7
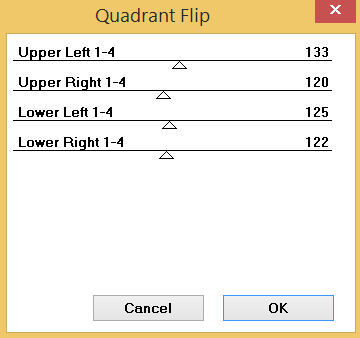
, EFFECTS >>> PLUGINS >>> Mirror Rave >>> Quadrant Flip
|
|
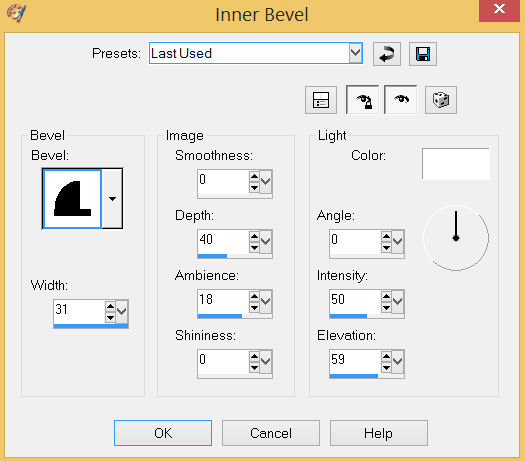
STEP 8
EFFECTS >>> 3D EFFECTS >>> INNER BEVEL
LAYERS >>> DUPLICATE
IMAGE >>> RESIZE = 96%
Check "Lock aspect ratio."
Ensure "Resize all layers" is UNCHECKED
Resample using WEIGHTED AVERAGE
,
|
STEP 9
LAYERS >>> MERGE >>> MERGE DOWN
ADJUST >>> SHARPNESS >>> SHARPEN MORE
SAVE YOUR WORK
|
|
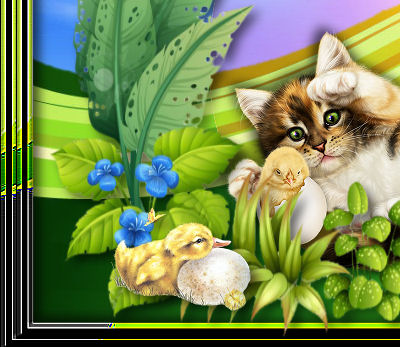
STEP 10
Open up the easter_kitten_with_a_chick2 image in your PSP workspace
Right click on the Title Bar and select COPY from the options
Right click on the Title Bar of your tag image
and select PASTE AS NEW LAYER from the options.
IMAGE >>> RESIZE = 55%
Check "Lock aspect ratio."
Ensure "Resize all layers" is UNCHECKED
Resample using WEIGHTED AVERAGE
ADJUST >>> SHARPNESS >>> SHARPEN
EFFECTS >>> IMAGE EFFECTS >>> OFFSET
Horizontal Offset = 0
Vertical Offset = - ( minus ) 100
Edge Mode = Transparent |
|
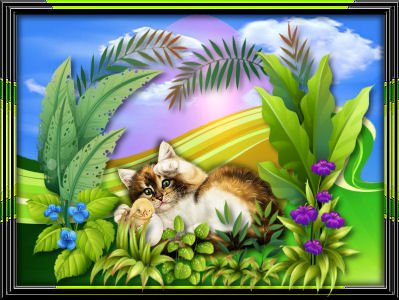
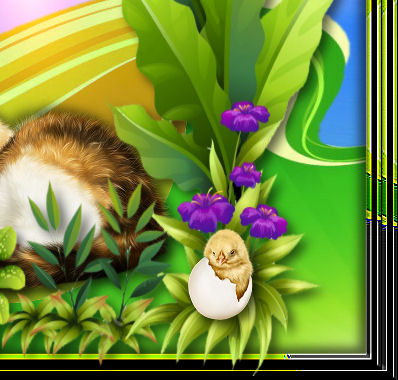
STEP 11
Open up the plants-and-flowers image in your PSP workspace
Right click on the Title Bar and select COPY from the options
Right click on the Title Bar of your tag image
and select PASTE AS NEW LAYER from the options.
EFFECTS >>> IMAGE EFFECTS >>> OFFSET
Horizontal Offset = 0
Vertical Offset = - ( minus ) 17
Edge Mode = Transparent
SAVE YOUR WORK
|
|
STEP 12
EFFECTS >>> 3D EFFECTS >>> DROP SHADOW
Vertical & Horizontal offsets = 6
Colour = Black
Opacity = 60
Blur = 15.00
ACTIVATE Raster 4
EDIT >>> Repeat Drop Shadow
ACTIVATE Raster 3
EDIT >>> Repeat Drop Shadow
Repeat Drop Shadow effect changing
Vertical & Horizontal Offsets to - ( minus ) 6
ACTIVATE Raster 4
EDIT >>> Repeat Drop Shadow
LAYERS >>> MERGE >>> MERGE VISIBLE
SAVE YOUR WORK |
|
STEP 13
Open up the 83_easter_chick8 image in your PSP workspace
Right click on the Title Bar and select COPY from the options
Right click on the Title Bar of your tag image
and select PASTE AS NEW LAYER from the options.
IMAGE >>> RESIZE = 15%
Check "Lock aspect ratio."
Ensure "Resize all layers" is UNCHECKED
Resample using WEIGHTED AVERAGE
ADJUST >>> SHARPNESS >>> SHARPEN
EFFECTS >>> IMAGE EFFECTS >>> OFFSET
Horizontal Offset = 225
Vertical Offset = - ( minus ) 190
Edge Mode = Transparent,
EFFECTS >>> 3D EFFECTS >>> DROP SHADOW
Vertical & Horizontal offsets = 6
Colour = Black
Opacity = 60
Blur = 15.00
|
|
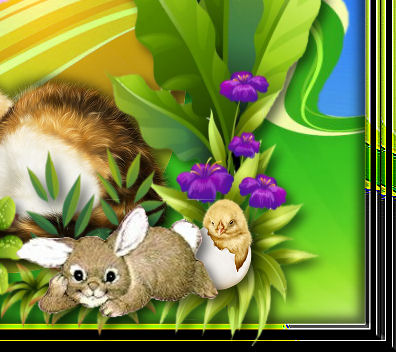
STEP 14
Open up the Bunny-LayingDown image in your PSP workspace
Right click on the Title Bar and select COPY from the options
Right click on the Title Bar of your tag image
and select PASTE AS NEW LAYER from the options.
EFFECTS >>> IMAGE EFFECTS >>> OFFSET
Horizontal Offset = 119
Vertical Offset = - ( minus ) 207
Edge Mode = Transparent,
Repeat Drop Shadow
SAVE YOUR WORK
|
|
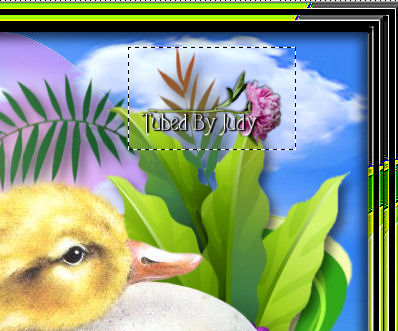
STEP 15
Open up the JB-Easter-Baby_chick image in your PSP workspace
Right click on the Title Bar and select COPY from the options
Right click on the Title Bar of your tag image
and select PASTE AS NEW LAYER from the options.
Choose your SELECTION TOOL
Selection Type = Rectangle
Mode = Replace
Feather = 0
Antialias = UNChecked
Select the tuber text
, |
|
STEP 16
EDIT >>> CLEAR
DESELECT
IMAGE >>> RESIZE = 25%
Check "Lock aspect ratio."
Ensure "Resize all layers" is UNCHECKED
Resample using WEIGHTED AVERAGE
ADJUST >>> SHARPNESS >>> SHARPEN
EFFECTS >>> IMAGE EFFECTS >>> OFFSET
Horizontal Offset = - ( minus ) 220
Vertical Offset = - ( minus ) 202
Edge Mode = Transparent,
Repeat Drop Shadow, |
|
STEP 17
Open up the happy easter WA image in your PSP workspace
Right click on the Title Bar and select COPY from the options
Right click on the Title Bar of your tag image
and select PASTE AS NEW LAYER from the options.
IMAGE >>> RESIZE = 60%
Check "Lock aspect ratio."
Ensure "Resize all layers" is UNCHECKED
Resample using WEIGHTED AVERAGE
ADJUST >>> SHARPNESS >>> SHARPEN
EFFECTS >>> IMAGE EFFECTS >>> OFFSET
Horizontal Offset = 0
Vertical Offset = 40
Edge Mode = Transparent,
EFFECTS >>> 3D EFFECTS >>> DROP SHADOW
Vertical & Horizontal offsets = 6
Colour = Black
Opacity = 60
Blur = 8.00 |
|
STEP 18
LAYERS >>> NEW RASTER LAYER
SELECT your TEXT tool
With a font of your choice add your name
|
|
STEP 19
LAYERS >>> MERGE >>> MERGE ALL (Flatten)
Save as .jpg image
, |
| |
|
| |
|