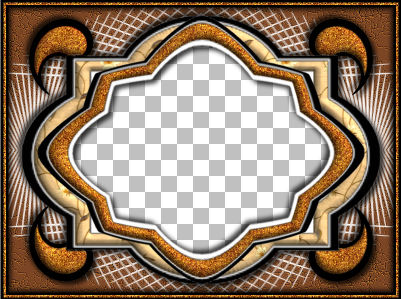
STEP 1
Open a new image 800 x 600
Transparent background
PSP9: Colour Depth = 16 Million Colors (24bit)
PSPX - PSP2019: Colour Depth RGB = 8bits/channel
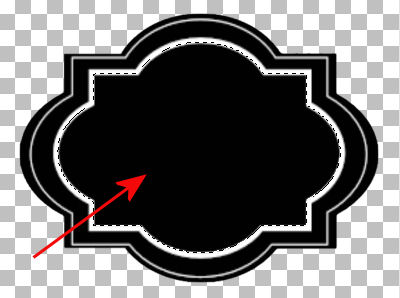
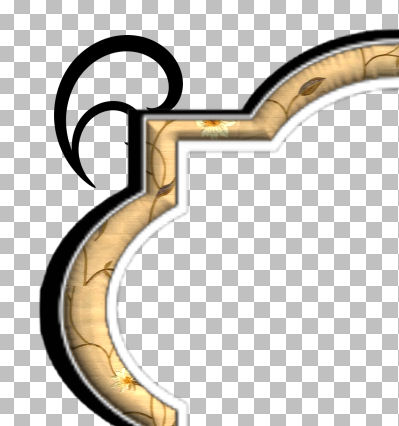
Open up the frame_shape image in your PSP workspace
Right click on the Title Bar and select COPY from the options
Right click on the Title Bar of your frame image
and select PASTE AS NEW LAYER from the options.
VIEW >>> RULERS
.
|
STEP 2
With your MAGIC WAND
Mode = Replace
Match Mode = RGB Value
Tolerance = 25
Feather = 4
Antialias = Checked
Sample Merged = UNCHECKED
PSP9 - PSP2019: Check CONTIGUOUS
PSPX - PSP2019: There is no " Sample Merged"
PSP9 - PSP2019: Use all layers = UNChecked
PSP9 - PSP2019: ANTIALIAS = Outside ,
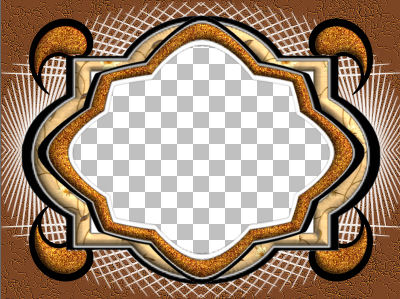
Select the centre of the frame image
|
|
STEP 3
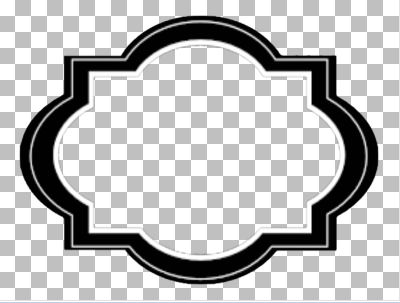
Depress your DELETE key 4 times
DESELECT
SAVE YOUR WORK |
|
STEP 4
LAYERS >>> DUPLICATE
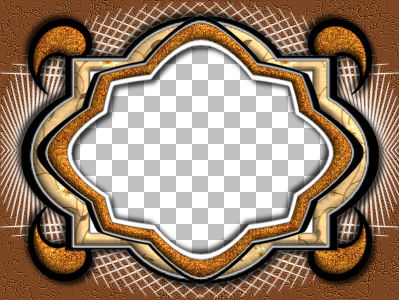
EFFECTS >>> GEOMETRIC EFFECTS >>> CIRCLE
Edge Mode = Transparent
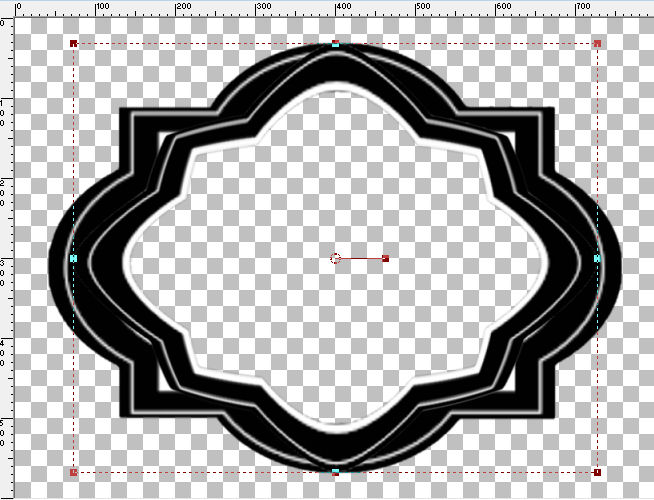
Select your RASTER DEFORM tool
Mode = SCALE
use default settings
PSPX - PSP2019:Select your PICK tool
Move the centre left node to the left, level with the 70 pixel mark
on your top ruler.
Move the centre right node to the right, level with the 730 pixel mark
on your top ruler.
 , , |
STEP 5
Click the RESET RECTANGLE arrow
Select another tool to disengage the DEFORMATION / PICK TOOL
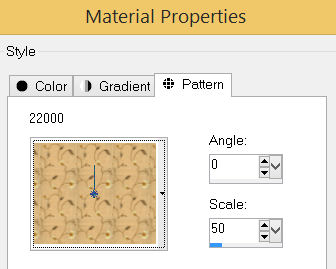
In your MATERIALS PALETTE load
22000 pattern in the foreground using these settings |
|
STEP 6
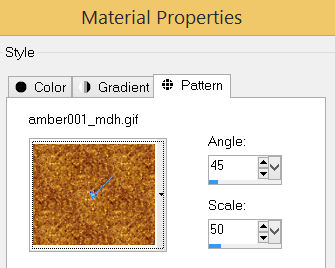
In your MATERIALS PALETTE load
amber001_mdh.gif pattern in the background using these settings , |
|
STEP 7
With your MAGIC WAND
Mode = Replace
Match Mode = RGB Value
Tolerance = 25
Feather = 2
Antialias = Checked
Sample Merged = UNCHECKED
PSP9 - PSP2019: Check CONTIGUOUS
PSPX - PSP2019: There is no " Sample Merged"
PSP9 - PSP2019: Use all layers = UNChecked
PSP9 - PSP2019: ANTIALIAS = Outside ,
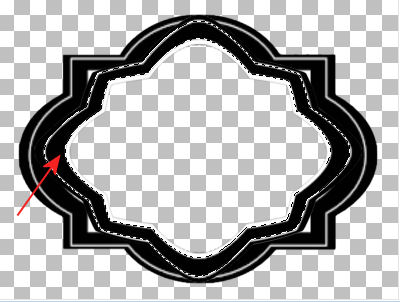
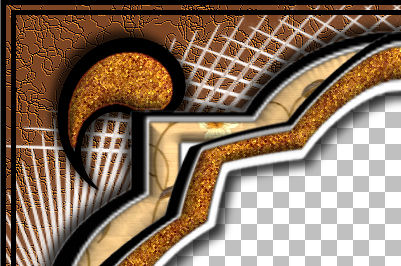
Select the black section indicated |
|
STEP 8
Flood fill with background pattern
EFFECTS >>> 3D EFFECTS >>> INNER BEVEL
COLOUR = #c0c0c0

DESELECT
 , ,
SAVE YOUR WORK
|
STEP 9
CLOSE Copy of Raster 2
ACTIVATE Raster 2
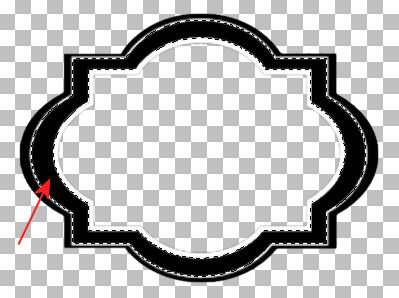
With your MAGIC WAND ... Same settings
Select the black section indicated |
|
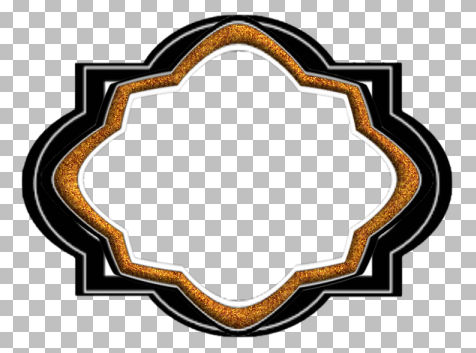
STEP 10
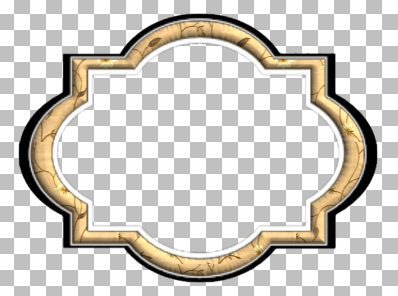
Flood fill with foreground pattern
EFFECTS >>> 3D EFFECTS >>> INNER BEVEL
Same settings
DESELECT
SAVE YOUR WORK |
|
STEP 11
ACTIVATE Raster 1
Open up the pspring-tp-swirl2 image in your PSP workspace
Right click on the Title Bar and select COPY from the options
Right click on the Title Bar of your frame image
and select PASTE AS NEW LAYER from the options.
PSP9 - PSPX3: IMAGE >>> MIRROR
PSPX4 - PSPX8: Use script available for download at top of page.
(Higher versions follow your version's method)
IMAGE >>> RESIZE = 35%
Check "Lock aspect ratio."
Ensure "Resize all layers" is UNCHECKED
Resample using WEIGHTED AVERAGE
EFFECTS >>> IMAGE EFFECTS >>> OFFSET
Horizontal Offset = - ( minus ) 280
Vertical Offset = 187
Edge Mode = Transparent |
|
STEP 12
EFFECTS >>> PLUGINS >>> SIMPLE >>> TOP LEFT MIRROR
ACTIVATE Raster 2
LAYERS >>> MERGE >>> MERGE DOWN
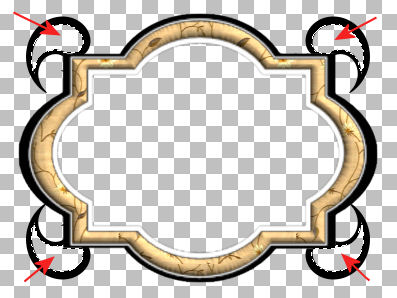
With your MAGIC WAND ... Same settings
BUT CHANGE
MODE = ADD (Shift)
Select the 4 transparent sections indicated |
|
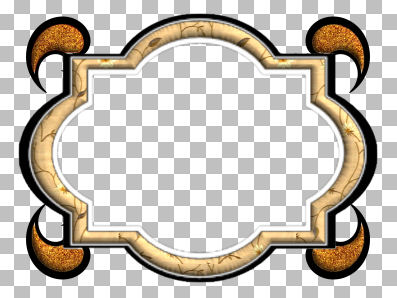
STEP 13
SELECTIONS >>> MODIFY >>> EXPAND = 1
Flood fill with background pattern
EFFECTS >>> 3D EFFECTS >>> INNER BEVEL
Same settings
DESELECT
SAVE YOUR WORK |
|
STEP 14
OPEN & ACTIVATE Copy of Raster 2
LAYERS >>> MERGE >>> MERGE DOWN
ACTIVATE Raster 1
Flood fill with BROWN #7c4625
EFFECTS >>> TEXTURE EFFECTS >>> FINE LEATHER
COLOR = #965f17

ADJUST >>> SHARPNESS >>> SHARPEN

, |
STEP 15
LAYERS >>> NEW RASTER LAYER
Flood fill with WHITE
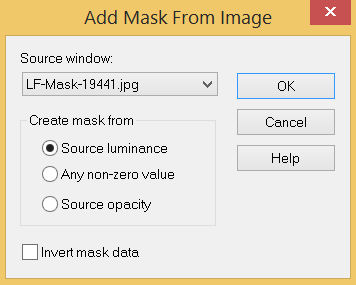
Open up the LF-Mask-19441 image in your PSP workspace and minimize
LAYERS >>> NEW MASK LAYER >>> FROM IMAGE |
|
STEP 16
LAYERS >>> MERGE >>> MERGE GROUP
PSP9 - PSPX3: IMAGE >>> FLIP
PSPX4 - PSPX8: Use script available for download at top of page.
(Higher versions follow your version's method)
EFFECTS >>> PLUGINS >>> SIMPLE >>> TOP LEFT MIRROR
In your LAYER PALETTE change
the BLEND MODE to LUMINANCE
SAVE YOUR WORK
|
|
STEP 17
ACTIVATE Raster 3
With your MAGIC WAND ... Same settings
BUT CHANGE MODE = Replace
Select the centre of your image
SELECTIONS >>> MODIFY >>> EXPAND = 5
ACTIVATE Group Raster 2
EDIT >>> CLEAR
ACTIVATE Raster 1
EDIT >>> CLEAR
DESELECT
SAVE YOUR WORK |
|
STEP 18
ACTIVATE Raster 3
EFFECTS >>> 3D EFFECTS >>> DROP SHADOW
Vertical & Horizontal offsets = 7
Colour = Black
Opacity = 75
Blur = 13.00
Repeat Drop Shadow effect changing
Vertical & Horizontal Offsets to - ( minus ) 7
LAYERS >>> MERGE >>> MERGE VISIBLE
|
|
STEP 19
LAYERS >>> NEW RASTER LAYER
Flood fill with BLACK
SELECTIONS >>> SELECT ALL
SELECTIONS >>> MODIFY >>> CONTRACT = 5
EDIT >>> CLEAR
SELECTIONS >>> MODIFY >>> CONTRACT = 5
Flood fill with BLACK
SELECTIONS >>> MODIFY >>> CONTRACT = 5
EDIT >>> CLEAR
DESELECT |
|
STEP 20
With your MAGIC WAND
Mode = Replace
Match Mode = RGB Value
Tolerance = 0
Feather = 0
Antialias = UNchecked
Sample Merged = UNCHECKED
PSP9 - PSP2019: Check CONTIGUOUS
PSPX - PSP2019: There is no " Sample Merged"
PSP9 - PSP2019: Use all layers = UNChecked
Select the transparent area between the black frames |
|
STEP 21
Flood fill with background pattern
ADJUST >>> SHARPNESS >>> SHARPEN MORE
DESELECT
EFFECTS >>> 3D EFFECTS >>> DROP SHADOW
Vertical & Horizontal offsets = 5
Colour = Black
Opacity = 75
Blur = 13.00
Repeat Drop Shadow effect changing
Vertical & Horizontal Offsets to - ( minus ) 5
LAYERS >>> MERGE >>> MERGE DOWN
Save as .pspimage image |
|
STEP 22
LAYERS >>> NEW RASTER LAYER
Flood fill with BROWN #7c4625
LAYERS >>> ARRANGE >>> MOVE DOWN
EFFECTS >>> PLUGINS >>> Greg's Factory Output Vol II >>> Spotlight

 , ,
|
STEP 23
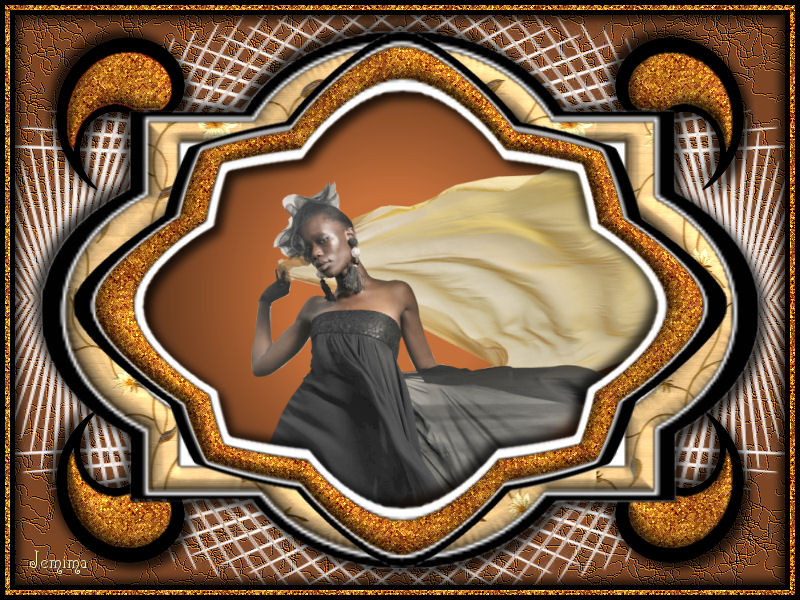
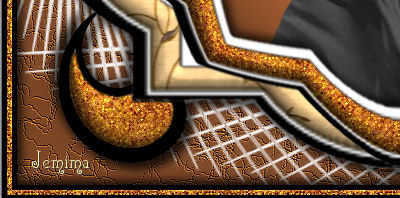
Open up the GG09~PrettyWoman_001 image in your PSP workspace
Right click on the Title Bar and select COPY from the options
Right click on the Title Bar of your frame image
and select PASTE AS NEW LAYER from the options.
Reposition with your MOVER tool
LAYERS >>> MERGE >>> MERGE VISIBLE |
|
STEP 24
LAYERS >>> NEW RASTER LAYER
Select your TEXT tool
and with a font of your choice add your name, |
|
STEP 25
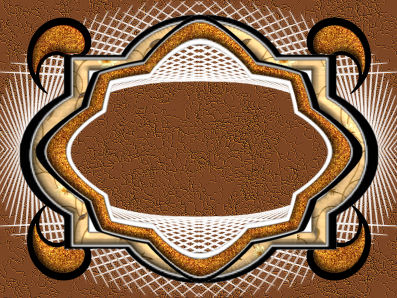
LAYERS >>> MERGE >>> MERGE ALL (Flatten)
Save as .jpg image
, |
| |
|
| |
|