.
|
STEP 15
Open a new image 700 x 600
Transparent background
PSPX - X2: Colour Depth = 8bits/channel
PSPX3-X9: Colour Depth RGB = 8bits/channel
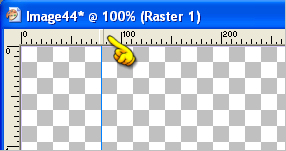
VIEW >>> RULERS
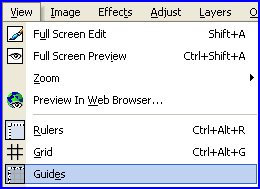
Select VIEW >>> GUIDES
|
|
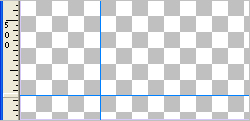
STEP 16
Place your cursor on the left ruler and drag right
to the 80 pixel mark on your top ruler
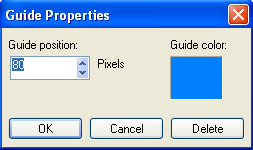
You can check the position by right clicking on the raised section
You can now adjust the position if needed and change the colour if you wish.
I used BLUE #0080ff
,
|
STEP 17
Place your cursor on the top ruler and drag down
to the 575 pixel mark on your left ruler
This can be checked as instructed in STEP 16 |
|
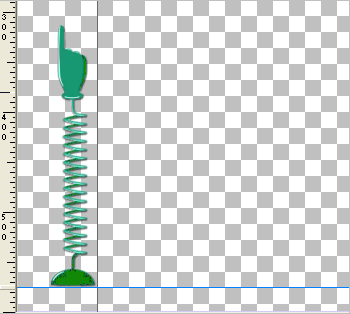
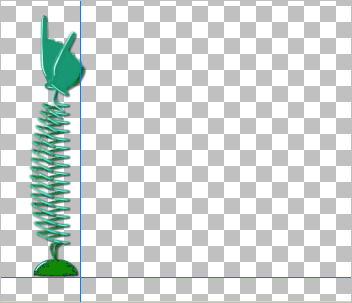
STEP 18
Open up the hands.png image in your PSP workspace
Choose your SELECTION TOOL
Selection Type = Rectangle
Mode = Replace
Feather = 0
Antialias = UNChecked
Select the left "hand" image
Right click on the Title Bar and select COPY from the options
Right click on the Title Bar of your tag image
and select PASTE AS NEW LAYER from the options.
Pull into place with your Mover Tool |
|
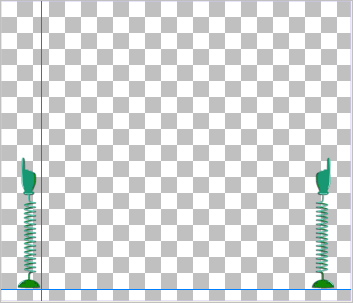
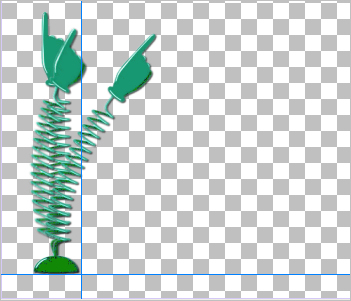
STEP 19
LAYERS >>> DUPLICATE
IMAGE >>> MIRROR
LAYERS >>> MERGE >>> MERGE DOWN |
|
STEP 20
Back to the hands.png image in your PSP workspace
Choose your SELECTION TOOL
Same settings
Select the "hand" second from the left
Right click on the Title Bar and select COPY from the options
Right click on the Title Bar of your tag image
and select PASTE AS NEW LAYER from the options.
Pull into place with your Mover Tool
|
|
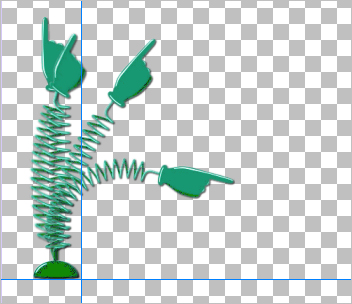
STEP 21
LAYERS >>> DUPLICATE
IMAGE >>> MIRROR
LAYERS >>> MERGE >>> MERGE DOWN
Back to the hands.png image in your PSP workspace
Choose your SELECTION TOOL
Same settings
Select the "hand" second from the right
Right click on the Title Bar and select COPY from the options
Right click on the Title Bar of your tag image
and select PASTE AS NEW LAYER from the options.
Pull into place with your Mover Tool |
|
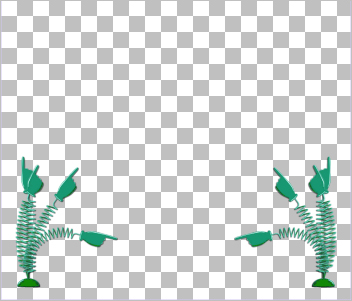
STEP 22
LAYERS >>> DUPLICATE
IMAGE >>> MIRROR
LAYERS >>> MERGE >>> MERGE DOWN
Back to the hands.png image in your PSP workspace
Choose your SELECTION TOOL
Same settings
Select the right "hand"
Right click on the Title Bar and select COPY from the options
Right click on the Title Bar of your tag image
and select PASTE AS NEW LAYER from the options.
Pull into place with your Mover Tool |
|
STEP 23
LAYERS >>> DUPLICATE
IMAGE >>> MIRROR
LAYERS >>> MERGE >>> MERGE DOWN
VIEW >>> GUIDES
Click on GUIDES to turn off.
DELETE Raster 1
|
|
STEP 24
Save your work as
4HANDS.psp
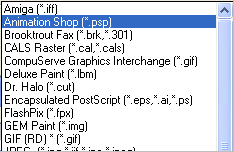
Using "Animation Shop (*.psp)" |
|
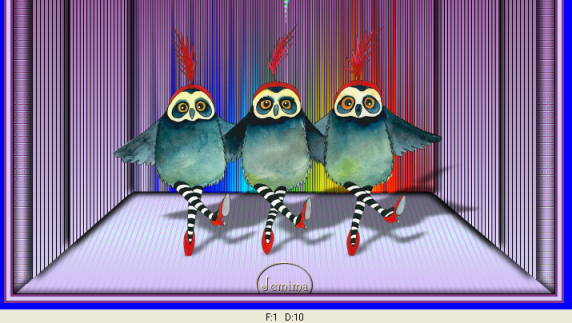
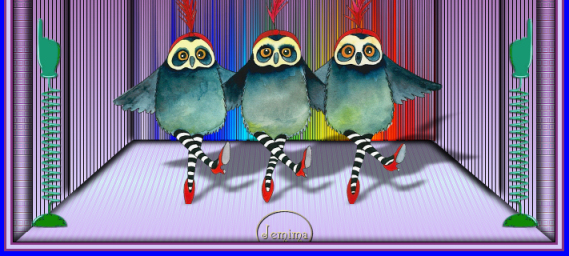
OK... I won't make you animate the owls...
You just have one thing to do with the image I've already prepared for you.
.
|
STEP 25
Open up the HappyOwls image in your PSP workspace
WINDOW >>> DUPLICATE
Close the original Image
Save as OWLS.psp
Using "Animation Shop (*.psp)"
~~~~~~~~~~~~~~
You should have the following files saved
BACKGROUND.pspimage
4HANDS.psp
OWLS.psp
, |
STEP 26
Open up the colorswirl-deco image in your PSP workspace
WINDOW >>> DUPLICATE
Close the original Image
IMAGE >>> RESIZE = 50%
Ensure "Resize all layers" is CHECKED
Resample using WEIGHTED AVERAGE
Check "Lock aspect ratio"
Save as deco.pspimage
, |
Right... LET'S ANIMATE
.
|
| |
STEP 28
Click on the 'Open Animation' icon (folder)...
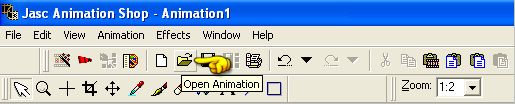
Locate your OWLS.psp file
and OPEN
Edit >> Select All
Edit >> Copy
Edit >> Propagate Paste
Click inside frame 4 (F:4) to activate
Edit >> 'Paste After Current Frame' .
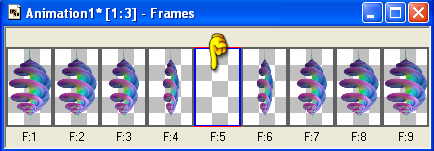
You should have 8 frames in total.
Minimize for now
, |
STEP 29
Click on the 'Open Animation' icon (folder)...
Locate your 4HANDS.psp file and OPEN
Edit >> Select All
Edit >> Copy
Edit >> Propagate Paste
Click inside frame 4 (F:4) to activate
Edit >> 'Paste After Current Frame' .
You should have 8 frames in total.
Minimize for now
.
|
STEP 30
Back to PSP.
Right click on Title Bar of your saved BACKGROUND and select
Copy from the options
In ANIMATION SHOP
Right click the workspace and select
'Paste As New Animation' from the options.
Select >>>
'Paste After Current' icon on top menu and click 7 times
so you have 8 frames in total.
Edit >> Select All
We will be adding the other animations to this.
, |
STEP 31
Maximize the 'deco' animation,
Edit >> Select All
Edit >> Copy
Edit >> Propagate Paste
Activate the BACKGROUND frames....
Scroll to the left so the first frame is visible
Edit >> Paste into selected frame.... (F:1)
Place as indicated below.
 |
STEP 32
Maximize the 'OWLS' animation,
Edit >> Select All
Edit >> Copy
Edit >> Propagate Paste
Activate the BACKGROUND frames.... Scroll to the left so the first frame (F:1)is visible
Edit >> Paste into selected frame.... (F:1)
Place as indicated below.
 |
STEP 33
Maximize the '4HANDS' animation,
Edit >> Select All
Edit >> Copy
Edit >> Propagate Paste
Activate the BACKGROUND frames.... Scroll to the left so the first frame is visible
Edit >> Paste into selected frame.... (F:1)
Place as indicated below.
 |
STEP 34
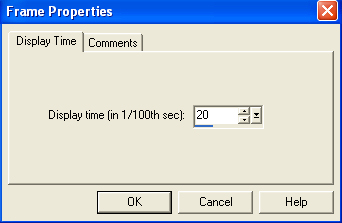
Right click on Title Bar of frames
Select 'Frame Properties' from the options
Display time = 20 |
|
STEP 35
View >> Animation
and while it is still running,
File >> Save As
Locate the folder in which you wish to save it.
Name your animation.
With the Gif Optimiser keep pressing NEXT
until you get to the last one... click FINISH
Close the Animation
Close the frames.
Close Animation Shop
, |
| |
|
| |
|
RESIZING ANIMATIONS
Click on the Title Bar of the frames
Animation >> Resize animation
Select width and height in pixels
Click OK
Save your animation |
| |
|
|
|