STEP 1
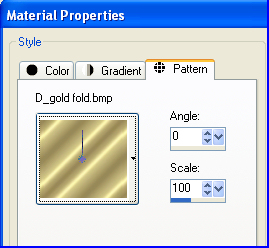
In your MATERIALS PALETTE load
D_gold fold.bmp pattern in the foreground
using these settings.
|
|
STEP 2
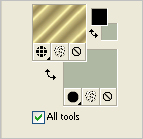
Load GREEN #AFB8A3 in your background.
Load BLACK #000000 in your foreground.
|
|
STEP 3
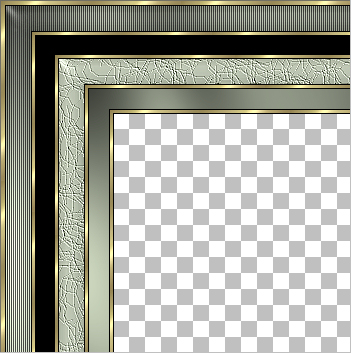
Open a new image 700 x 600
Transparent background
PSP9: Colour Depth = 16 Million Colors (24bit)
PSPX-X8: Colour Depth RGB = 8bits/channel
Flood fill with GOLD PATTERN
SELECTIONS >>> SELECT ALL
SELECTIONS >>> MODIFY >>> CONTRACT = 4
EDIT >>> CLEAR
Flood fill with BLACK
SELECTIONS >>> MODIFY >>> CONTRACT = 1
EDIT >>> CLEAR
Flood fill with GREEN
EFFECTS >>> PLUGINS >>> Greg's Factory Output Vol II >>> Pool Shadow
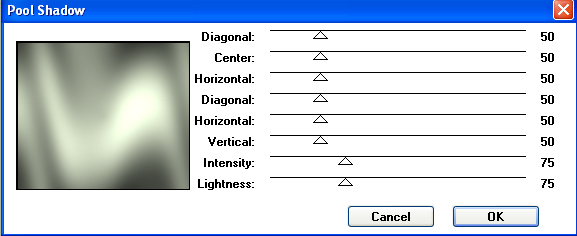
, |
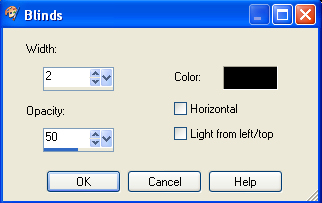
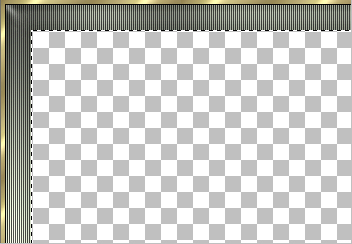
STEP 4
EFFECTS >>> TEXTURE EFFECTS >>> BLINDS |
|
STEP 5
ADJUST >>> SHARPNESS >>> SHARPEN MORE
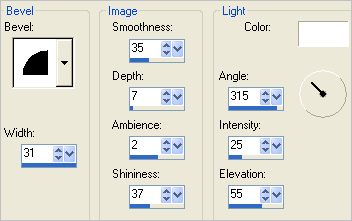
EFFECTS >>> 3D EFFECTS >>> INNER BEVEL |
|
STEP 6
SELECTIONS >>> MODIFY >>> CONTRACT = 25
EDIT >>> CLEAR |
|
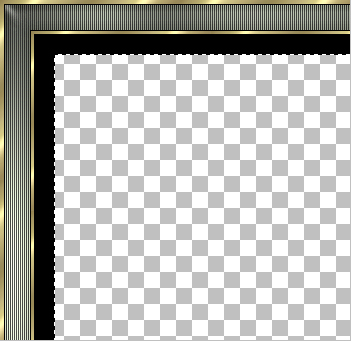
STEP 7
Flood fill with BLACK
SELECTIONS >>> MODIFY >>> CONTRACT = 1
EDIT >>> CLEAR
Flood fill with GOLD PATTERN
SELECTIONS >>> MODIFY >>> CONTRACT = 3
EDIT >>> CLEAR
Flood fill with BLACK
SELECTIONS >>> MODIFY >>> CONTRACT = 20
EDIT >>> CLEAR
|
|
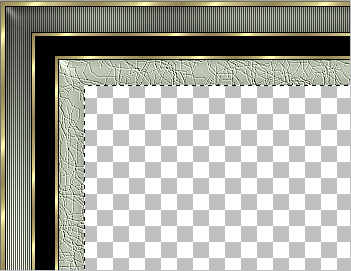
STEP 8
Flood fill with GOLD PATTERN
SELECTIONS >>> MODIFY >>> CONTRACT = 3
EDIT >>> CLEAR
Flood fill with BLACK
SELECTIONS >>> MODIFY >>> CONTRACT = 1
EDIT >>> CLEAR
Flood fill with GREEN
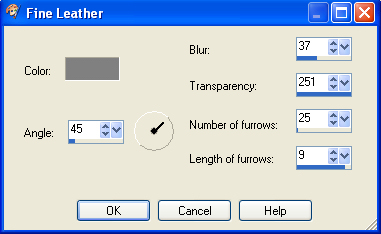
EFFECTS >>> TEXTURE EFFECTS >>> FINE LEATHER
COLOUR =
#808080
 |
STEP 9
EFFECTS >>> 3D EFFECTS >>> INNER BEVEL
Same settings
ADJUST >>> SHARPNESS >>> SHARPEN
SELECTIONS >>> MODIFY >>> CONTRACT = 25
EDIT >>> CLEAR |
|
STEP 10
Flood fill with BLACK
SELECTIONS >>> MODIFY >>> CONTRACT = 1
EDIT >>> CLEAR
Flood fill with GOLD PATTERN
SELECTIONS >>> MODIFY >>> CONTRACT = 3
EDIT >>> CLEAR
Flood fill with BLACK
SELECTIONS >>> MODIFY >>> CONTRACT = 1
EDIT >>> CLEAR
Flood fill with GREEN |
|
STEP 11
EFFECTS >>> PLUGINS >>> Greg's Factory Output Vol II >>> Pool Shadow
Same settings
SELECTIONS >>> MODIFY >>> CONTRACT = 20
EDIT >>> CLEAR
Flood fill with BLACK
SELECTIONS >>> MODIFY >>> CONTRACT = 1
EDIT >>> CLEAR
Flood fill with GOLD PATTERN
SELECTIONS >>> MODIFY >>> CONTRACT = 3
EDIT >>> CLEAR
Flood fill with BLACK
SELECTIONS >>> MODIFY >>> CONTRACT = 1
EDIT >>> CLEAR
DESELECT
SAVE YOUR WORK |
|
STEP 12
LAYERS >>> DUPLICATE
ACTIVATE Raster 1
PSP9: IMAGE >>> ROTATE >>> FREE ROTATE = RIGHT 90
Ensure "All layers" is UNCHECKED
PSPX - PSPX8: IMAGE >>> FREE ROTATE = RIGHT 90
Ensure "All layers" is UNCHECKED
IMAGE >>> RESIZE = 85%
Ensure "Resize all layers" is UNCHECKED
Resample using WEIGHTED AVERAGE
ADJUST >>> SHARPNESS >>> SHARPEN |
|
STEP 13
ACTIVATE Copy of Raster 1
EFFECTS >>> 3D EFFECTS >>> DROP SHADOW
Vertical & Horizontal offsets = 5
Colour = Black
Opacity = 65
Blur = 15.00
Repeat Drop Shadow effect changing
Vertical & Horizontal Offsets to - ( minus ) 5
Click OK
|
STEP 14
ACTIVATE Raster 1
EFFECTS >>> 3D EFFECTS >>> DROP SHADOW
Vertical offset = 0
Horizontal offsets = 5
Colour = Black
Opacity = 65
Blur = 15.00
Repeat Drop Shadow effect changing
Horizontal Offset to - ( minus ) 5
Click OK
LAYERS >>> MERGE >>> MERGE VISIBLE
SAVE YOUR WORK |
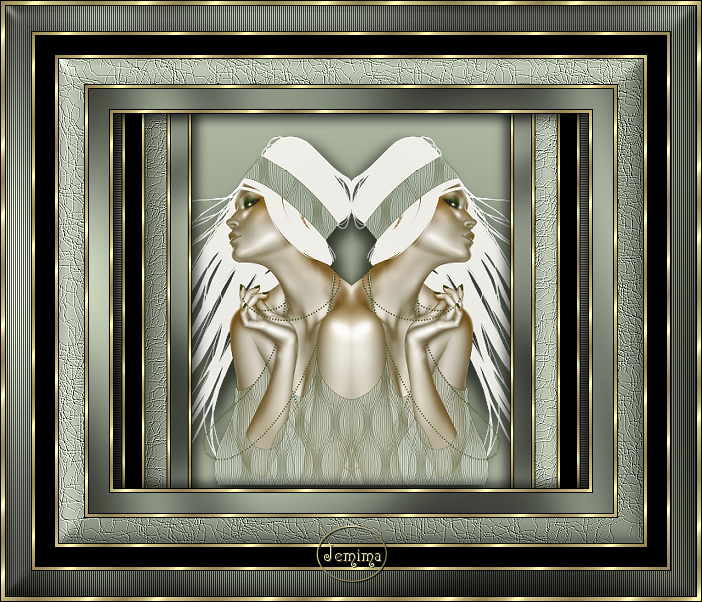
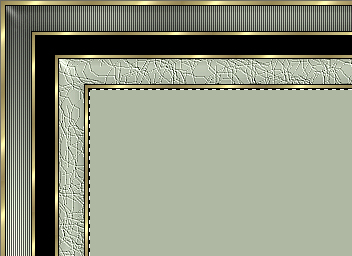
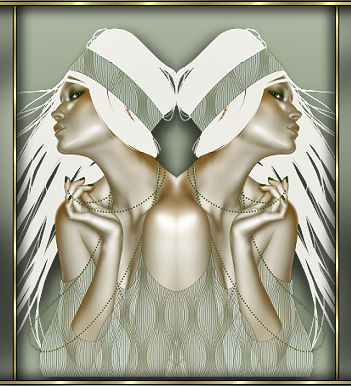
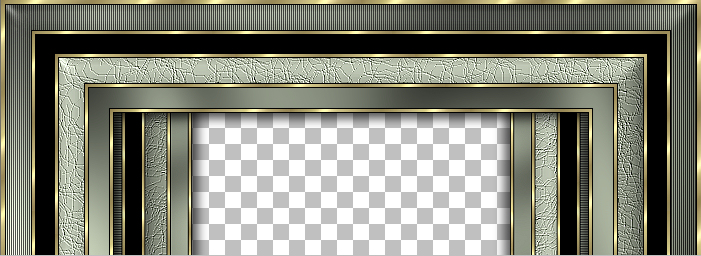
At this point you can save the frame as is and insert your own image
OR
continue and use the image
shown in the result at the head of this tutorial.
|
STEP 15
LAYERS >>> NEW RASTER LAYER
Flood fill with GREEN
LAYERS >>> ARRANGE >>> MOVE DOWN
Open up the Flappersm~Shea image in your PSP workspace
Right click on the Title Bar and select COPY from the options
Right click on the Title Bar of your frame image
and select PASTE AS NEW LAYER from the options.
IMAGE >>> RESIZE = 85%
Ensure "Resize all layers" is UNCHECKED
Resample using WEIGHTED AVERAGE
ADJUST >>> SHARPNESS >>> SHARPEN
EFFECTS >>> IMAGE EFFECTS >>> OFFSET
Horizontal Offset = - ( minus ) 70
Vertical Offset = - ( minus ) 10
Edge Mode = Transparent |
|
STEP 16
EFFECTS >>> PLUGINS >>> EYE CANDY 3 >>> DROP SHADOW
Direction = 315
Distance = 10
Blur = 20
Opacity = 55%
Colour = BLACK
OR
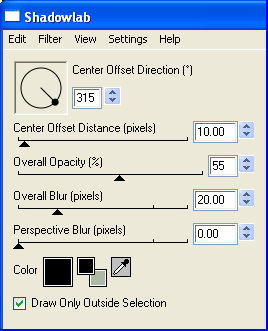
EFFECTS >>> PLUGINS >>> EYE CANDY 4000 >>>
SHADOWLAB
Click SETTINGS Tab and Select DROP SHADOW
Enter these settings >>>>> |
|
STEP 17
LAYERS >>> MERGE >>> MERGE DOWN
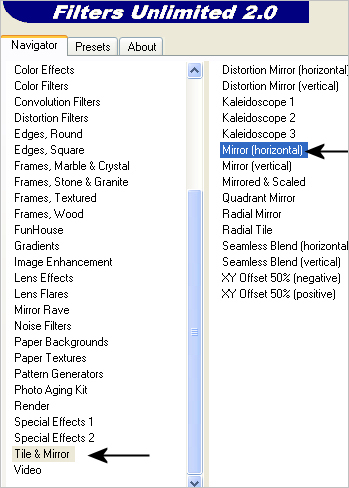
EFFECTS >>> PLUGINS >>> <I.C. NET SOFTWARE> >>> FILTERS UNLIMITED 2.0
Tile & Mirror >>> Mirror [horizontal]
|
|
STEP 18
PSP9 - PSPX2:
ADJUST >>> BRIGHTNESS and CONTRAST >>> CLARIFY
Strength of effect = 5
PSPX3- PSPX8:
ADJUST >>> BRIGHTNESS and CONTRAST >>>
LOCAL TONE MAPPING
Mapping strength = 3
PSP5 - PSPX8: Block size = 8
LAYERS >>> MERGE >>> MERGE VISIBLE
|
|
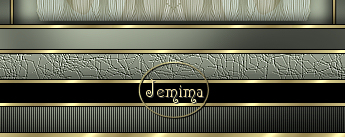
STEP 19
LAYERS >>> NEW RASTER LAYER
Select your TEXT tool
and with a font of your choice add your name |
|
STEP 20
LAYERS >>> MERGE >>> MERGE ALL (Flatten)
IMAGE >>> ADD BORDERS = SYMMETRIC 1
COLOUR = BLACK
Save as .jpg image
, |
| |
|
| |
|
| |
|