How often have you saved a piece of art, a scene, an abstract design perhaps...
in the hopes that you can use it some time?
BUT
It never seems to fit in as you hoped.
Well... here's a way to alter your images so you can use them.
|
STEP 1
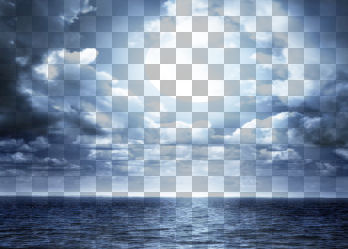
Open up the sea2-500x500 image in your PSP workspace
WINDOW >>> DUPLICATE
Close the original Image
LAYERS >>> Promote background Layer
|
Now we need to resize our image to fit in to whatever size tag we are going to create.
In this case it will be a 700 X 500 tag.
|
STEP 2
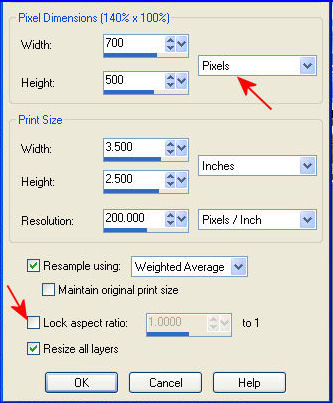
IMAGE >>> RESIZE = 700W x 500H
Ensure "Lock aspect ratio " is UNCHECKED
Resample using WEIGHTED AVERAGE
Ensure "Resize all layers" is CHECKED
|
|
STEP 3
Make a second copy
WINDOW >>> DUPLICATE
Minimize for now |
Now you have 2 options...
You can leave "Invert " unchecked
OR
"Checked" for a totally different result |
STEP 4
Activate your first duplicated image
(My first duplicated image is " Image23 ")
(So you are making a mask from this image)
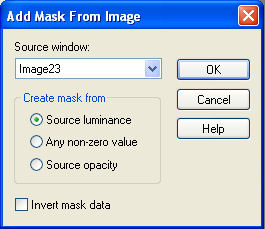
LAYERS >>> NEW MASK LAYER >>> FROM IMAGE
"Invert mask data" UNCHECKED |
|
STEP 5
LAYERS >>> MERGE >>> MERGE GROUP
Your image should look like this
Save as seamask.pspimage OR seamask.png |
|
STEP 6
Activate your second duplicated image
(You are making a mask from this image)
LAYERS >>> NEW MASK LAYER >>> FROM IMAGE
"Invert mask data" CHECKED
LAYERS >>> MERGE >>> MERGE GROUP
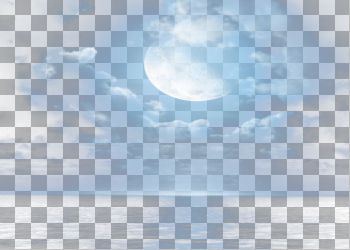
Your image should look like this
Save as seamask2.pspimage OR seamask2.png
|
|
STEP 7
OK... we'll use your second mask result ...seamask2.
Open a new image 700 x 500
Transparent background
PSPX - X2: Colour Depth = 8bits/channel
PSPX3-X6: Colour Depth RGB = 8bits/channel
Flood fill with WHITE
Right click on the Title Bar of your seamask2 image and select
COPY from the options
Right click on the Title Bar of your tag image
and select PASTE AS NEW LAYER from the options.
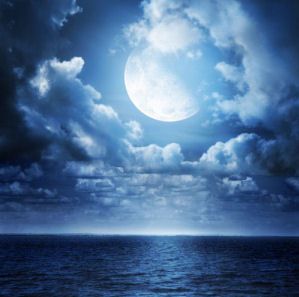 ......... .........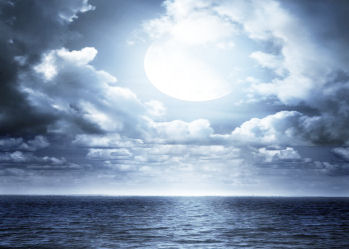
ORIGINAL IMAGE......................................................................MASKED IMAGE RESULT
|
STEP 8
Maximize your first mask result ( seamask )
Open a new image 700 x 500
Transparent background
PSPX - X2: Colour Depth = 8bits/channel
PSPX3-X6: Colour Depth RGB = 8bits/channel
Flood fill with WHITE
Right click on the Title Bar of your first mask
and select
COPY from the options
Right click on the Title Bar of your tag image
and select PASTE AS NEW LAYER from the options.
A bit pale and boring...
|
|
STEP 9
You can play around with the colour of the bottom layer...
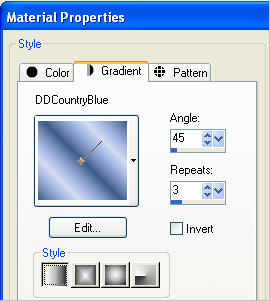
I opted to use a gradient
...
DDCountryBlue
with these settings
|
|
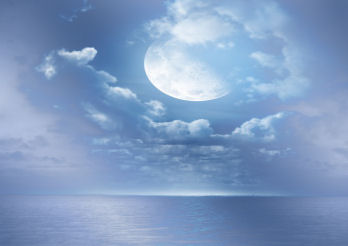
STEP 10
Flood fill Raster 1 with the gradient
(If you play around with the Layer Blend Modes
you will get
even more possibilities)
Either save or minimize these results.
|
|
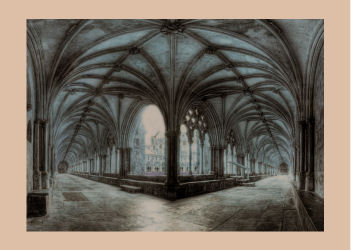
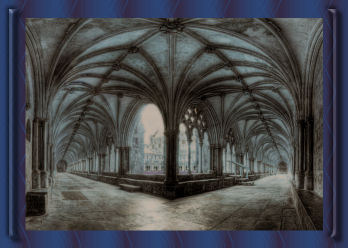
Now we'll try a different image... a building...
Right click in your PSP Workspace and select "Empty Clipboard"
|
STEP 11
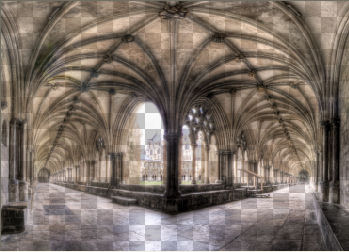
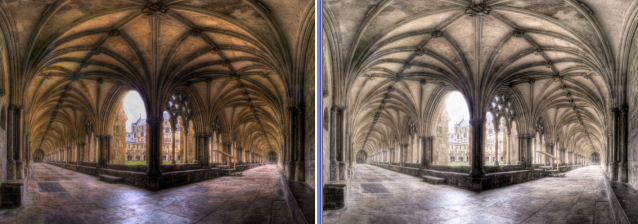
Open up the architecture image in your PSP workspace
WINDOW >>> DUPLICATE
Close the original Image
LAYERS >>> Promote background Layer |
This image is already 700 x 500
|
STEP 12
Make a second copy
WINDOW >>> DUPLICATE
Minimize for now
|
STEP 13
Activate your first duplicated 'architecture' image
LAYERS >>> NEW MASK LAYER >>> FROM IMAGE
"Invert mask data" UNCHECKED
(As in STEP 4)
LAYERS >>> MERGE >>> MERGE GROUP
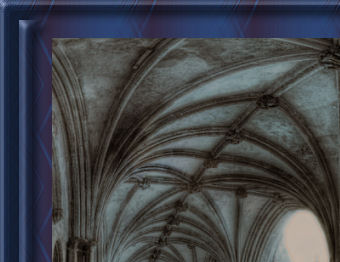
Your image should look like this ...
pretty ordinary :-(
Minimize this result
|
|
STEP 14
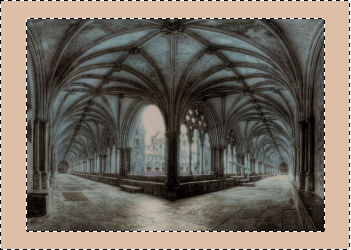
Activate your second duplicated 'architecture' image
LAYERS >>> NEW MASK LAYER >>> FROM IMAGE
"Invert mask data" CHECKED
(As in STEP 6)
LAYERS >>> MERGE >>> MERGE GROUP
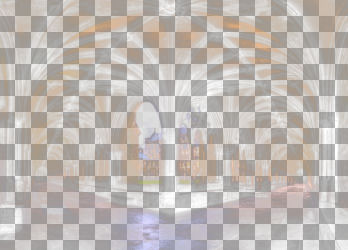
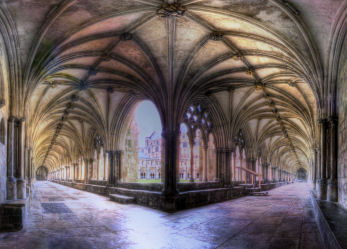
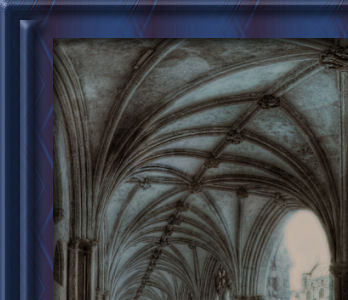
Your image should look like this ...
Much clearer...
|
|
STEP 15
Open a new image 700 x 500
Transparent background
PSPX - X2: Colour Depth = 8bits/channel
PSPX3-X6: Colour Depth RGB = 8bits/channel
Flood fill with WHITE
Right click on the Title Bar of your mask image and select
COPY from the options
Right click on the Title Bar of your tag image
and select PASTE AS NEW LAYER from the options.
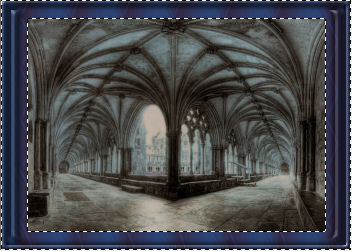
ORIGINAL IMAGE................................................MASKED IMAGE RESULT
|
STEP 16
OK... Let's play with this second one...
With Raster 2 active
LAYERS >>> DUPLICATE
In your LAYER PALETTE change the
BLEND MODE to LUMINANCE (L)
On Raster 2
In your LAYER PALETTE change the
BLEND MODE to EXCLUSION
|
|
STEP 17
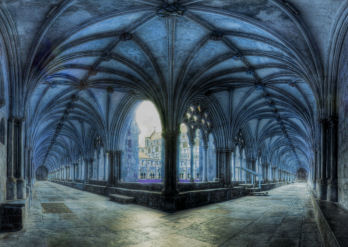
Let's try something else
CLOSE the top 2 layers
With Raster 1 active
Flood fill with PURPLE #5e6ae0
OPEN ALL LAYERS
On Raster 2
In your LAYER PALETTE change the
BLEND MODE to HARD LIGHT
On Copy of Raster 2
In your LAYER PALETTE change the
BLEND MODE to LIGHTEN
|
|
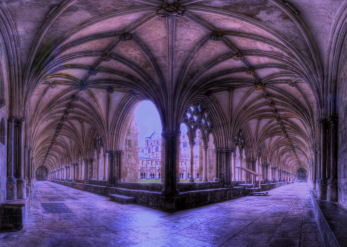
STEP 18
CLOSE the top 2 layers
With Raster 1 active
Flood fill with gradient
...
DDCountryBlue
as used in STEP 9
OPEN ALL LAYERS
The possibilities are endless
|
|
OK.. let's make a tag fom this last example
.
|
STEP 19
CLOSE the top 2 layers
With Raster 1 active
Flood fill with PINK #dcbfa6
OPEN ALL LAYERS
On Raster 2
In your LAYER PALETTE change the
BLEND MODE to EXCLUSION
ADJUST >>> SHARPNESS >>> SHARPEN MORE
On Copy of Raster 2
In your LAYER PALETTE change the
BLEND MODE to LUMINANCE
ADJUST >>> SHARPNESS >>> SHARPEN MORE
|
|
STEP 20
On Copy of Raster 2
IMAGE >>> RESIZE = 85%
Ensure "Resize all layers" is UNCHECKED
Resample using WEIGHTED AVERAGE
ACTIVATE Raster 2
EDIT >>> Repeat Resize
|
|
STEP 21
With your MAGIC WAND
Mode = Replace
Match Mode = RGB Value
Tolerance = 0
Feather = 0
Antialias = UNchecked
Sample Merged = UNCHECKED
PSP9 - X6: Check CONTIGUOUS
PSPX - X6: There is no " Sample Merged"
PSPX - X6: Use all layers = UNChecked
Select the OUTER masked area
|
|
STEP 22
ACTIVATE Raster 1
EFFECTS >>> TEXTURE EFFECTS >>> SCULPTURE
PATTERN = Azul 015
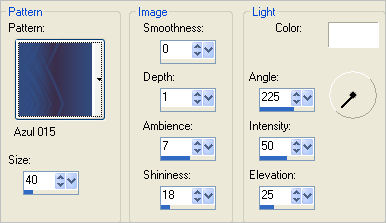
|
STEP 23
SELECTIONS >>> MODIFY >>> CONTRACT = 20
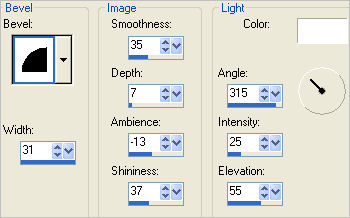
EFFECTS >>> 3D EFFECTS >>> INNER BEVEL
|
|
STEP 24
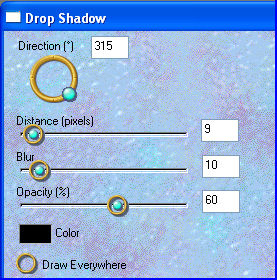
EFFECTS >>> PLUGINS >>> EYE CANDY 3 >>>
DROP SHADOW |
|
STEP 25
EDIT >>> Repeat Drop Shadow..
change DIRECTION to 135
DESELECT
|
|
STEP 26
SELECTIONS >>> SELECT ALL
SELECTIONS >>> MODIFY >>> CONTRACT = 10
SELECTIONS >>> INVERT
EFFECTS >>> 3D EFFECTS >>> INNER BEVEL
Same settings
EFFECTS >>> PLUGINS >>> EYE CANDY 3 >>>
DROP SHADOW
Same settings
EDIT >>> Repeat Drop Shadow..
change DIRECTION to 315
EFFECTS >>> EDGE EFFECTS >>> ENHANCE
DESELECT
|
|
STEP 27
ACTIVATE Copy of Raster 2
With your MAGIC WAND
Same settings
Select the OUTER masked area
|
|
STEP 28
LAYERS >>> NEW RASTER LAYER
EFFECTS >>> PLUGINS >>> EYE CANDY 3 >>>
DROP SHADOW
Same settings
EDIT >>> Repeat Drop Shadow..
change DIRECTION to 135
DESELECT
|
|
STEP 29
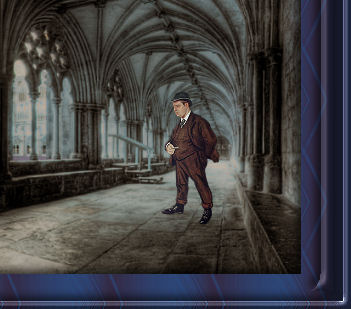
Open up the vintage-man1.png image in your PSP workspace
Right click on the Title Bar and select COPY from the options
Right click on the Title Bar of your tag image
and select PASTE AS NEW LAYER from the options.
IMAGE >>> RESIZE = 25%
Ensure "Resize all layers" is UNCHECKED
Resample using WEIGHTED AVERAGE
ADJUST >>> SHARPNESS >>> SHARPEN
Reposition with your MOVER tool
|
|
STEP 30
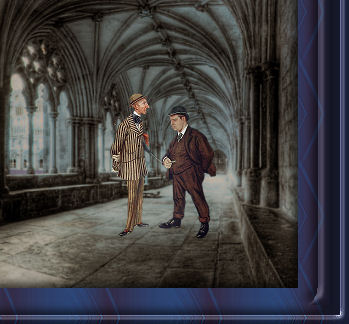
Open up the vintage-man6.png image in your PSP workspace
Right click on the Title Bar and select COPY from the options
Right click on the Title Bar of your tag image
and select PASTE AS NEW LAYER from the options.
IMAGE >>> RESIZE = 25%
Ensure "Resize all layers" is UNCHECKED
Resample using WEIGHTED AVERAGE
ADJUST >>> SHARPNESS >>> SHARPEN
Reposition with your MOVER tool
|
|
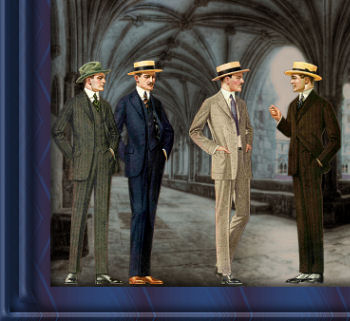
STEP 31
Open up the 1915men3sheet.png image
in your PSP workspace
Right click on the Title Bar and select COPY from the options
Right click on the Title Bar of your tag image
and select PASTE AS NEW LAYER from the options.
IMAGE >>> RESIZE = 45%
Ensure "Resize all layers" is UNCHECKED
Resample using WEIGHTED AVERAGE
ADJUST >>> SHARPNESS >>> SHARPEN
Reposition with your MOVER tool
|
|
STEP 32
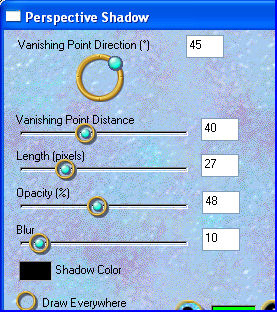
EFFECTS >>> PLUGINS >>> EYE CANDY 3 >>> PERSPECTIVE SHADOW |
|
STEP 33
ACTIVATE Raster 5
EDIT >>> Repeat Perspective Shadow.
ACTIVATE Raster 4
EDIT >>> Repeat Perspective Shadow.
|
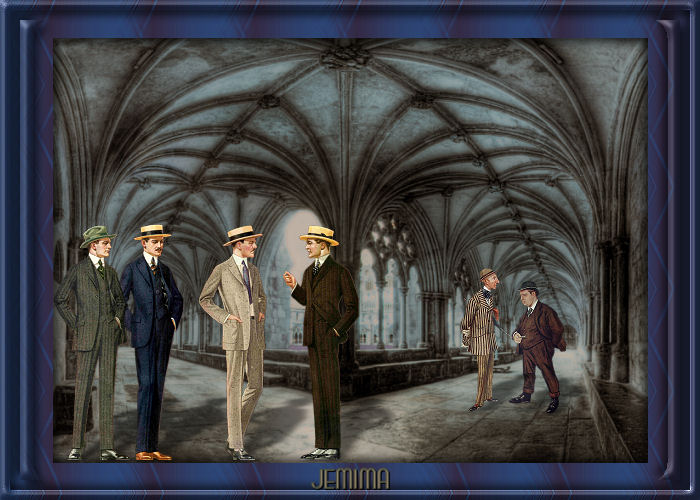
STEP 34
LAYERS >>> MERGE >>> MERGE VISIBLE
LAYERS >> NEW RASTER LAYER
Select your TEXT TOOL
with font and settings of your choice
add your name
LAYERS >>> MERGE >>> MERGE ALL (Flatten)
Save as .jpg image
|
|
|
|
|
|
|