STEP 1
In your MATERIALS PALETTE load
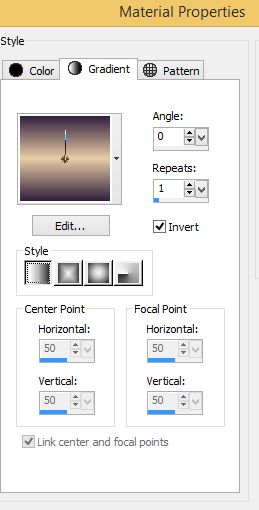
#c3aa90 color in the foreground and #67495a color in background using these settings Set to Gradient and locate the Foreground-background gradient Style = Linear |
 |
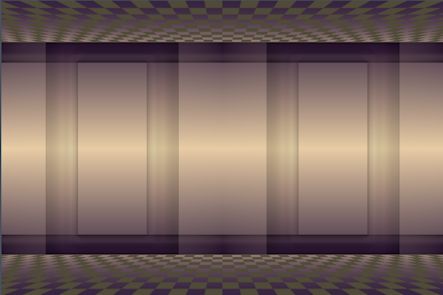
Step 2 Open a new image 900 x 600 Transparent background PSPX - X2: Color Depth = RGB 8bits/channel Flood Fill with Gradient Layers--Duplicate |
|
STEP 3
With Copy of Raster 1 Active
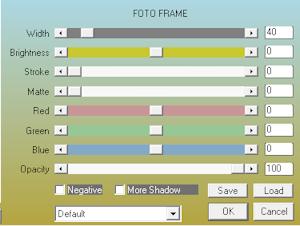
Effects – – AAA Frames – – Foto Frame with the settings. Repeat foto frame, but change width to 60. Repeat foto frame, but change width to 80. |
 |
| STEP 4
Image – – Resize = 80%
making sure that the resize all layers box is unchecked | 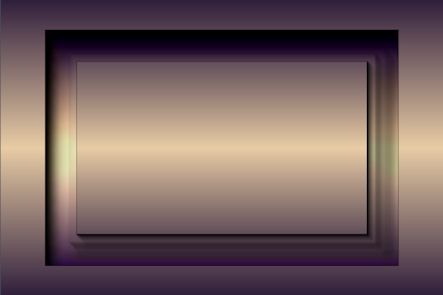 |
| STEP 5
Effects – – Image Effects – Seamless Tiling
With these Settings | 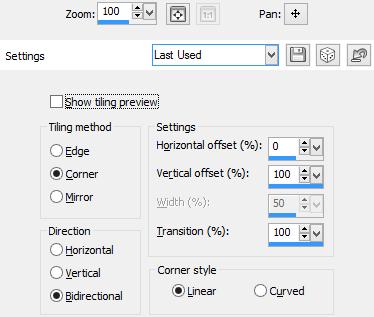 |
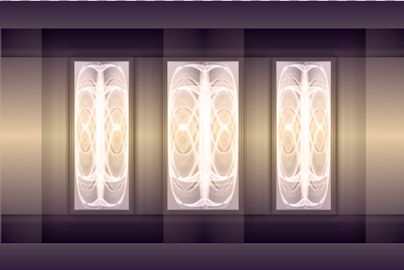
STEP 6 Effects – Plug-Ins – Simple–4 Way Average |
 |
STEP 7 Layers – New Raster Layer Flood Fill with Gradient Effects – MuRa's Seamless – Checks with Gradation With these Settings 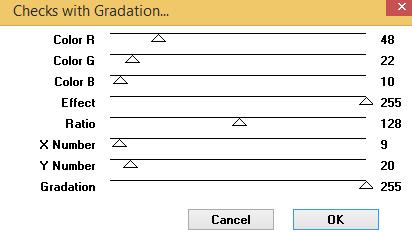 |
 |
STEP 8 Effects -- Mura's Meister -- Perspective Tiling With these Settings 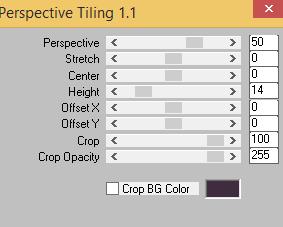 Layers – Duplicate Image – Flip |
 |
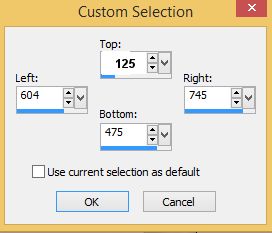
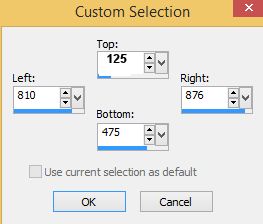
STEP 9 Activate Copy of Raster 1
Activate Selection Tool Custom Selection With these Settings Selections -- Promote Selection to Layer |
 |
STEP 10 Effects – – 3-D Effects – – Drop Shadow Color = #42313d Selections – –Modify – – Contract = 5 Repeat– –Effects – – 3-D Effects – – Drop Shadow Repeat– –Selections – –Modify – – Contract = 5 Repeat– –Effects – – 3-D Effects – – Drop Shadow Keep-Selected |
 |
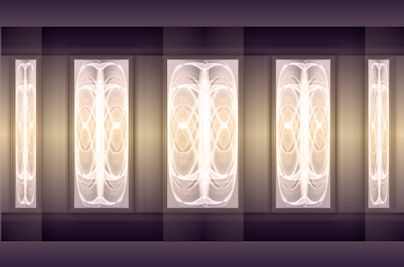
STEP 11 Open and Activate sd56–1b.pspimage in your workplace. Edit – Copy Merged - On your working image – Paste into selection. In the Layers Palette, Change Blend Mode to Luminance (L) Selections– –Select None Layers – – Duplicate Image – – Mirror |
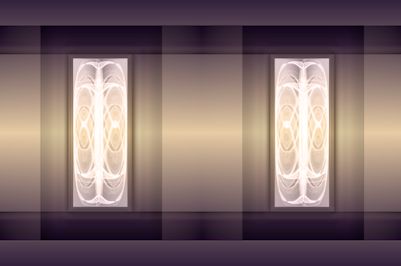 |
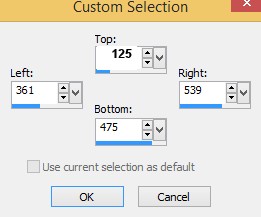
STEP 12 Activate Copy of Raster 1 Activate Selection Tool Custom Selection With these Settings Selections -- Promote Selection to Layer Follow Step 10 |
 |
STEP 13 Open and Activate sd56 – 1b.pspimage in your workplace. Edit – Copy Merged - On your working image – Paste into selection. In the Layers Palette, Change Blend Mode to Lumanice (L) Selections– –Select None |
 |
STEP 14 Activate Copy of Raster 1 Activate Selection Tool Custom Selection with these Settings Selections -- Promote Selection to Layer Follow Step 10 |
 |
STEP 15 Open and Activate sd56 – 1b.pspimage in your workplace. Edit – Copy Merged - On your working image – Paste into selection. In the Layers Palette, Change Blend Mode to Luminance (L) Selections– –Select None Activate Promoted Selection Layers – – Duplicate Image – – Mirror |
 |
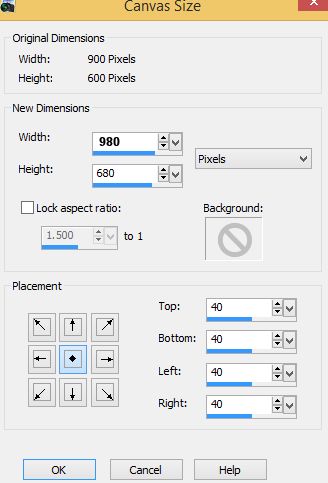
STEP 16 Activate Copy of Raster 1 Image – Canvas Size with these settings Note: be sure to set these numbers in New Dimensions; also be sure to press Center Button in Placement. Selections –Select All Selections – Modify – Contract = 40 Selections – Invert Layers – New Raster Layer Layers – Arrange – Bring to Top Flood-fill with Gradient Adjust – Brightness Contrast – Brightness/Contrast Brightness = (minus) -255 – Contrast = 24 Selections – Invert Selections – Modify – Expand = 4 Selections – Invert Edit –Clear Flood -fill with Gradient Keep Selected |
 |
STEP17 Effects – 3-D Effects – Inner Bevel With these Settings Selections – Select None Save File As .pspimage |
 |
.... 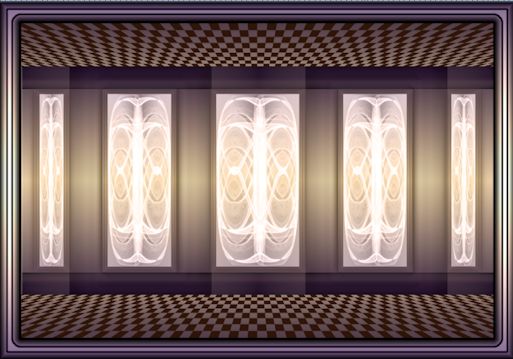 |
|
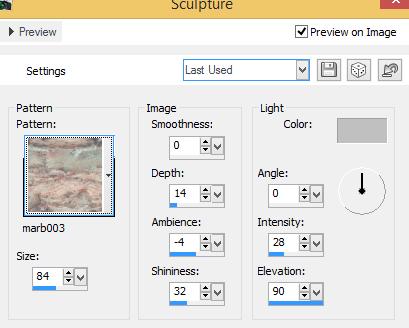
STEP 18
Activate Copy of Raster 2 Effects – Texture Effect – Sculpture Locate marb003 pattern With these Settings Activate Raster 2 Effects – Texture Effect – Sculpture Same Settings but change pattern to marb174 |
 |
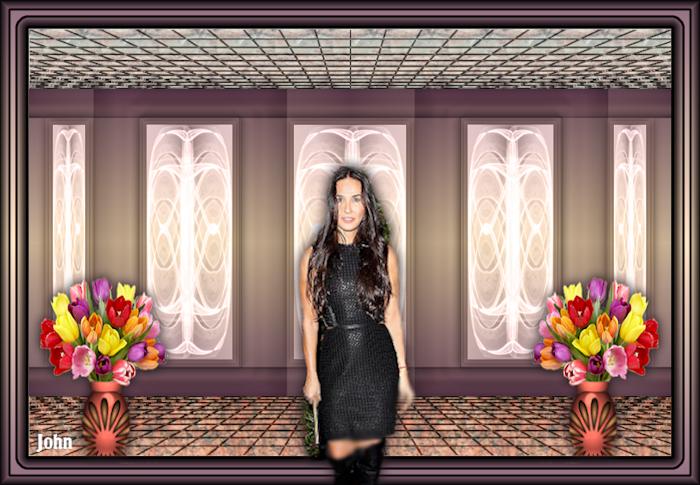
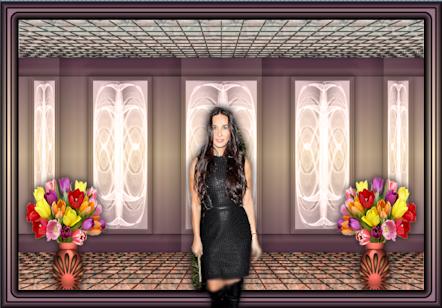
STEP 19 Open and Activate tulip-v pspimage in your workspace. Edit – copy – On your working image -- paste as new layer. With mover tool move to lower left as shown in example. Effects – – 3-D Effects – – Drop Shadow Same Settings Layers – Duplicate Image – Mirror Activate the top layer Open and Activate demi2c. pspimage into your workspace. Edit – copy – On your working image --paste as new layer. With mover tool move to lower right as shown in image to the right Effects – – 3-D Effects – – Drop Shadow Same Settings |
 |
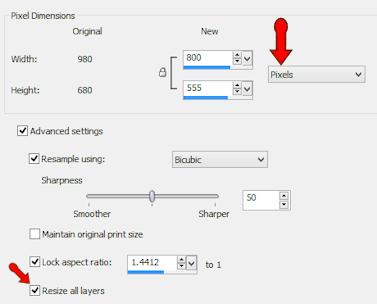
STEP 20 Layers – New Raster Layer Activate Text tool and Print Your Name Image – Resize = 800 x 555 pixels Making sure that Resize all layers box is checked Adjust –Sharpness – Sharpen Layers – Merge – Merge All (Flatten) Save As JPG. Image Thank you very much |
 |