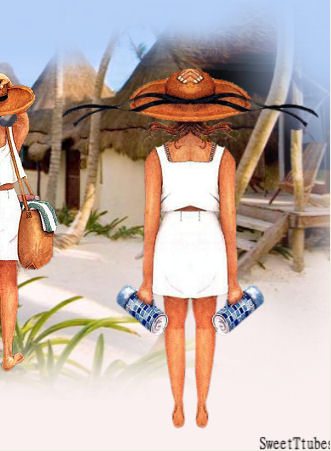
Ever come across a tube where you wish you had at least 3 versions, each slightly different,
so you can have some continuity in your tag creation?
Well, I'm here to help.*S*
|
STEP 1
Open up the jf8.pspimage image in your PSP workspace
WINDOW >>> DUPLICATE
Close the original Image
LAYERS >>> DUPLICATE
(Twice)
CLOSE Raster 1 and
Copy of Raster 1
|
STEP 2
WITH Copy (2) of Raster 1 active
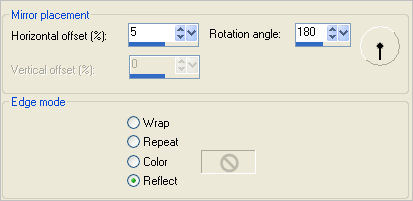
EFFECTS >>> REFLECTION EFFECTS >>> ROTATING MIRROR
|
STEP 3
ADJUST >>> SHARPNESS >>> SHARPEN |
|
STEP 4
CLOSE Copy (2) of Raster 1
OPEN
& ACTIVATE Copy of Raster 1
IMAGE >>> MIRROR
EFFECTS >>> REFLECTION EFFECTS >>>
ROTATING MIRROR
CHANGE Horizontal offset = (minus) - 8
ADJUST >>> SHARPNESS >>> SHARPEN
Save your tube and minimize for now.
|
|
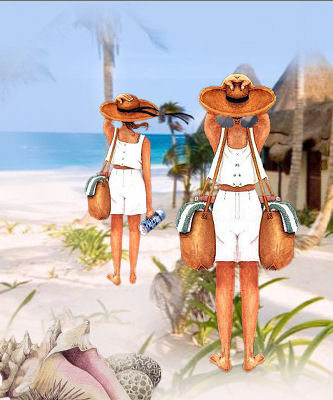
How easy is this...!!!! *S*
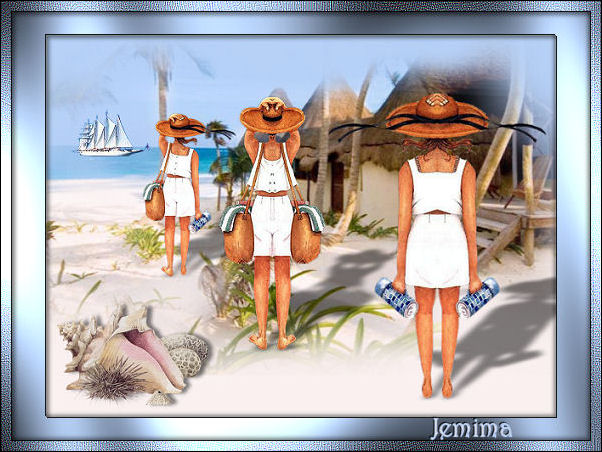
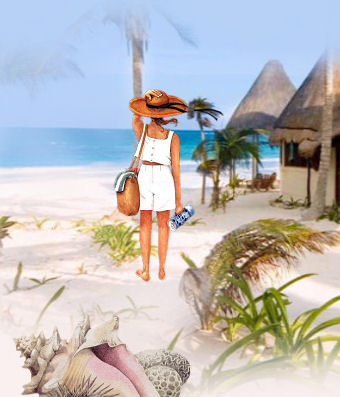
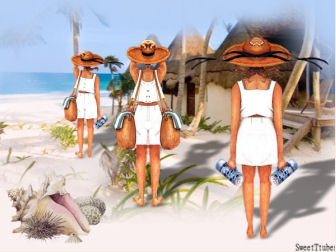
OK now we have our 3 beach girls (triplets)
let's do something with them.
|
STEP 5
Open a new image 600 x 450
Transparent background
PSPX - X2: Colour Depth = 8bits/channel
PSPX3: Colour Depth RGB = 8bits/channel
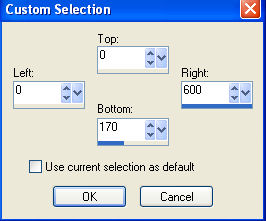
Choose your SELECTION TOOL then click on the
CUSTOM SELECTION symbol
and enter these coordinates.
|
|
STEP 6
Flood fill with BLUE #b6d0f6
SELECTIONS >>> INVERT
Flood fill with CREAM #faf0f0
DESELECT
|
|
STEP 7
Select your SOFTEN BRUSH tool
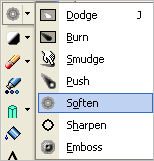
Use these settings

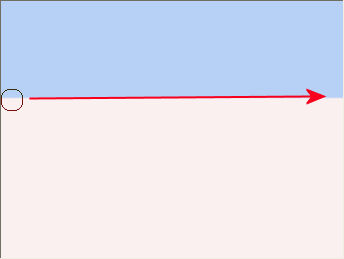
Drag your
cursor along the line where the cream and blue meet to soften the edge
|
STEP 8
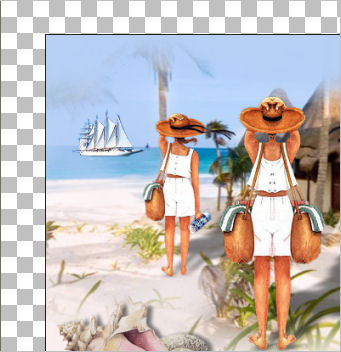
LAYERS >>> NEW RASTER LAYER
SELECTIONS >>> SELECT ALL
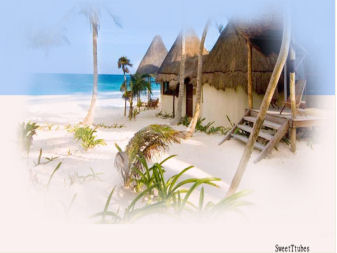
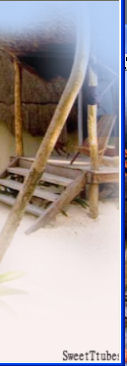
Open up the Cabanas - SweetTtubes image
in your PSP workspace
Right click on the Title Bar and select
COPY from the options
Right click on the Title Bar of your tag image
and select PASTE INTO SELECTION from the options.
DESELECT |
|
STEP 9
Select your RASTER DEFORM tool
Mode = SCALE
use default settings
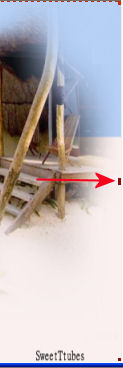
PSPX-X6:Select your PICK tool
Drag the centre left node off the image to the left
so that it looks like the image on the extreme right --->>>
|
 ........ .........  |
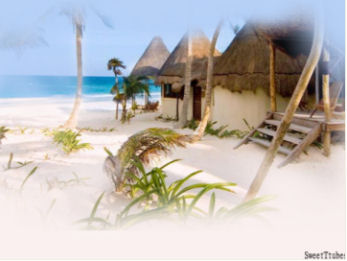
STEP 10
Drag the centre right node off the image to the right
so that it looks like the image on the extreme right --->>> |
 ...... .......  |
STEP 11
Click the RESET RECTANGLE arrow
Select your MOVER tool to disengage
the Deformation / Pick tool
Your image should look something like this --->>>
|
|
STEP 12
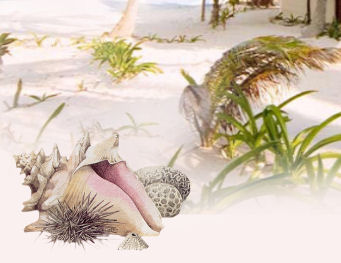
Open up the SHELLS_KKAT47 image
in your PSP workspace
Right click on the Title Bar and select
COPY from the options
Right click on the Title Bar of your tag image
and select PASTE AS NEW LAYER from the options.
IMAGE >>> RESIZE = 50%
Ensure "Resize all layers" is UNCHECKED
Resample using WEIGHTED AVERAGE
ADJUST >>> SHARPNESS >>> SHARPEN
Reposition with your MOVER tool
|
|
STEP 13
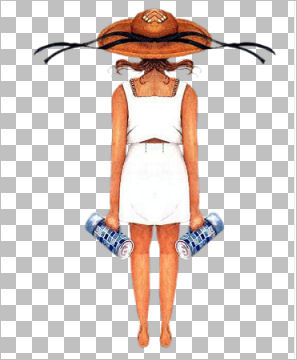
Maximize your beach girls tube you created
CLOSE Copy (2) of Raster 1 and Copy of Raster 1
OPEN & ACTIVATE Raster 1
Right click on the Title Bar and select
COPY from the options
Right click on the Title Bar of your tag image
and select PASTE AS NEW LAYER from the options.
IMAGE >>> MIRROR
IMAGE >>> RESIZE = 45%
Ensure "Resize all layers" is UNCHECKED
Resample using WEIGHTED AVERAGE
ADJUST >>> SHARPNESS >>> SHARPEN
Reposition with your MOVER tool
|
|
NOTE:
You can place the following 3 beach girls in different positions if you wish.
|
STEP 14
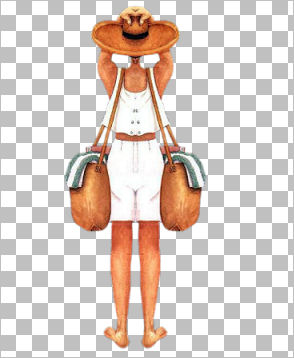
Back to the beach girls tube you created
CLOSE Raster 1
OPEN & ACTIVATE Copy of Raster 1
Right click on the Title Bar and select
COPY from the options
Right click on the Title Bar of your tag image
and select PASTE AS NEW LAYER from the options.
IMAGE >>> RESIZE = 70%
Ensure "Resize all layers" is UNCHECKED
Resample using WEIGHTED AVERAGE
ADJUST >>> SHARPNESS >>> SHARPEN
Reposition with your MOVER tool
|
|
STEP 15
Back to the beach girls tube you created
CLOSE Copy of Raster 1
OPEN & ACTIVATE Copy (2) of Raster 1
Right click on the Title Bar and select
COPY from the options
Right click on the Title Bar of your tag image
and select PASTE AS NEW LAYER from the options.
IMAGE >>> RESIZE = 70%
Ensure "Resize all layers" is UNCHECKED
Resample using WEIGHTED AVERAGE
ADJUST >>> SHARPNESS >>> SHARPEN
Reposition with your MOVER tool
|
|
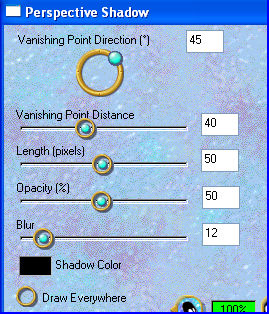
STEP 16
EFFECTS >>> PLUGINS >>> EYE CANDY 3 >>> PERSPECTIVE SHADOW |
|
STEP 17
ACTIVATE Raster 5
EDIT >>> Repeat Perspective Shadow..
ACTIVATE Raster 4
EDIT >>> Repeat Perspective Shadow..
|
|
STEP 18
ACTIVATE Raster 3
EFFECTS >>> PLUGINS >>> EYE CANDY 3 >>>
DROP SHADOW
|
|
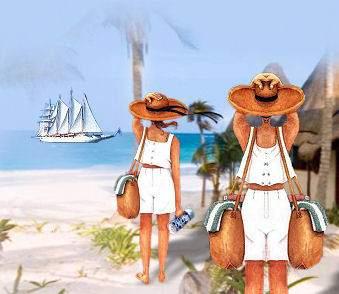
STEP 19
ACTIVATE Raster 6
Open up the sailship.tub image
in your PSP workspace
Right click on the Title Bar and select
COPY from the options
Right click on the Title Bar of your tag image
and select PASTE AS NEW LAYER from the options.
IMAGE >>> RESIZE = 50%
Ensure "Resize all layers" is UNCHECKED
Resample using WEIGHTED AVERAGE
ADJUST >>> SHARPNESS >>> SHARPEN
Reposition with your MOVER tool |
|
STEP 20
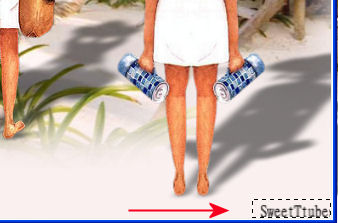
ACTIVATE Raster 2
Choose your SELECTION TOOL
Selection Type = Rectangle
Mode = Replace
Feather = 0
Antialias =UNChecked
Select the text in the bottom right corner
|
|
STEP 21
EDIT >>> CLEAR
DESELECT
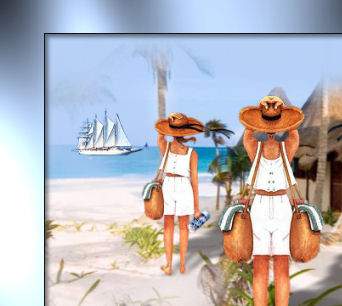
LAYERS >>> MERGE >>> MERGE VISIBLE
IMAGE >>> RESIZE = 85%
Ensure "Resize all layers" is UNCHECKED
Resample using WEIGHTED AVERAGE
EFFECTS >>> 3D EFFECTS >>> DROP SHADOW
Vertical & Horizontal offsets = 1
Colour = Black
Opacity = 85
Blur = 0
Repeat Drop Shadow effect changing
Vertical & Horizontal Offsets to - ( minus ) 1
Click OK
|
|
STEP 22
With your MAGIC WAND
Mode = Replace
Match Mode = RGB Value
Tolerance = 0
Feather = 0
Antialias = UNchecked
Sample Merged = UNCHECKED
PSP9 - X6: Check CONTIGUOUS
PSPX - X6: There is no " Sample Merged"
PSPX - X6: Use all layers = UNChecked
Select the OUTER transparent area
LAYERS >>> NEW RASTER LAYER
Flood fill with BLUE #b6d0f6
|
|
STEP 23
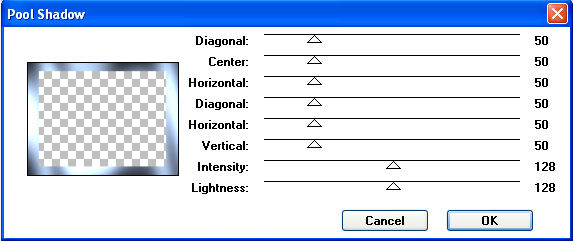
EFFECTS >>> PLUGINS >>> Greg's Factory Output Vol2 >>> Pool Shadow
|
STEP 24
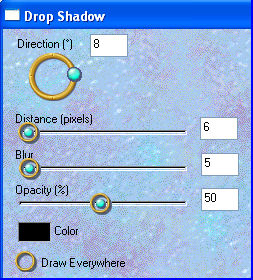
EFFECTS >>> PLUGINS >>> EYE CANDY 3 >>>
DROP SHADOW
Same settings
BUT change DIRECTION to 315
EDIT >>> Repeat Drop Shadow.. change DIRECTION to 135
DESELECT
|
|
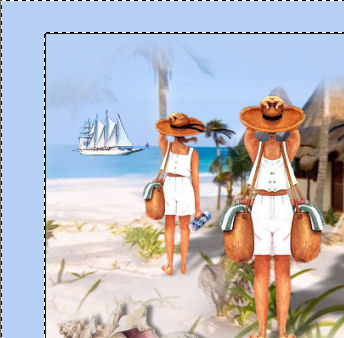
STEP 25
SELECTIONS >>> SELECT ALL
SELECTIONS >>> MODIFY >>> CONTRACT = 10
SELECTIONS >>> INVERT
EFFECTS >>> EDGE EFFECTS >>> ENHANCE MORE
EDIT >>> Repeat Enhance Edges More
EFFECTS >>> 3D EFFECTS >>> DROP SHADOW
Vertical & Horizontal offsets = 1
Colour = Black
Opacity = 85
Blur = 0
Repeat Drop Shadow effect changing
Vertical & Horizontal Offsets to - ( minus ) 1
Click OK
EFFECTS >>> PLUGINS >>> EYE CANDY 3 >>>
DROP SHADOW
Same settings
EDIT >>> Repeat Drop Shadow.. change DIRECTION to 315
DESELECT
|
|
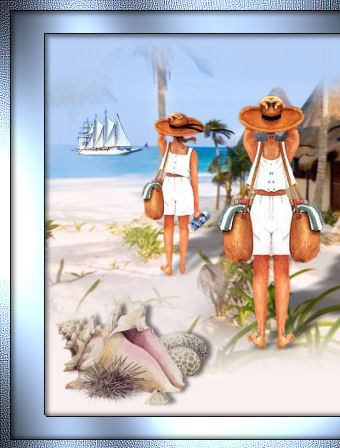
STEP 26
LAYERS >>> NEW RASTER LAYER
Add your name
LAYERS >>> MERGE >>> MERGE ALL (Flatten)
IMAGE >>> ADD BORDERS = SYMMETRIC =1... BLACK
Save as .jpg image
|
|
|
|
|
|
|