STEP 1
In your MATERIALS PALETTE
Load WHITE #ffffff in your foreground
Load DARK BLUE #15385b in your background
Open a new image 700 x 600
Transparent background
PSP9: Colour Depth = 16 Million Colors (24bit)
PSPX-X6: Colour Depth RGB = 8bits/channel
Flood fill with DARK BLUE #15385b
VIEW >>> RULERS
|
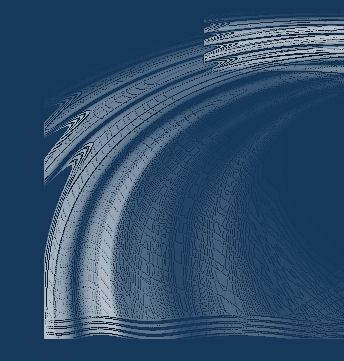
STEP 2
LAYERS >>> NEW RASTER LAYER
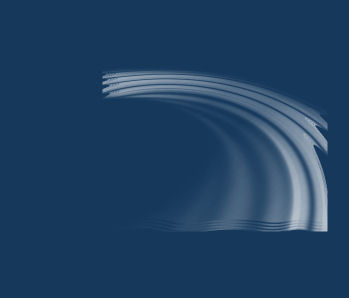
Select your PAINT BRUSH tool
PRESET = KaraWaveEffects7

Position your mouse at 430 pixels across and 300 pixels down
Click twice with you left mouse button and release
|
STEP 3
EFFECTS >>> EDGE EFFECTS >>> ENHANCE MORE
LAYERS >>> DUPLICATE
IMAGE >>> MIRROR
LAYERS >>> MERGE >>> MERGE DOWN
EFFECTS >>> EDGE EFFECTS >>> ENHANCE MORE
|
|
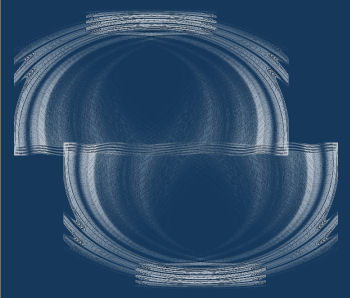
STEP 4
IMAGE >>> RESIZE = 90%
Ensure "Resize all layers" is UNCHECKED
Resample using WEIGHTED AVERAGE
EFFECTS >>> IMAGE EFFECTS >>> OFFSET
Horizontal Offset = - (minus) 50
Vertical Offset = 135
Edge Mode = Transparent
LAYERS >>> DUPLICATE
IMAGE >>> FLIP
IMAGE >>> MIRROR
LAYERS >>> MERGE >>> MERGE DOWN |
|
STEP 5
Open up the Infantil_0112 image in your PSP workspace
Right click on the Title Bar and select
COPY from the options
Right click on the Title Bar of your tag image
and select PASTE AS NEW LAYER from the options.
IMAGE >>> RESIZE = 85%
Ensure "Resize all layers" is UNCHECKED
Resample using WEIGHTED AVERAGE
EFFECTS >>> EDGE EFFECTS >>> ENHANCE
In your LAYER PALETTE change the
BLEND MODE to LUMINANCE (L)
|
|
STEP 6
ACTIVATE Raster 1
LAYERS >>> DUPLICATE
IMAGE >>> RESIZE =90%
Ensure "Resize all layers" is UNCHECKED
Resample using WEIGHTED AVERAGE
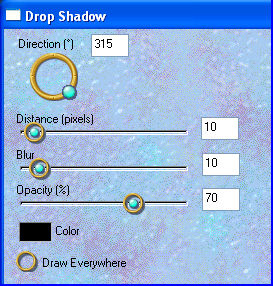
EFFECTS >>> PLUGINS >>> EYE CANDY 3 >>>
DROP SHADOW
|
|
STEP 7
EDIT >>> Repeat Drop Shadow..
change DIRECTION to 135
In your LAYER PALETTE change the
BLEND MODE to DISSOLVE
ADJUST >>> BLUR >>> GAUSSIAN BLUR
Radius = 30.00
EFFECTS >>> EDGE EFFECTS >>> ENHANCE
|
|
STEP 8
LAYERS >>> DUPLICATE
IMAGE >>> RESIZE =90%
Ensure "Resize all layers" is UNCHECKED
Resample using WEIGHTED AVERAGE
ADJUST >>> BLUR >>> GAUSSIAN BLUR
Radius = 30.00
|
STEP 9
ACTIVATE the top layer
Open up the Baked Beans and Beer LDM image
in your PSP workspace
Right click on the Title Bar and select
COPY from the options
Right click on the Title Bar of your tag image
and select PASTE AS NEW LAYER from the options.
IMAGE >>> RESIZE =60%
Ensure "Resize all layers" is UNCHECKED
Resample using WEIGHTED AVERAGE
ADJUST >>> SHARPNESS >>> SHARPEN
Reposition with your MOVER tool
|
|
STEP 10
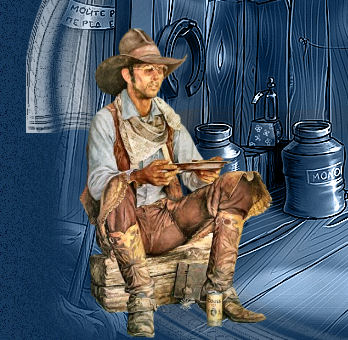
Open up the +BOBCHILD AFTERNOONBREAK KKAT47 image
in your PSP workspace
Right click on the Title Bar and select
COPY from the options
Right click on the Title Bar of your tag image
and select PASTE AS NEW LAYER from the options.
Reposition with your MOVER tool
|
|
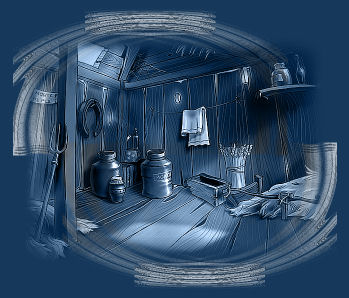
STEP 11
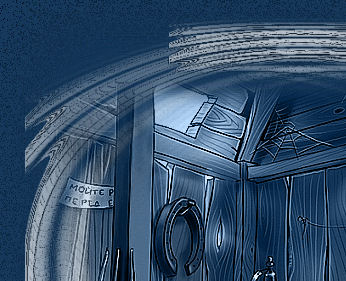
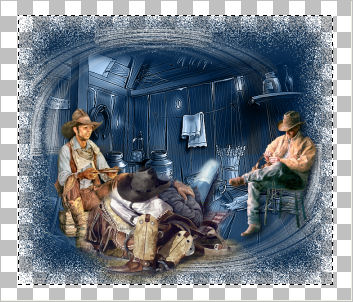
Open up the tw_tackRoomNight_JoelPhillips image
in your PSP workspace
Right click on the Title Bar and select
COPY from the options
Right click on the Title Bar of your tag image
and select PASTE AS NEW LAYER from the options.
IMAGE >>> RESIZE =55%
Ensure "Resize all layers" is UNCHECKED
Resample using WEIGHTED AVERAGE
ADJUST >>> SHARPNESS >>> SHARPEN
Reposition with your MOVER tool
|
|
STEP 12
EFFECTS >>> PLUGINS >>> EYE CANDY 3 >>>
DROP SHADOW |
|
STEP 13
ACTIVATE Raster 4
EDIT >>> Repeat Drop Shadow..
CLOSE Raster 1
LAYERS >>> MERGE >>> MERGE VISIBLE
IMAGE >>> RESIZE =90%
Ensure "Resize all layers" is UNCHECKED
Resample using WEIGHTED AVERAGE
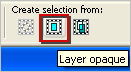
Choose your SELECTION TOOL
On Menu.. Select "Create selection from: Layer Opaque"
|
|
STEP 14
OPEN & ACTIVATE Raster 1
EFFECTS >>> PLUGINS >>> EYE CANDY 3 >>>
DROP SHADOW
Same settings
EDIT >>> Repeat Drop Shadow..
change DIRECTION to 135
|
|
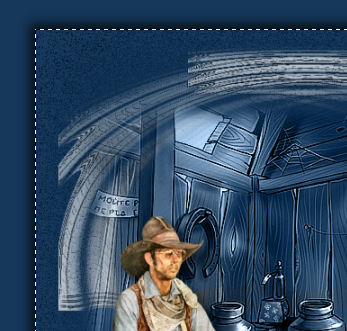
STEP 15
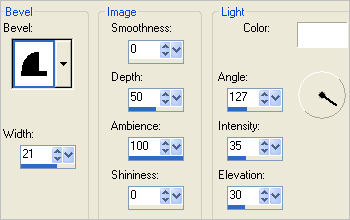
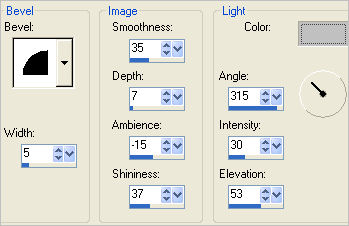
EFFECTS >>> 3D EFFECTS >>> OUTER BEVEL
|
|
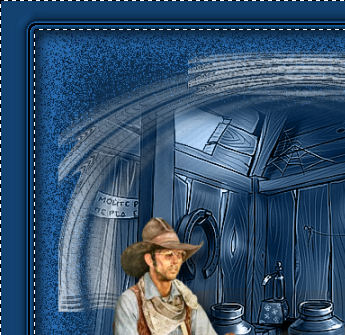
STEP 16
Repeat Outer Bevel
Change ANGLE to 307
SELECTIONS >>> INVERT
ADJUST >>> BRIGHTNESS and CONTRAST >>> BRIGHTNESS/CONTRAST
Brightness = 25
Contrast = 25
ADJUST >>> SHARPNESS >>> SHARPEN MORE
EFFECTS >>> PLUGINS >>> EYE CANDY 3 >>>
DROP SHADOW
Same settings
EDIT >>> Repeat Drop Shadow..
change DIRECTION to 315
|
|
STEP 17
DESELECT
SELECTIONS >>> SELECT ALL
SELECTIONS >>> MODIFY >>> CONTRACT = 8
SELECTIONS >>> INVERT
EFFECTS >>> PLUGINS >>> EYE CANDY 3 >>>
DROP SHADOW
Same settings
EDIT >>> Repeat Drop Shadow..
change DIRECTION to 135
EFFECTS >>> 3D EFFECTS >>> INNER BEVEL
COLOUR = #c0c0c0
|
|
STEP 18
EFFECTS >>> EDGE EFFECTS >>> ENHANCE MORE
DESELECT
|
|
STEP 19
LAYERS >>> NEW RASTER LAYER
Flood fill with DARK BLUE
LAYERS >>> ARRANGE >>> SEND TO BOTTOM
In your LAYER PALETTE change the
BLEND MODE on Raster 1
to DARKEN
|
|
STEP 20
LAYERS >>> NEW RASTER LAYER
SELECT your TEXT tool
With a font of your choice add your name |
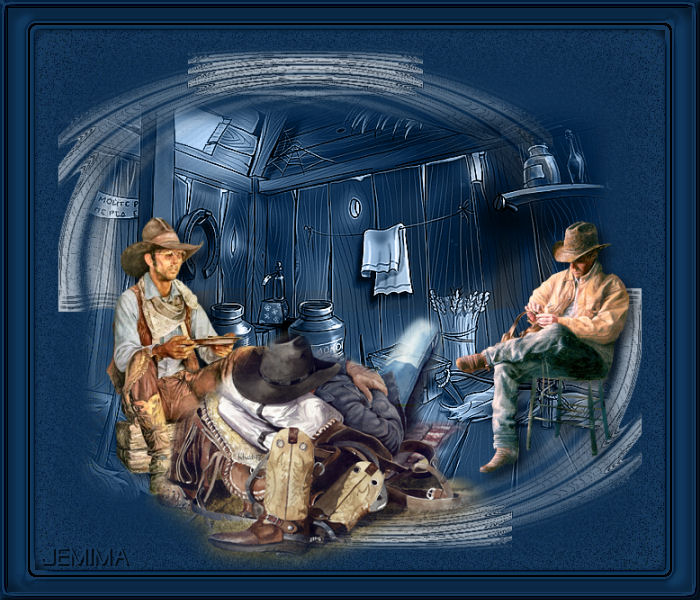
|
STEP 21
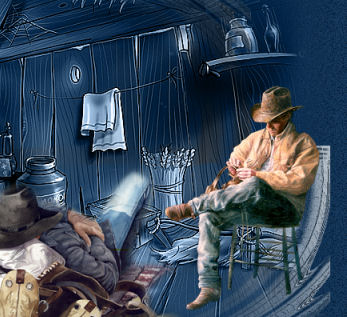
LAYERS >>> MERGE >>> MERGE ALL (Flatten)
Save as .jpg image
|
|
|
|
|
|
|