STEP 1
Open up the downloaded images in your PSP workspace and minimize.
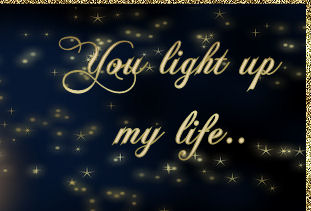
Open up the bg image in your PSP workspace
WINDOW >>> DUPLICATE
Close the original Image
This is your working image
Rename this layer bg |
STEP 2
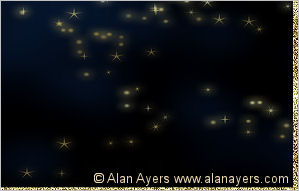
Open up the star bg image in your PSP workspace
Right click on the Title Bar
and select COPY from the options.
Right click on the Title Bar of your 'working' image
and select PASTE AS NEW LAYER from the options.
Rename this layer star bg |
STEP 3
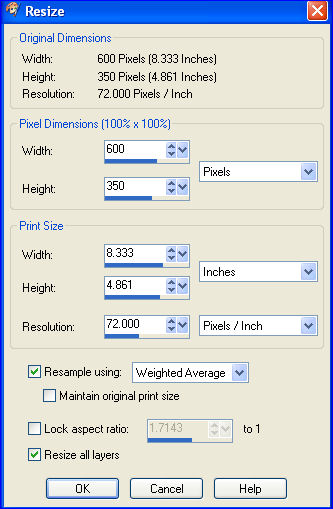
IMAGE >>> RESIZE
Ensure "Resize all layers" is CHECKED
"Lock aspect ratio" is UNchecked
Resample using WEIGHTED AVERAGE |
|
STEP 4
LAYERS >>> NEW RASTER LAYER
SELECTIONS >>> SELECT ALL
Open up the frame image in your PSP workspace
Right click on the Title Bar and select COPY from the options.
Right click on the Title Bar of your 'working' image
and select PASTE INTO SELECTION from the options.
DESELECT
Rename this layer frame
LAYERS >> DUPLICATE
Rename this layer frame2 |
STEP 5
With your MAGIC WAND
Mode = Replace
Match Mode = RGB Value
Tolerance = 100
Feather = 0
Antialias = UNchecked
Sample Merged = UNCHECKED
PSP9 - X3: Check CONTIGUOUS
PSPX - X3: There is no " Sample Merged"
PSPX - X3: Use all layers = UNChecked
On frame2 layer... select the frame |
STEP 6
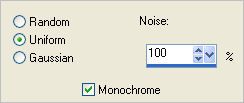
ADJUST >> Add/Remove Noise >> Add Noise
100%
ADJUST >>> SHARPNESS >>> SHARPEN
|
|
STEP 7
CLOSE frame2
ACTIVATE the frame layer
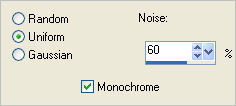
ADJUST >> Add/Remove Noise >> Add Noise
60%
ADJUST >>> SHARPNESS >>> SHARPEN
DESELECT
|
|
STEP 8
Activate the
star bg layer
EDIT >> Repeat Sharpen
|
|
STEP 9
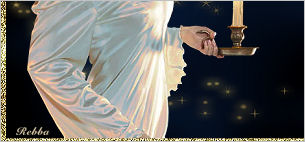
Open up the 15-Midnight-Magic-LG image
in your PSP workspace
Right click on the Title Bar
and select COPY from the options.
Right click on the Title Bar of your 'working' image
and select PASTE AS NEW LAYER from the options.
IMAGE >> RESIZE = 65%
Ensure "Resize all layers" is UNCHECKED
Ensure "Lock aspect ratio " is CHECKED
ADJUST >>> SHARPNESS >>> SHARPEN
Rename this layer tube
Place as shown
|
|
STEP 10
Back to the 15-Midnight-Magic-LG image
Activate Raster 2
Right click on the Title Bar
and select COPY from the options.
Right click on the Title Bar of your 'working' image
and select PASTE AS NEW LAYER from the options
Place in the right hand corner
Rename this layer copyright
|
|
STEP 11
LAYERS >> NEW RASTER LAYER
Select your TEXT TOOL
with font and settings of your choice
add your name to the bottom left corner of the layer.
Rename this layer name.
|
|
STEP 12
Open up the layered flame image
in your PSP workspace
Activate flame1 layer
Right click on the Title Bar
and select COPY from the options.
Right click on the Title Bar of your 'working' image
and select PASTE AS NEW LAYER from the options
Center over your candle
Rename this layer flame1 |
|
STEP 13
Back to the layered flame image
OPEN & Activate flame2 layer
Right click on the Title Bar
and select COPY from the options.
Right click on the Title Bar of your 'working' image
and select PASTE AS NEW LAYER from the options
Center over your candle on top of flame1 and line up bottom of flames.
Rename this layer flame2 |
|
STEP 14
ACTIVATE the star bg layer
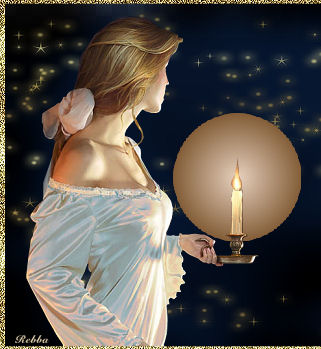
Open up the candle glow image in your PSP workspace
Right click on the Title Bar
and select COPY from the options.
Right click on the Title Bar of your 'working' image
and select PASTE AS NEW LAYER from the options
Place as shown
Rename this layer candle glow1 |
|
STEP 15
Adjust >> Blur >> Gaussian Blur
RADIUS =15.
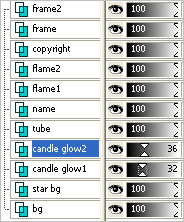
LAYERS >> DUPLICATE
Rename this layer candle glow2
In your LAYER PALETTE change the OPACITY to 36%
ACTIVATE candle glow1
In your LAYER PALETTE change the OPACITY to 32%
|
|
STEP 16
ACTIVATE the tube layer
Open up the face glow image in your PSP workspace
Right click on the Title Bar
and select COPY from the options.
Right click on the Title Bar of your 'working' image
and select PASTE AS NEW LAYER from the options
Place as shown
Rename this layer face glow1
|
|
STEP 17
LAYERS >> DUPLICATE
Rename this layer face glow2
In your LAYER PALETTE change the OPACITY to 32%
ACTIVATE face glow1
In your LAYER PALETTE change the OPACITY to 22%
|
|
STEP 18
ACTIVATE the copyright layer
Open up the text image in your PSP workspace
Right click on the Title Bar
and select COPY from the options.
Right click on the Title Bar of your 'working' image
and select PASTE AS NEW LAYER from the options
Place as shown
Rename this layer text |
|
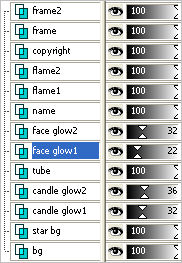
STEP 19
Set up LAYER PALETTE as shown
Right click on Title Bar and select
Copy merged from the options |
|
STEP 20
In ANIMATION SHOP
Right click the workspace and select
'Paste As New Animation' from the options.
Back to PSP.
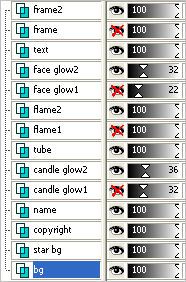
Set up LAYER PALETTE as shown
Right click on Title Bar and select
Copy merged from the options
|
|
STEP 21
In ANIMATION SHOP
Right click top of frame image and select
'Paste After Current Frame' from the options.
View >> Animation
and while it is still running,
File >> Save As
Locate the folder in which you wish to save it.
Name your animation.
With the Gif Optimiser keep pressing NEXT
until you get to the last one... click FINISH
Close the Animation
Close the frames.
Close Animation Shop |
I hope you have enjoyed the tutorial.
Rebba
|