STEP 1
Open up the downloaded images in your PSP
workspace and minimize.
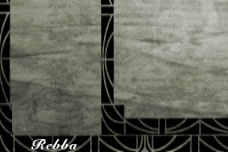
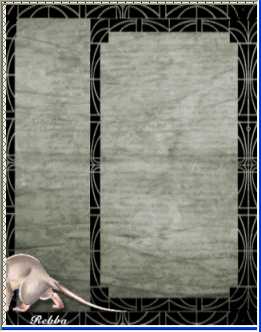
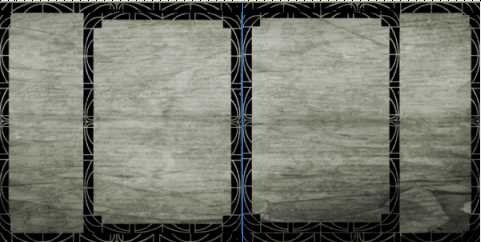
Open 600x400 bg paper tube in your PSP workspace
WINDOW >> DUPLICATE
Close the original image
LAYERS >>> Promote background Layer
This will be your working image
Rename this layer bg |
STEP 2
Open 600x400 outside frame tube in your PSP workspace
Right click on the Title Bar
and select COPY from the options.
Right click on the Title Bar of your 'working' image
and select PASTE AS NEW LAYER from the options.
Rename this layer outside frame |
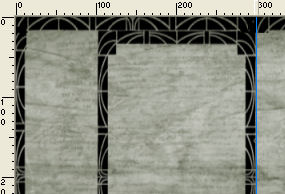
STEP 3
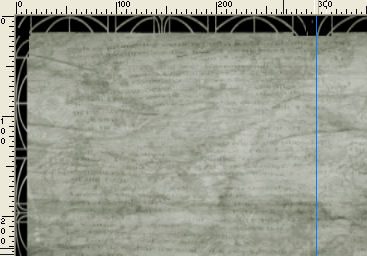
VIEW >>> RULERS
VIEW >>> GUIDES
VIEW >> SNAP TO GUIDES
Place your cursor over the left ruler.
Hold down the left mouse button and pull from the left ruler
to the 300 pixel mark on top ruler
|
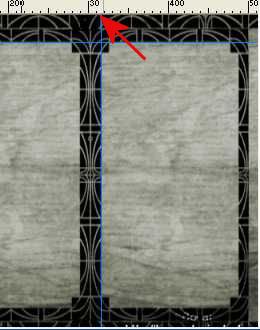
STEP 4
Open 400 left frame tube in your PSP workspace
Right click on the Title Bar
and select COPY from the options.
Right click on the Title Bar of your 'working' image
and select PASTE AS NEW LAYER from the options.
Line up the right side
to the left of the
center 300 guide
snap into place.
Rename this layer left frame
|
|
STEP 5
LAYERS >> DUPLICATE
IMAGE >>> MIRROR
It should
snap into place.
Rename this layer right frame
 |
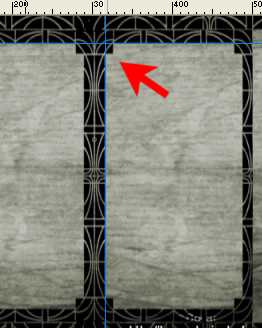
STEP 6
Move the guide on the top ruler
to line up with
the left side of the right frame.
|
|
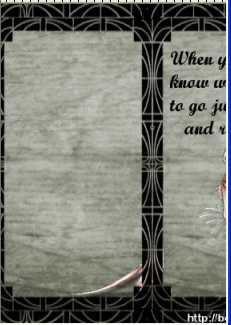
STEP 7
Open 400 bg selection tube in your PSP workspace
Right click on the Title Bar
and select COPY from the options.
Right click on the Title Bar of your 'working' image
and select PASTE AS NEW LAYER from the options.
Rename this layer bg selection
Place left side against the side and top guide,
it should snap into place
.
|
|
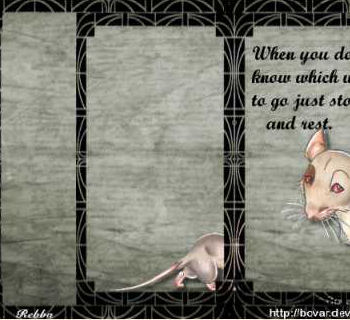
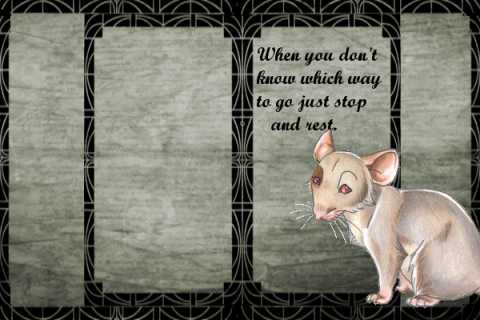
STEP 8
Open text tube in your PSP workspace
Right click on the Title Bar
and select COPY from the options.
Right click on the Title Bar of your 'working' image
and select PASTE AS NEW LAYER from the options.
Rename this layer text
place as shown
|
|
STEP 9
VIEW >>> GUIDES
To remove grid
LAYERS >> NEW RASTER LAYER
Select your TEXT TOOL
with font and settings of your choice
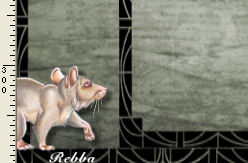
add your name to the bottom left corner of the layer.
Rename this layer name |
|
PSPX3 TIP:
PSPX3 has a very different way of adding text
However if you hold down the shift key when
clicking on the "A" (Text Tool) the box will show up
as in other versions....
otherwise type the text and then click on the apply changes
(green button in the tools options next to presets) |
PSPX3 to PSPX5:
Click the "A" (Text) tool...
now, before clicking on the work
hold down the shift key and click on your image,
the entry box will appear as in other PSP versions.
|
STEP 10
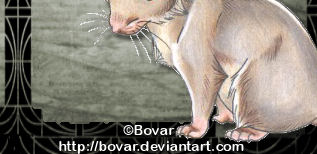
Open Bovar_Smooty_3 tube in your PSP workspace
activate the Smooty_3_by_Bovar layer
Right click on the Title Bar
and select COPY from the options.
Right click on the Title Bar of your 'working' image
and select PASTE AS NEW LAYER from the options.
IMAGE >>> MIRROR
Rename this layer big mouse
Effects >> 3D Effects >> Drop Shadow
Vertical and Horizontal = 5
Opacity = 50
Blur = 5.00
Color = Black.
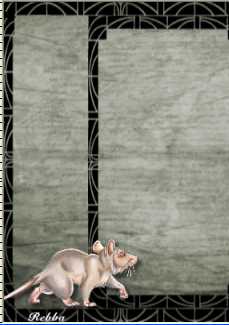
With your Mover Tool place as shown
|
STEP 11
Back to the Bovar_Smooty_3 tube
Activate layer copyright
Right click on the Title Bar
and select COPY from the options.
Right click on the Title Bar of your 'working' image
and select PASTE AS NEW LAYER from the options.
Reposition with your MOVER tool
Rename this layer copyright |
|
STEP 12
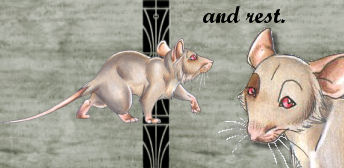
Open Bovar_Smooty_6 tube in your PSP workspace
activate the Bovar_Smooty_6 layer
Right click on the Title Bar
and select COPY from the options.
Right click on the Title Bar of your 'working' image
and select PASTE AS NEW LAYER from the options.
IMAGE >> RESIZE = 50%
Ensure "Resize all layers" is UNCHECKED
ADJUST >>> SHARPNESS >>> SHARPEN
Rename this layer master sm mouse |
|
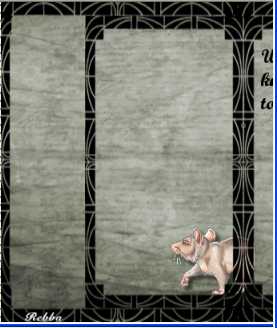
STEP 13
LAYERS >> DUPLICATE
Close master sm mouse
Rename this duplicated layer as1
Effects >> 3D Effects >> Drop Shadow
Vertical and Horizontal = 5
Opacity = 50
Blur = 5.00
Color = Black.
Place as shown
|
|
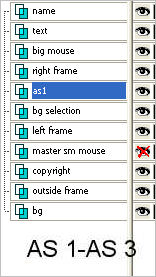
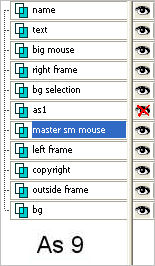
STEP 14
Set up LAYER PALETTE as shown
Right click on Title Bar and select
Copy merged from the options |
|
STEP 15
In ANIMATION SHOP
Right click the workspace and select
'Paste As New Animation' from the options.
Back to PSP.
With your Mover Tool place the small mouse as shown
Right click on Title Bar and select
Copy merged from the options |
|
STEP 16
In ANIMATION SHOP
Right click top of frame image and select
'Paste After Current Frame' from the options.
Back to PSP.
Right click in your PSP workspace and select
EMPTY CLIPBOARD
With your Mover Tool place the small mouse as shown
Right click on Title Bar and select
Copy merged from the options |
|
STEP 17
In ANIMATION SHOP
Right click top of frame image and select
'Paste After Current Frame' from the options.
Back to PSP.
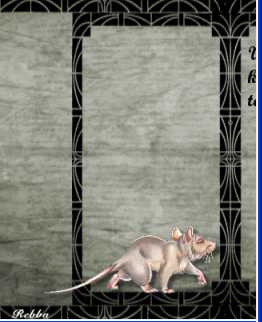
Set up LAYER PALETTE as shown
moving the bg selection layer up
and the left frame up above as1.
|
|
STEP 18
With your Mover Tool place the small mouse as shown
Right click on Title Bar and select
Copy merged from the options |
|
STEP 19
In ANIMATION SHOP
Right click top of frame image and select
'Paste After Current Frame' from the options.
Back to PSP.
Right click in your PSP workspace and select
EMPTY CLIPBOARD
With your Mover Tool place the small mouse as shown
Right click on Title Bar and select
Copy merged from the options |
|
STEP 20
In ANIMATION SHOP
Right click top of frame image and select
'Paste After Current Frame' from the options.
Back to PSP.
Close the as1 layer activate name layer
No small mouse will show on this frame.
Right click on Title Bar and select
Copy merged from the options
|
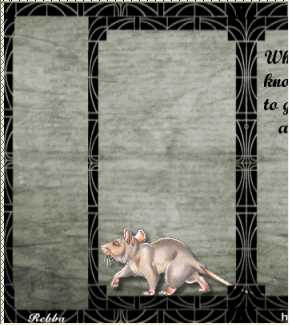
STEP 21
In ANIMATION SHOP
Right click top of frame image and select
'Paste After Current Frame' from the options.
Back to PSP
Right click in your PSP workspace and select
EMPTY CLIPBOARD
Open and activate the master sm mouse and
With your Mover Tool place it in the center of image.
IMAGE >>> MIRROR
Effects >> 3D Effects >> Drop Shadow
Vertical and Horizontal = 5
Opacity = 50
Blur = 5.00
Color = Black.
With your Mover Tool place the small mouse as shown
Right click on Title Bar and select
Copy merged from the options
|
|
STEP 22
In ANIMATION SHOP
Right click top of frame image and select
'Paste After Current Frame' from the options.
Back to PSP.
With your Mover Tool place the small mouse as shown
Right click on Title Bar and select
Copy merged from the options |
|
STEP 23
In ANIMATION SHOP
Right click top of frame image and select
'Paste After Current Frame' from the options.
Back to PSP
Right click in your PSP workspace and select
EMPTY CLIPBOARD
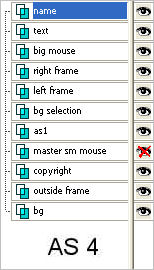
Set up LAYER PALETTE as shown
|
|
STEP 24
With your Mover Tool place the small mouse as shown
Right click on Title Bar and select
Copy merged from the options |
|
STEP 25
In ANIMATION SHOP
Right click top of frame image and select
'Paste After Current Frame' from the options.
Back to PSP
Close master sm mouse layer
Right click on Title Bar and select
Copy merged from the options
|
STEP 26
In ANIMATION SHOP
Right click top of frame image and select
'Paste After Current Frame' from the options.
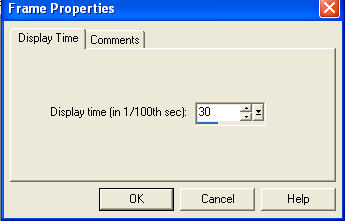
Edit >> Select All
Right click on Title Bar of frames
Select 'Frame Properties' from the options
Display time = 30 |
|
STEP 27
Animation >> Resize Animation
Resize if you wish to.
|
STEP 28
View >> Animation
and while it is still running,
File >> Save As
Locate the folder in which you wish to save it.
Name your animation.
With the Gif Optimiser keep pressing NEXT
until you get to the last one... click FINISH
Close the Animation
Close the frames.
Close Animation Shop
|
I hope you enjoyed the tutorial.
Rebba
|