STEP 1
Open up the downloaded images in your PSP workspace and minimize.
Open a new image 600 x 550
Transparent background
PSPX - X2: Colour Depth = 8bits/channel
PSPX3: Colour Depth RGB = 8bits/channel
VIEW RULERS
SELECTIONS >> SELECT ALL |
STEP 2
Open paper7.png tube in your PSP workspace
Right click on the Title Bar and select COPY from the options.
Right click on the Title Bar of your 'working' image
and select PASTE INTO SELECTION from the options.
DESELECT
IMAGE >>> MIRROR
Rename this layer bgd
|
STEP 3
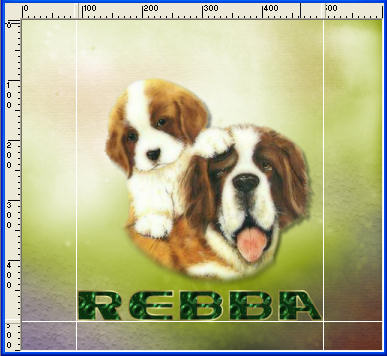
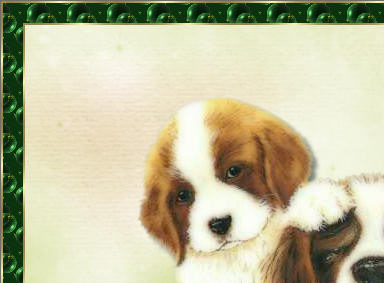
Open St Bernard and Pup 5-21-06 LMS~LINDA image
in your PSP workspace
Right click on the Title Bar and select COPY from the options.
Right click on the Title Bar of your 'working' image
and select PASTE AS NEW LAYER from the options.
Effects >> 3D Effects >> Drop Shadow
Vertical and Horizontal = 5
Opacity = 50
Blur = 5.00
Color = Black.
Rename this layer tube
|
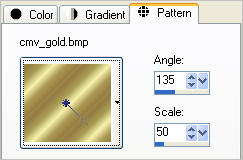
STEP 4
In your MATERIALS PALETTE
Load the ' cmv gold ' pattern in your foreground |
|
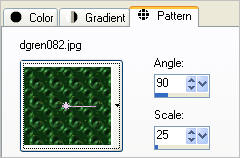
STEP 5
In your MATERIALS PALETTE
Load the ' dgren082 ' pattern in your background
using the settings below.
|
|
STEP 6
Select your TEXT TOOL
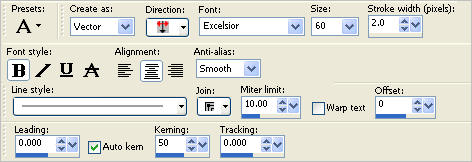
.........................................................................................................A2

Note: you may need to adjust size for number or letters in name.
Rename this layer AS1
|
NOTE: we need to type the name 3 times each time resetting the pattern 'angle'.
90, 45, 25
|
STEP 7
In your MATERIALS PALETTE
Change the angle of the background pattern to 45
Type your name
Right click on this layer and select
"Convert to Raster Layer " from the options
Rename this layer AS2
In your MATERIALS PALETTE
Change the angle of the background pattern to 25
Type your name
Right click on this layer and select
"Convert to Raster Layer " from the options
Rename this layer AS3
|
STEP 8
VIEW >>> GUIDES
VIEW >> SNAP TO GRID
Place your cursor on the left side ruler and drag across to
the outside of the last letter in your name.
In this case it is "A"
Then...
Place your cursor on the left side ruler and drag across to
the outside of the last letter in your name.
In this case it is "R"
Then...
Place your cursor on the top ruler and drag down to
the bottom of your letters in your name.
Check each layer of your name has
"Snapped to the Grid"
VIEW >> SNAP TO GRID
To turn off GRID
|
|
STEP 9
Activate AS1
Close AS2-AS3
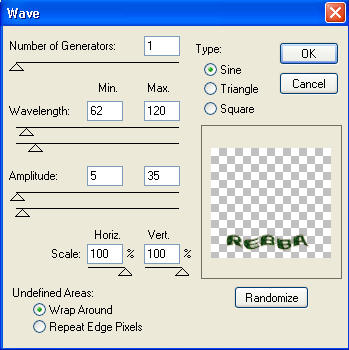
EFFECTS >> PLUGINS >> Distort >> Wave
use these settings.
ADJUST >> SHARPNESS >> SHARPEN |
|
STEP 10
Close AS1
Open AS2
EFFECTS >> PLUGINS >> Distort >>Wave
use the same settings.
Hit Randomize once
ADJUST >> SHARPNESS >> SHARPEN |
|
STEP 11
Close AS2 Open AS3
EFFECTS >> PLUGINS >> Distort >>Wave
use the same settings.
Hit Randomize once
ADJUST >> SHARPNESS >> SHARPEN
|
|
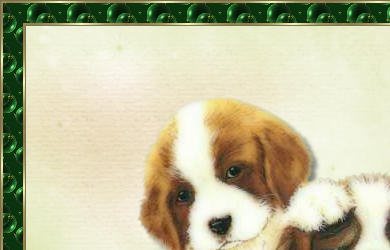
STEP 12
LAYERS >> NEW RASTER LAYER
SELECTIONS >> SELECT ALL
Flood Fill with foreground pattern cmv gold
SELECTIONS >> MODIFY >>CONTRACT = 2
Keyboard DELETE
Flood Fill with background pattern dgren082
SELECTIONS >> MODIFY >>CONTRACT = 20
Keyboard DELETE
Flood Fill with foreground pattern cmv gold
SELECTIONS >> MODIFY >>CONTRACT = 2
Keyboard DELETE
DESELECT
Rename this layer frame. |
|
STEP 13
EFFECTS >>> 3D EFFECTS >>> DROP SHADOW
Vertical & Horizontal offsets = 1
Colour = Black
Opacity = 50
Blur = 0
Repeat Drop Shadow effect changing
Vertical & Horizontal Offsets to - ( minus ) 1
Click OK
|
|
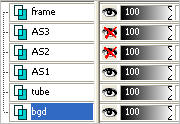
STEP 14
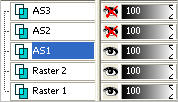
Set up LAYER PALETTE as shown
|
|
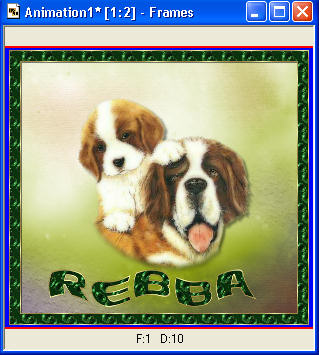
STEP 15
Right click on Title Bar and select
Copy merged from the options
In ANIMATION SHOP
Right click the workspace and select
'Paste As New Animation' from the options. |
|
STEP 16
Back to PSP.
Close AS1
Open AS2
Right click on Title Bar and select
Copy merged from the options
In ANIMATION SHOP
Right click top of frame image and select
'Paste After Current Frame' from the options. |
|
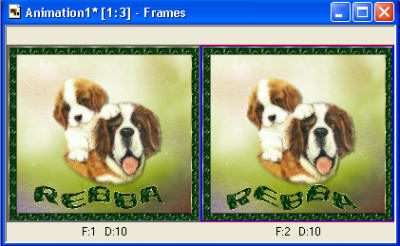
STEP 17
Back to PSP.
Close AS2
Open AS3
Right click on Title Bar and select
Copy merged from the options
In ANIMATION SHOP
Right click top of frame image and select
'Paste After Current Frame' from the options.
|
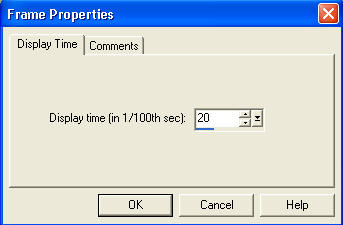
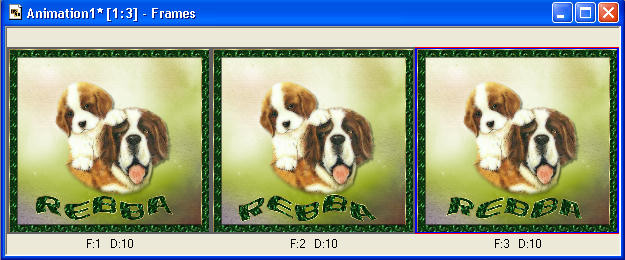
STEP 18
Edit >> Select All
Right click on top of frames
Select 'Frame Properties' from the options
Display time = 20 |
|
Animation >> Resize Animation 450 or size you wish
If you wish...
|
STEP 19
View >> Animation
and while it is still running,
File >> Save As
Locate the folder in which you wish to save it.
Name your animation.
With the Gif Optimiser keep pressing NEXT
until you get to the last one... click FINISH
Close the Animation
Close the frames.
Close Animation Shop |
|
|
I hope you have enjoyed the tutorial
Rebba
.
|
|
|