STEP 1
Open up the downloaded images in your PSP workspace and minimize.
Open up the bg scenery image in your PSP workspace
WINDOW >>> DUPLICATE
Close the original Image
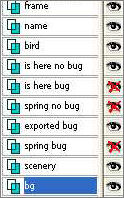
Layers are already named
|
STEP 2
Open up the frame image in your PSP workspace
Right click on the Title Bar
and select COPY from the options.
Right click on the Title Bar of your 'working' image
and select PASTE AS NEW LAYER from the options.
Rename this layer frame |
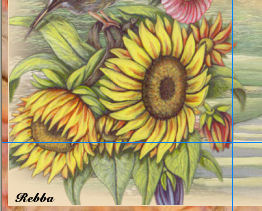
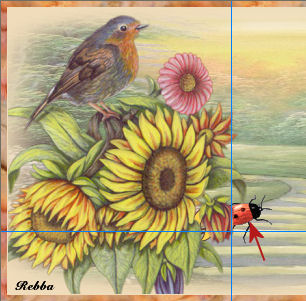
STEP 3
Open up the bird on sunflowers image in your PSP workspace
Right click on the Title Bar
and select COPY from the options.
Right click on the Title Bar of your 'working' image
and select PASTE AS NEW LAYER from the options.
IMAGE >> RESIZE = 65%
Ensure "Resize all layers" is UNCHECKED
ADJUST >>> SHARPNESS >>> SHARPEN
LAYERS >>> ARRANGE >>> MOVE DOWN
Rename this layer bird
|
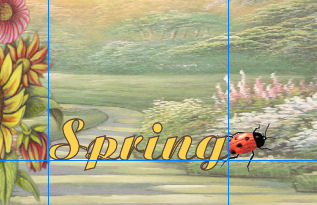
STEP 4
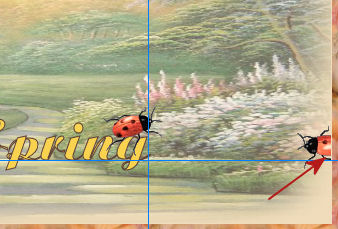
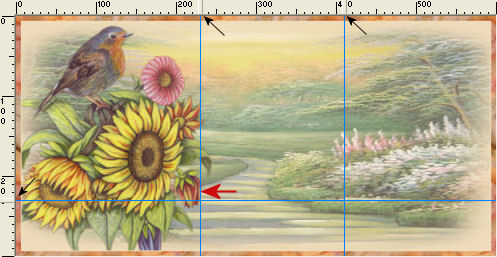
VIEW >>> RULERS
VIEW >>> GUIDES
Set a guide 230 on the top guide
and one 410 on top ruler
and 230 down the left side
Leave guide visible until finished tutorial
Place as shown Flower not going to right of 230 line. (Red arrow below)
|
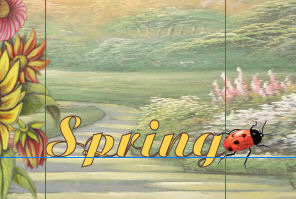
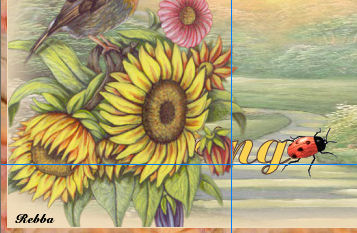
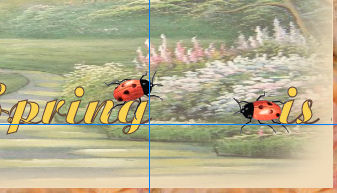
STEP 5
Open up the spring bug image in your PSP workspace
Right click on the Title Bar
and select COPY from the options.
Right click on the Title Bar of your 'working' image
and select PASTE AS NEW LAYER from the options.
Rename this layer spring bug
Use your keyboard Arrows to....
Place as shown |
|
STEP 6
Open up the spring no bug image in your PSP workspace
Right click on the Title Bar
and select COPY from the options.
Right click on the Title Bar of your 'working' image
and select PASTE AS NEW LAYER from the options.
Rename this layer spring no bug
Place your spring no bug as shown
|
|
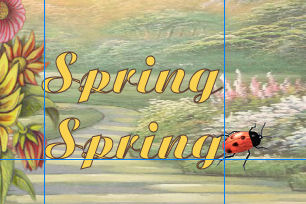
STEP 7
Now zoom in and line up the spring no bug
on top on the other spring bug word.
Moved down with your MOVER TOOL
then
Use your keyboard Arrows to...
line up the text
In layer palette turn the eye on and off
to make sure they are not moving.
Close both these layers |
|
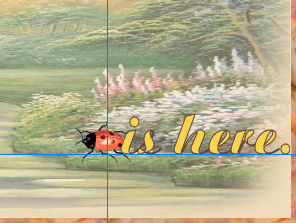
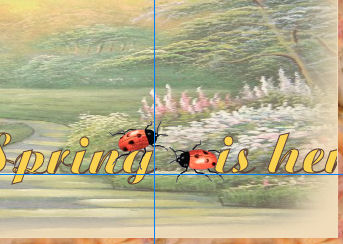
STEP 8
Open up the is here bug image in your PSP workspace
Right click on the Title Bar
and select COPY from the options.
Right click on the Title Bar of your 'working' image
and select PASTE AS NEW LAYER from the options.
Rename this layer is here bug
Use your keyboard Arrows to....
Place as shown
|
|
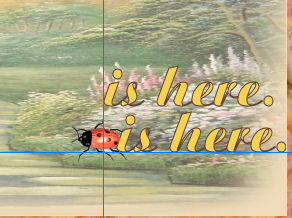
STEP 9
Open up the is here no bug image in your PSP workspace
Right click on the Title Bar
and select COPY from the options.
Right click on the Title Bar of your 'working' image
and select PASTE AS NEW LAYER from the options.
Rename this layer is here no bug
Place as shown
|
|
STEP 10
Now zoom in and line up the is here no bug
on top on the other is here bug word.
Use your keyboard Arrows to line up the text
In layer palette turn the eye on and off
to make sure they are not moving.
Close both these layers
|
|
STEP 11
LAYERS >> NEW RASTER LAYER
Select your TEXT TOOL
with font and settings of your choice
add your name to the bottom left corner of the layer.
Rename this layer name. |
|
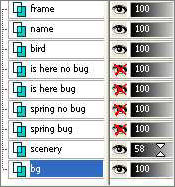
STEP 12
Set up LAYER PALETTE as shown
Right click on Title Bar and select
Copy merged from the options |
|
STEP 13
In ANIMATION SHOP
Right click the workspace and select
'Paste As New Animation' from the options
Back to PSP.
Open layer spring bug
Slide your text to left along guideline and stop where shown
Right click on Title Bar and select
Copy merged from the options |
|
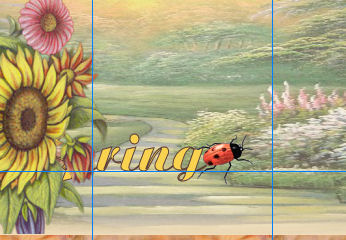
STEP 14
In ANIMATION SHOP
Right click top of frame image and select
'Paste After Current Frame' from the options.
Back to PSP.
Move text to right as shown
Right click on Title Bar and select
Copy merged from the options |
|
STEP 15
In ANIMATION SHOP
Right click top of frame image and select
'Paste After Current Frame' from the options.
Back to PSP.
Move text to right as shown
Right click on Title Bar and select
Copy merged from the options
|
|
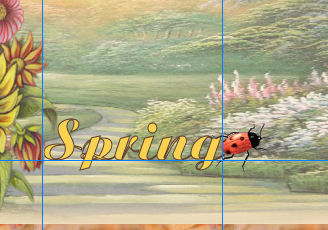
STEP 16
In ANIMATION SHOP
Right click top of frame image and select
'Paste After Current Frame' from the options.
Back to PSP.
Move text to right as shown
NOTE: open up the spring no bug layer
and line the bug layer up with it,
using your keyboard arrows
DO NOT MOVE THE SPRING TEXT.
Close the spring no bug layer
Activate the bg layer
Right click on Title Bar and select
Copy merged from the options |
|
STEP 17
In ANIMATION SHOP
Right click top of frame image and select
'Paste After Current Frame' from the options.
Minimize for now
Back to PSP.
Set up LAYER PALETTE as shown
Right click on Title Bar and select
Copy merged from the options |
|
STEP 18
In ANIMATION SHOP
Right click the workspace and select
'Paste As New Animation' from the options.
Edit >> Copy
Edit >> Paste After Current Frame
Hold down the CTRL key and hit the L key 3 times
you now have 5 frames. |
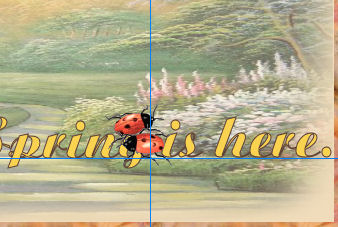
STEP 19
FILE Open the spring bug.mng
Edit >> Select All
Edit >> Copy
Edit >> Propagate Paste
Activate the working image
Edit >> Select All
Edit >> Paste into selected frame (first frame F:1)
Line the bug up as shown
The image will be attached to your mouse
line up then left click to place it. |
|
STEP 20
Edit >> Select All
Edit >> Copy
Open your minimized frames animation.
Scroll the arrow on the bottom of the frame to last frame ( F:5)
Click the gray rim around the picture to highlight it,
Edit >> Paste After Current Frame |
STEP 21
Scroll the arrow on the bottom of the frame to last frame ( F:10)
Click the gray rim around the picture to highlight it,
Edit >> Copy
FILE export to PSP
Sorry to do it this way but everyone will put
their bug in a different place.
IN PSP
Right click on the Title Bar
and select COPY from the options. |
STEP 22
Right click on the Title Bar of your 'working' image
and select PASTE AS NEW LAYER from the options.
Rename this layer exported bug
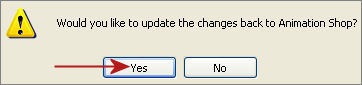
Close exported frame? NO
Save changes? YES
|
STEP 23
Set up LAYER PALETTE as shown
|
|
STEP 24
Move the is here bug layer out as shown
Right click on Title Bar and select
Copy merged from the options
|
|
STEP 25
In ANIMATION SHOP
On the working image make sure
only the last frame is highlighted.
Right click top of frame image and select
'Paste After Current Frame' from the options.
Back to PSP.
Move the image to the left as shown
Right click on Title Bar and select
Copy merged from the options
|
|
STEP 26
In ANIMATION SHOP
Right click top of frame image and select
'Paste After Current Frame' from the options.
Back to PSP.
Move the text to the left as shown
Right click on Title Bar and select
Copy merged from the options |
|
STEP 27
In ANIMATION SHOP
Right click top of frame image and select
'Paste After Current Frame' from the options.
Back to PSP.
Move the text to the left as shown
|
|
STEP 28
OPEN the is here no bug text and line the bug text up to it
Using your keyboard Arrows
DON'T MOVE THE NO BUG TEXT.
Close no bug layer.
Activate the is here bug layer
Right click on Title Bar and select
Copy merged from the options |
STEP 29
In ANIMATION SHOP
Right click top of frame image and select
'Paste After Current Frame' from the options.
Back to PSP.
Set up LAYER PALETTE as shown
Right click on Title Bar and select
Copy merged from the options |
|
STEP 30
In ANIMATION SHOP
Right click the workspace and select
'Paste As New Animation' from the options.
Hold down the CTRL key and hit the L key 4 times
you now have 5 frames.
|
STEP 31
FILE >>> Open the is here bug.mng
Edit >> Select All
Edit >> Copy
Edit >> Propagate Paste
Activate the working frames
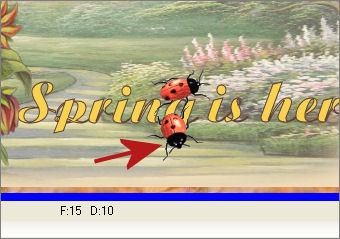
Scroll to frame 15 (F:15)
Holding down your SHIFT key
select frames.... F:15, F16, F17, F18 and F19
Edit >> Paste into selected frame (F:15)
Line the bug up as shown
The image will be attached to your mouse
line up then left click to place it. |
|
STEP 32
Edit >> Select All
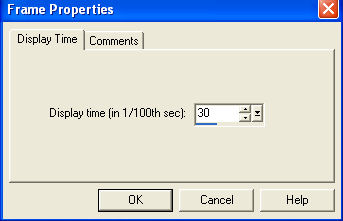
Right click on Title Bar of frames
Select 'Frame Properties' from the options
Display time =30 |
|
STEP 33
Scroll the arrow on the bottom of the frames
to tenth frame ( F:10)
Click the gray rim around the picture to highlight it,
Right click on Title Bar of frames
Select 'Frame Properties' from the options
Display time =100 |
STEP 34
Scroll the arrow on the bottom of the frame to last frame ( F:19)
Click the gray rim around the picture to highlight it,
Right click on Title Bar of frames
Select 'Frame Properties' from the options
Display time =150 |
STEP 35
View >> Animation
and while it is still running,
File >> Save As
Locate the folder in which you wish to save it.
Name your animation.
With the Gif Optimiser keep pressing NEXT
until you get to the last one... click FINISH
Close the Animation
Close the frames.
Close Animation Shop |
I hope you have enjoyed the tutorial
Rebba
|