NOTE:
In this tutorial you will be presented with 2 options as to how to create
the underwater animation section for the water, dress and hair.
OPTION 1: Follow all the instructions in the panels with a white background to do the animation from scratch.
OPTION 2: Taking the easy way out???
Follow all the instructions and where indicated (in panels with a cream background) jump to the STEP indicated.
|
STEP 1
Open up the downloaded images in your PSP workspace and minimize.
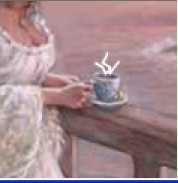
Open up the bg image in your PSP workspace
WINDOW >>> DUPLICATE
Close the original Image |
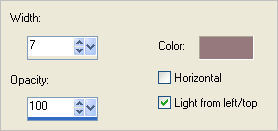
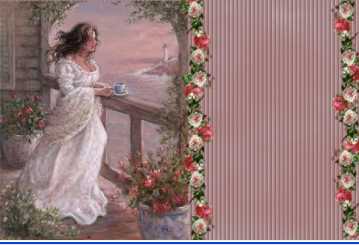
STEP 2
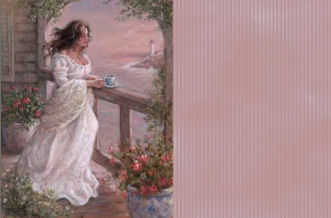
EFFECTS >> TEXTURE EFFECTS >> BLINDS
and use these settings
COLOUR = #95797c
Rename this layer bg
This will be your working image |
|
STEP 3
Open MorningBreeze tube in your PSP workspace
Right click on the Title Bar
and select COPY from the options.
Right click on the Title Bar of your 'working' image
and select PASTE AS NEW LAYER from the options.
Place it on the left size of working image.
Rename this layer tube as master
|
|
STEP 4
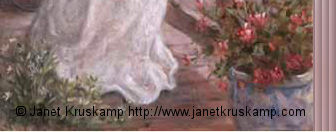
Back to the MorningBreeze tube
Activate the copyright layer
Right click on the Title Bar
and select COPY from the options.
Right click on the Title Bar of your 'working' image
and select PASTE AS NEW LAYER from the options.
Place as shown with your MOVER tool
..
so it won't be covered by the frame which is added later.
Rename this layer copyright |
|
STEP 5
Close the copyright layer
Open roses tube in your PSP workspace
Right click on the Title Bar
and select COPY from the options.
Right click on the Title Bar of your 'working' image
and select PASTE AS NEW LAYER from the options.
Rename this layer roses
Place as shown.. slightly to the right
|
|
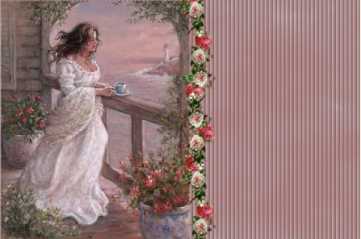
STEP 6
LAYERS >> DUPLICATE
IMAGE >>> MIRROR
IMAGE >>> FLIP
Rename this layer roses 2
Place as shown along the right edge
|
|
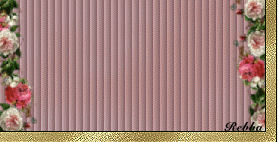
STEP 7
Open frame tube in your PSP workspace
Right click on the Title Bar
and select COPY from the options.
Right click on the Title Bar of your 'working' image
and select PASTE AS NEW LAYER from the options.
Rename this layer frame
OPEN & Adjust the copyright layer if necessary.. then close and activate the frame layer again
|
STEP 8
LAYERS >> NEW RASTER LAYER
Select your TEXT TOOL
with font and settings of your choice
add your name to the bottom right corner of the layer.
Rename this layer name. |
|
STEP 9
In your MATERIALS PALETTE
Load #400000 in your foreground
Close background
LAYERS >> NEW RASTER LAYER
Select the Paint Brush Tool
PRESET = mother love

Apply brush to new layer
Rename this layer text
You should have this now

|
NOTE:
If you opt to use the premade underwater animated selection... final underwater master.mng
... skip to STEP 15
If you wish to do the underwater animation from scratch using PSP
then continue from STEP 10 below
|
STEP 10
Activate your tube as master layer
Select your Freehand Selection Tool
(Lasso)
SELECTION TYPE = Point to point
MODE = Add (Shift)

. |
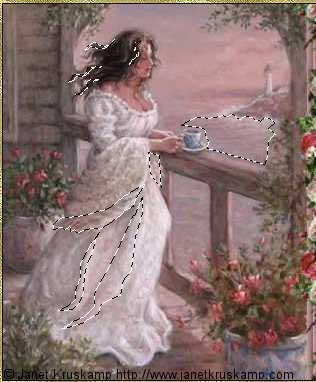
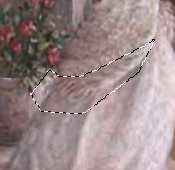
STEP 11
Select these areas
|
|
STEP 12
In your LAYER PALETTE
Right click on tube as master layer
and select
"Promote Selection To Layer"
DESELECT
With the Promoted Selection layer active
Right click on the Title Bar
and select COPY from the options.
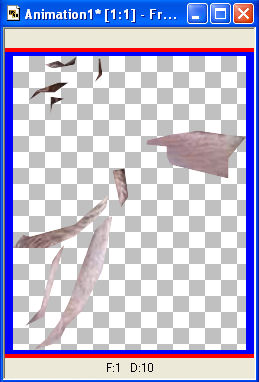
In ANIMATION SHOP
Right click the workspace and select
'Paste As New Animation' from the options. |
|
STEP 13
Effects >> Insert Image Effects >> Underwater
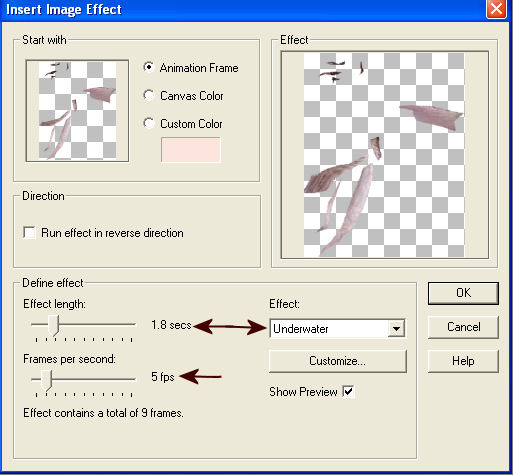
Select Customize
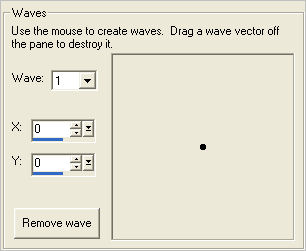
You will automatically have whatever setting you last used showing in the wave area.
Left click on the round end of each wave and pull it off the wave area.
You will now have Wave 1 showing with ( X: = 0 ) / ( Y: = 0 )
|
STEP 14
We want to set 3 waves but each time you pull out a new wave it will change to the next Wave #.
Wave: 1....( X: = minus - 7 ) / (Y: = 10)
Wave: 2.... (X: = 10 ) / ( Y: = 15 )
Wave: 3...... ( X: = 0 ) / ( Y: = minus -12 )
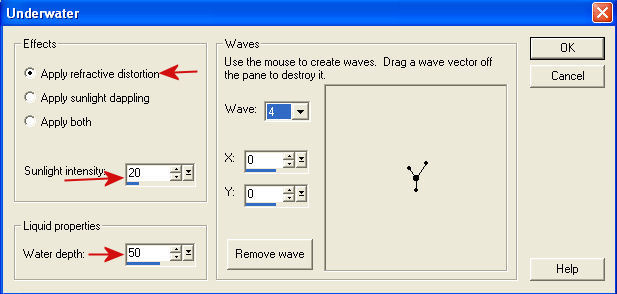
You only have 3 waves it has changed to wave 4 to show you what wave is next.
Click OK to finish.
Back to PSP.
SELECTIONS >> SELECT NONE
This is your "selection" animation |
Note: Start here if you will be using the premade underwater animation... final underwater master.mng
|
STEP 15
In your MATERIALS PALETTE
Load ' white ' in your foreground
Close bg layer
Activate layer tube as master
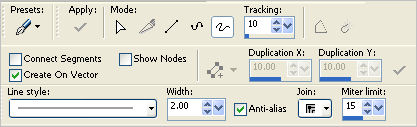
Select your Pen Tool
LINE STYLE = +Solid
JOIN = Miter Join
MODE = Draw Freehand
|
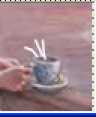
STEP 16
Zoom in on the coffee cup.
Draw 3 lines as shown.
Right click on this layer and select
"Convert to Raster Layer " from the options
Adjust >> Blur >> Gaussian Blur
RADIUS = 2.00
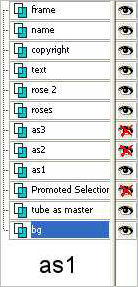
Rename this layer as1
|
|
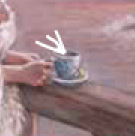
STEP 17
Repeat the above...
CLOSE as1
Zoom in on the coffee cup.
Draw 3 lines as shown.... a little to the left.
Right click on this layer and select
"Convert to Raster Layer " from the options
Adjust >> Blur >> Gaussian Blur
RADIUS = 2.00
Rename this layer as2
|
|
STEP 18
CLOSE as2
Zoom in on the coffee cup.
Draw 3 lines as shown.
Right click on this layer and select
"Convert to Raster Layer " from the options
Adjust >> Blur >> Gaussian Blur
RADIUS = 2.00
Rename this layer as3
|
|
Note: If you will be using the premade underwater animation... final underwater master.mng
go to STEP 25
|
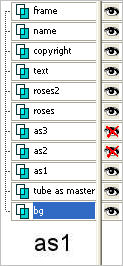
STEP 19
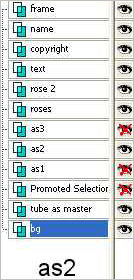
Set up LAYER PALETTE as shown
Right click on Title Bar and select
Copy merged from the options
|
|
STEP 20
In ANIMATION SHOP
Right click the workspace and select
'Paste As New Animation' from the options.
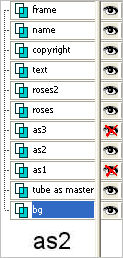
Back to PSP
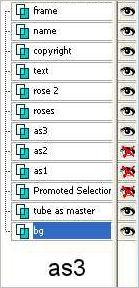
Set up LAYER PALETTE as shown
Right click on Title Bar and select
Copy merged from the options |
|
STEP 21
In ANIMATION SHOP
Right click top of frame image and select
'Paste After Current Frame' from the options.
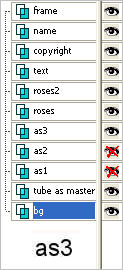
Back to PSP
Set up LAYER PALETTE as shown
Right click on Title Bar and select
Copy merged from the options |
|
STEP 22
In ANIMATION SHOP
Right click top of frame image and select
'Paste After Current Frame' from the options
NOTE: we need 9 frames to match up with the
selection animation.
Edit >> Select All
Edit >> Copy
Scroll the arrow on the bottom of the frame
to third frame ( F:3)
Click the gray rim around the picture to highlight it,
Edit >> Paste After Current Frame
This will give us 3 more frames (6)
Scroll the arrow on the bottom of the frame
to sixth frame ( F:6)
Click the gray rim around the picture to highlight it,
Edit >> Paste After Current Frame
That will give us 3 more frames (9)
|
STEP 23
Edit >> Select All
Right click on Title Bar of frames
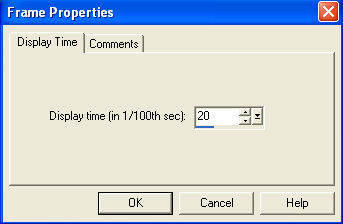
Select 'Frame Properties' from the options
Display time = 20
This will match the background speed. |
|
STEP 24
Activate the "selection" animation
Edit >> Select All
Edit >> Copy
Edit >> Propagate Paste
Activate the working animation
Edit >> Select All
Edit >> Paste into selected frame
You will need to move your mouse around to see the selection.
A good place to line up the selection is here and the hair then click mouse to place it.
|
|
STEP 25
If you opted to use the premade underwater animation
final underwater master.mng
Set up LAYER PALETTE as shown
Right click on Title Bar and select
Copy merged from the options
|
|
STEP 26
In ANIMATION SHOP
Right click the workspace and select
'Paste As New Animation' from the options.
Back to PSP
Set up LAYER PALETTE as shown
Right click on Title Bar and select
Copy merged from the options |
|
STEP 27
In ANIMATION SHOP
Right click top of frame image and select
'Paste After Current Frame' from the options.
Back to PSP
Set up LAYER PALETTE as shown
Right click on Title Bar and select
Copy merged from the options |
|
STEP 28
In ANIMATION SHOP
Right click top of frame image and select
'Paste After Current Frame' from the options
NOTE: we need 9 frames to match up with the selection animation.
Edit >> Select All
Edit >> Copy
Scroll the arrow on the bottom of the frame to third frame ( F:3)
Click the gray rim around the picture to highlight it,
Edit >> Paste After Current Frame
This will give us 3 more frames (6)
Scroll the arrow on the bottom of the frame to sixth frame ( F:6)
Click the gray rim around the picture to highlight it,
Edit >> Paste After Current Frame
That will give us 3 more frames (9)
|
STEP 29
Edit >> Select All
Right click on Title Bar of frames
Select 'Frame Properties' from the options
Display time = 20
This will match the background speed. |
|
STEP 30
FILE >>> OPEN >> final underwater master.mng
Activate the working animation
Edit >> Select All
Edit >> Paste into selected frame
You will need to move your mouse around to see the selection.
A good place to line up the selection is here and the hair then click mouse to place it.
|
|
STEP 31
View >> Animation
and while it is still running,
File >> Save As
Locate the folder in which you wish to save it.
Name your animation.
With the Gif Optimiser keep pressing NEXT
until you get to the last one... click FINISH
Close the Animation
Close the frames.
Close Animation Shop |
I hope you have enjoyed the tutorial.
Rebba
|
|
|