STEP 1
Open up the downloaded images in your PSP workspace and minimize.
Open bg.jpg in your PSP workspace
WINDOW >> DUPLICATE
LAYERS >>> Promote background Layer
Close the original image
This will be your working image
Rename this layer bg |
STEP 2
Open outer frame image in your PSP workspace
Right click on the Title Bar
and select COPY from the options.
Right click on the Title Bar of your 'working' image
and select PASTE AS NEW LAYER from the options.
Rename this layer outer frame |
STEP 3
Open angel with hearts image in your PSP workspace
Activate angel layer
Right click on the Title Bar
and select COPY from the options.
Right click on the Title Bar of your 'working' image
and select PASTE AS NEW LAYER from the options.
Place it in the lower right corner
LAYERS >>> ARRANGE >>> MOVE DOWN
Rename this layer angel |
|
STEP 4
Effects >> 3D Effects >> Drop Shadow
Vertical and Horizontal = 5
Opacity = 50
Blur = 5.00
Color = Black |
STEP 5
Open angel with heart image in your PSP workspace
Activate hearts laying layer
Right click on the Title Bar
and select COPY from the options.
Right click on the Title Bar of your 'working' image
and select PASTE AS NEW LAYER from the options.
Repeat Drop Shadow
Place it in the lower left corner
Rename this layer hearts laying |
|
STEP 6
Open valentine_icon_005 image in your PSP workspace
Right click on the Title Bar
and select COPY from the options.
Right click on the Title Bar of your 'working' image
and select PASTE AS NEW LAYER from the options.
LAYERS >>> ARRANGE >>> MOVE DOWN
Place as shown
Rename this layer heart |
|
STEP 7
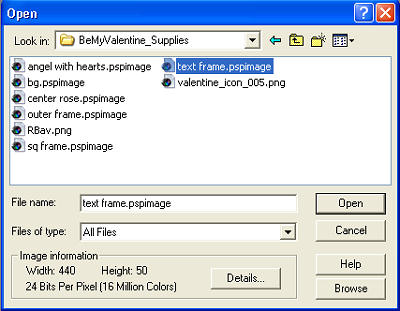
Open your Animation Shop
File >>> Open
Select
your text frame.pspimage
|
|
STEP 8
We are going to need 10 frames
Right click on Title Bar of frame
and select COPY from the options
Right click again on Title Bar of frame image and select
'Paste After Current Frame' from the options.
Depress your CTRL key and press the letter L
(Upper Case) 8 times
Minimize for now
|
STEP 9
File >>> Banner Wizard
Check "transparent background"
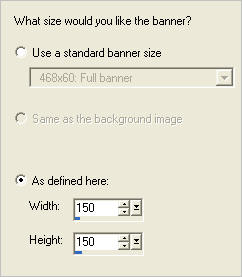
Click NEXT
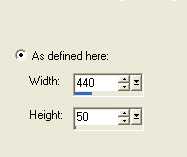
banner size... Check "As defined here"
Enter these settings
Click NEXT
|
|
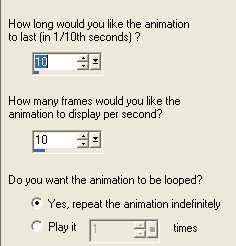
STEP 10
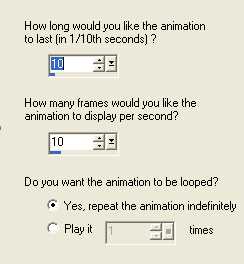
Timing....
Enter these settings
|
|
STEP 11
Click NEXT
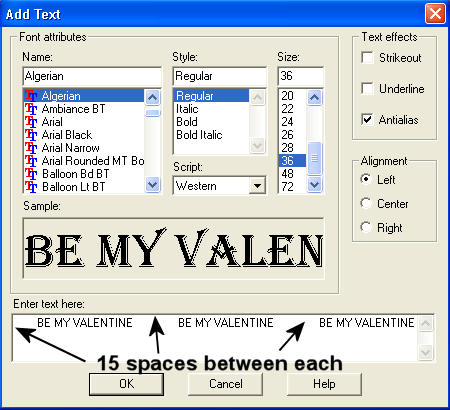
Text.....
Click "Set Font"
Enter settings in image below
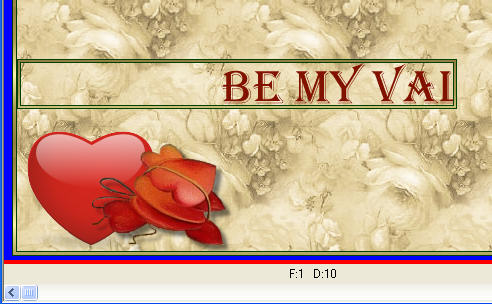
Add Text....
BE MY VALENTINE
I did 4 groups of words and
used 15 spaces between group of words.
|
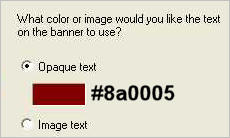
STEP 12
Check OK
Check NEXT
I used Red #8a0005
Click NEXT
|
|
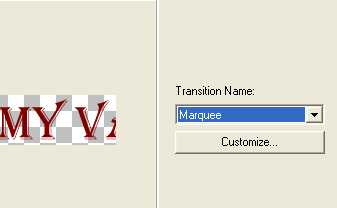
STEP 13
Select Transition Name: "Marquee"
|
|
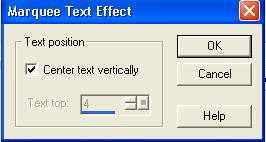
STEP 14
Click CUSTOMIZE
Enter setting
Click OK
Click FINISH
|
|
STEP 15
Maximize and Activate the frame animation
Edit >> Select All
Edit >> Copy
Edit >> Propagate Paste
Activate the text animation
Edit >> Select All
Edit >> Paste into selected frame
The image will be attached to your mouse
Center the frame over your text and left click to place it.

Minimize this for now.
|
STEP 16
Still in Animation Shop
File >>> Open
Select your square frame.pspimage
We are going to need 10 frames
Right click on Title Bar of frame and select COPY from the options
Right click again on Title Bar of frame image and select
'Paste After Current Frame' from the options.
Depress your CTRL key and press the letter L
(Upper Case) 8 times
Minimize for now
|
STEP 17
File >>> Banner Wizard
Check "Transparent background"
Click NEXT
Banner size... Check "As defined here"
Enter these settings
Click NEXT
|
|
STEP 18
Timing....
Enter these settings
Click NEXT
|
|
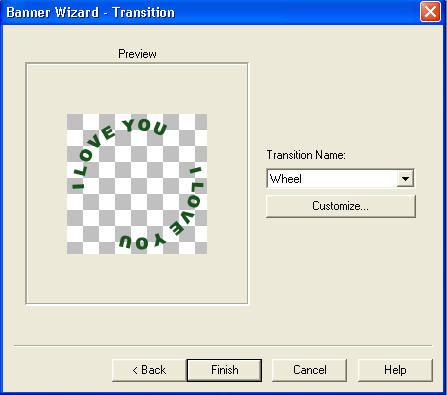
STEP 19
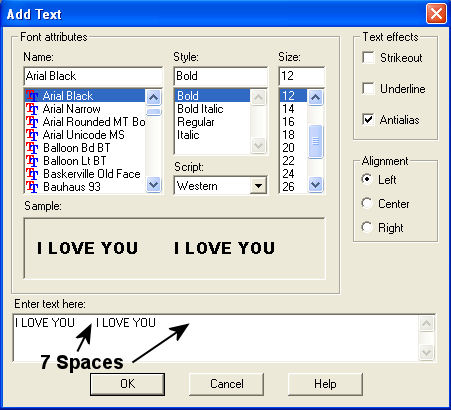
Text.....
Click "Set Font"
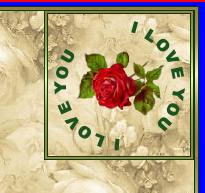
Add Text....
I LOVE YOU
You need 2 sets of words 7 spaces between and 7 spaces after entering text
Set Font
Click OK
|
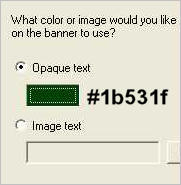
STEP 20
Click NEXT
Select "Opaque text"
Use green #1b531f
|
|
STEP 21
Click NEXT
Transition Name: WHEEL
Click CUSTOMIZE
Select "Clockwise"
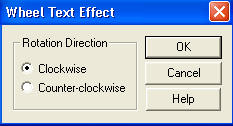
Click OK
Click Finish
|
STEP 22
Maximize and Activate the square frame animation
Edit >> Select All
Edit >> Copy
Edit >> Propagate Paste
Activate the text animation (Wheel banner)
Edit >> Select All
Edit >> Paste into selected frame
ZOOM in on the first frame (F:1)
Center the frame over your text and left click to place it.
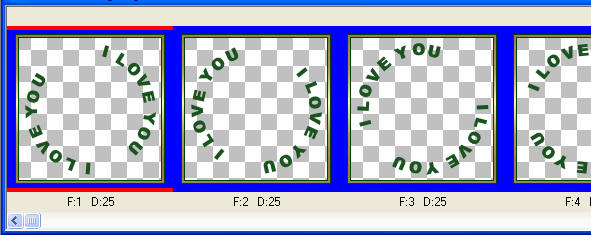
Minimize for now
|
STEP 23
Back to PSP.
LAYERS >> NEW RASTER LAYER
Select your TEXT TOOL
with font and settings of your choice
add your name to the bottom left corner of the layer.
Rename this layer name. |
|
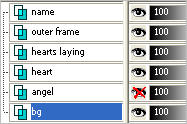
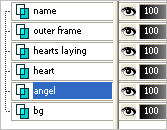
STEP 24
Set up LAYER PALETTE as shown
|
|
STEP 25
Right click on Title Bar and select
Copy merged from the options
In ANIMATION SHOP
Right click the workspace and select
'Paste As New Animation' from the options.
CAPS LOCK on...
Hold down your CTRL key and hit the L key 9 times
These are you background frames
|
STEP 26
Activate the marquee text animation (the one with the gold frame)
(BE MY VALENTINE)
Edit >> Select All
Edit >> Copy
Edit >> Propagate Paste
Activate the background frames
Edit >> Select All
Edit >> Paste into selected frame
NOTE: place the left side of the text frame
next to the outer frame and all the way to left.
|
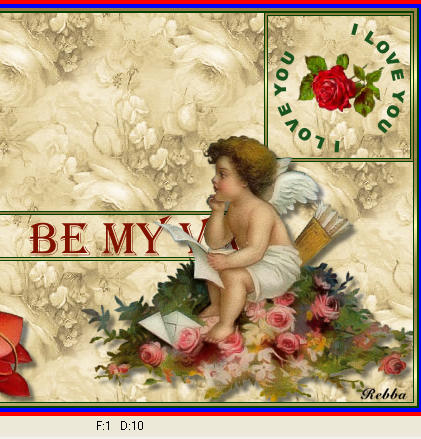
STEP 27
Activate the wheel text animation (with the gold frame)
Edit >> Select All
Edit >> Copy
Edit >> Propagate Paste
Activate the background frames
Edit >> Paste into selected frame
Place as shown top right corner
|
|
STEP 28
Still in Animation Shop
File >>> Open the center rose image
Edit >> Select All
Edit >> Copy
Edit >> Propagate Paste
Activate the background frames
Edit >> Paste into selected frame
Place rose in center of square frame.
|
|
STEP 29
Back to PSP.
Activate the angel layer
|
|
STEP 30
Right click on Title Bar and select
Copy from the options
In ANIMATION SHOP
Right click the workspace and select
'Paste As New Animation' from the options.
Edit >> Copy
Activate the background frames
Edit >> Paste into selected frame
Center the frame on top of the other frame.
The image will be attached to your mouse
Center the frame and left click to place it.
|
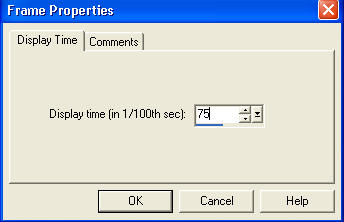
STEP 31
Edit >> Select All
Right click on Title Bar of frames
Select 'Frame Properties' from the options
Display time = 75
( or the speed of your own choice) |
|
STEP 32
View >> Animation
and while it is still running,
File >> Save As
Locate the folder in which you wish to save it.
Name your animation.
With the Gif Optimiser keep pressing NEXT
until you get to the last one... click FINISH
Close the Animation
Close the frames.
Close Animation Shop |
.. |
I hope you have enjoyed this tutorial
Rebba |
.. |