VERSION 1
|
STEP 21
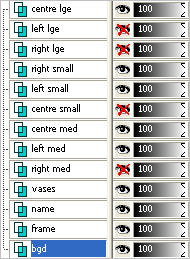
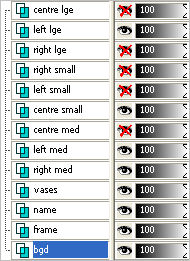
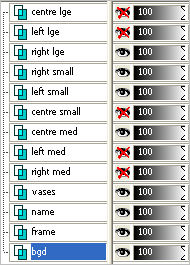
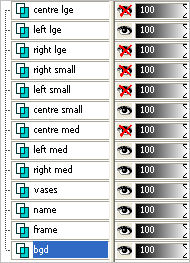
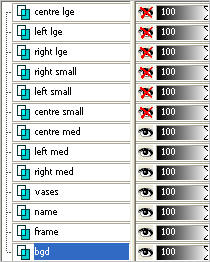
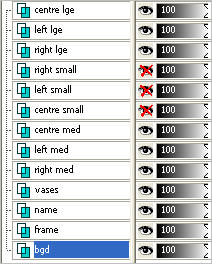
Set up LAYER PALETTE as shown
Right click on Title Bar and select
Copy merged from the options
In ANIMATION SHOP
Right click the workspace and select
'Paste As New Animation' from the options.
|
|
STEP 22
Back to PSP.
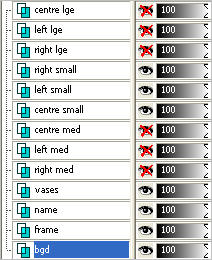
Set up LAYER PALETTE as shown
Right click on Title Bar and select
Copy merged from the options
In ANIMATION SHOP
Right click top of frame image and select
'Paste After Current Frame' from the options.
|
|
STEP 23
Back to PSP.
Set up LAYER PALETTE as shown
Right click on Title Bar and select
Copy merged from the options
In ANIMATION SHOP
Right click top of frame image and select
'Paste After Current Frame' from the options.
|
|
STEP 24
Back to PSP.
Set up LAYER PALETTE as shown
Right click on Title Bar and select
Copy merged from the options
In ANIMATION SHOP
Right click top of frame image and select
'Paste After Current Frame' from the options.
|
|
STEP 25
Back to PSP.
Set up LAYER PALETTE as shown
Right click on Title Bar and select
Copy merged from the options
In ANIMATION SHOP
Right click top of frame image and select
'Paste After Current Frame' from the options.
|
|
STEP 26
Back to PSP.
Set up LAYER PALETTE as shown
Right click on Title Bar and select
Copy merged from the options |
|
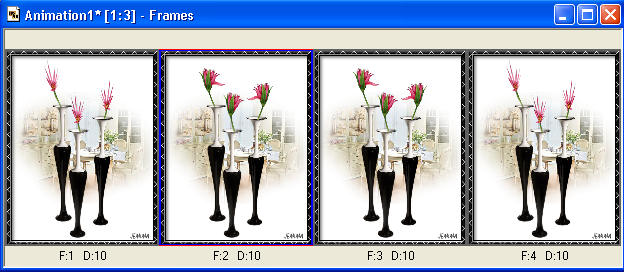
STEP 27
In ANIMATION SHOP
Right click top of frame image and select
'Paste After Current Frame' from the options.
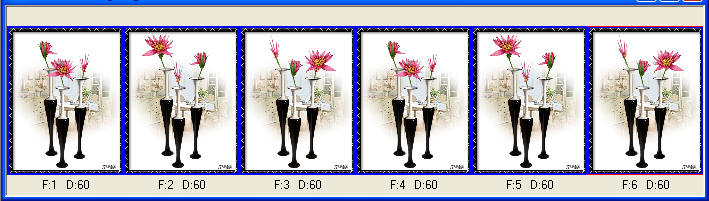
Edit >> Select All
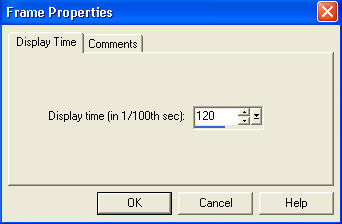
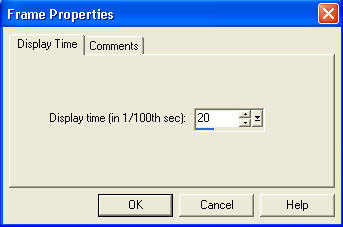
Right click on Title Bar of frames
Select 'Frame Properties' from the options
Display time = 60
|
STEP 28
View >> Animation
and while it is still running,
File >> Save As
Locate the folder in which you wish to save it.
Name your animation.
With the Gif Optimiser keep pressing NEXT
until you get to the last one... click FINISH
Close the Animation
Close the frames.
Close Animation Shop |
.. |
VERSION 2
|
|
STEP 29
Set up LAYER PALETTE as shown
Right click on Title Bar and select
Copy merged from the options |
|
STEP 30
In ANIMATION SHOP
Right click the workspace and select
'Paste As New Animation' from the options.
Depress your CTRL key and press the letter L
(Upper Case) 1 time
|
|
STEP 31
Back to PSP.
Set up LAYER PALETTE as shown
Right click on Title Bar and select
Copy merged from the options
|
|
STEP 32
In ANIMATION SHOP
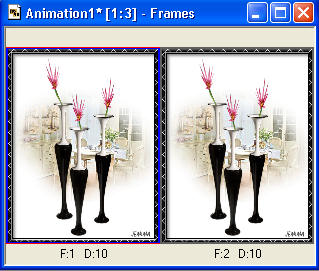
Right Click inside frame 1 (F:1) and select
'Paste After Current Frame' from the options.
Depress your CTRL key and press the letter L
(Upper Case) 1 time
|
STEP 33
Back to PSP.
Set up LAYER PALETTE as shown
Right click on Title Bar and select
Copy merged from the options
|
|
STEP 34
In ANIMATION SHOP
Right Click inside frame 2 (F:2) and select
'Paste After Current Frame' from the options.
|
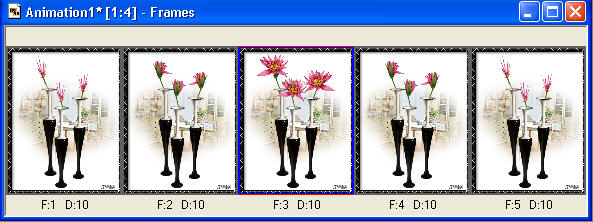
STEP 35
Edit >> Select All
Right click on Title Bar of frames
Select 'Frame Properties' from the options
Display time =20
|
STEP 36
Right click inside frame 3 (F:3) and
select 'Frame Properties' from the options
Display time = 120 |
|
STEP 37
View >> Animation
and while it is still running,
File >> Save As
Locate the folder in which you wish to save it.
Name your animation.
With the Gif Optimiser keep pressing NEXT
until you get to the last one... click FINISH
Close the Animation
Close the frames.
Close Animation Shop |
... |