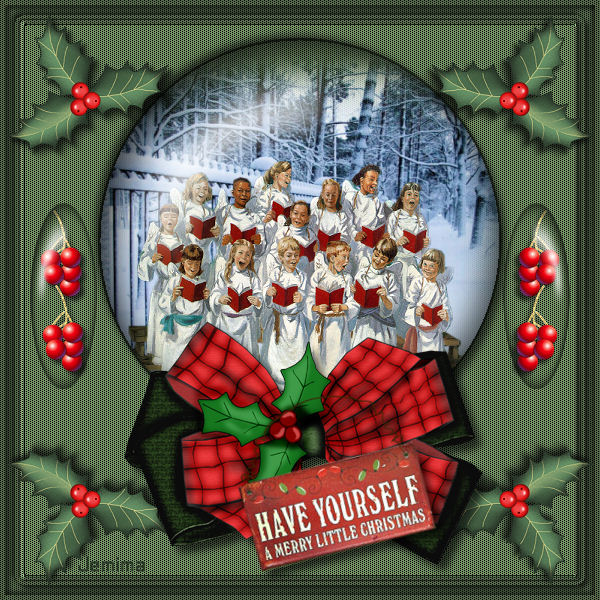
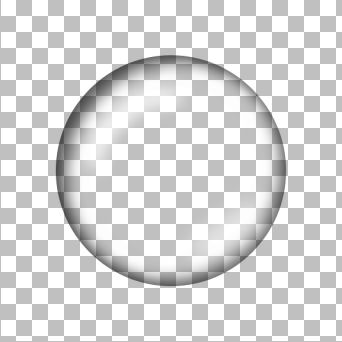
We'll create the GLOBE first, then put it to use.
|
STEP 1
Open a new image 600 x 600
Transparent background
PSP9: Colour Depth = 16 Million Colors (24bit)
PSPX-X6: Colour Depth RGB = 8bits/channel
VIEW >>> RULERS
In your MATERIALS PALETTE
Load BLACK in your foreground
Load WHITE in your background
|
STEP 2
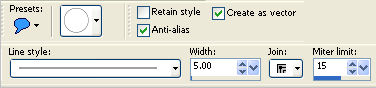
Select your PRESET SHAPES tool
SHAPE = ELLIPSE
This next step doesn't have to be exact...
Staring at around 100 pixels across and 100 pixels down
drag your cursor to 500 pixels across and 500 pixels down and release
LAYERS >>> Convert to Raster Layer
|
STEP 3
SELECTIONS >>> SELECT ALL
SELECTIONS >>> FLOAT
SELECTIONS >>> DEFLOAT
LAYERS >>> NEW RASTER LAYER
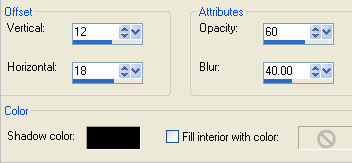
EFFECTS >>> 3D EFFECTS >>> CUTOUT
|
|
STEP 4
LAYERS >>> NEW RASTER LAYER
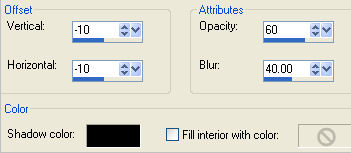
EFFECTS >>> 3D EFFECTS >>> CUTOUT
DESELECT
|
|
STEP 5
LAYERS >>> MERGE >>> MERGE DOWN
DELETE layers Raster 1 and Raster 2 |
|
STEP 6
LAYERS >>> NEW RASTER LAYER
LAYERS >>> ARRANGE >>> SEND TO BOTTOM
Flood fill with a colour so you can see what you are doing next.
ACTIVATE the top layer
LAYERS >>> NEW RASTER LAYER
In your MATERIALS PALETTE
reverse your Foreground and Background
....
so that the white is now in the foreground
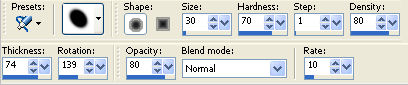
Select your AIRBRUSH tool
PRESET = +Round 10
|
STEP 7
Draw a curved line...
doesn't have to be perfect.
|
|
STEP 8
ADJUST >>> BLUR >>> GAUSSIAN BLUR
RADIUS = 16.00
|
|
STEP 9
If you also wish to add a highlight to the bottom right
LAYERS >>> NEW RASTER LAYER
Select your AIRBRUSH tool ... Same settings
Draw a curved line...
|
|
STEP 10
ADJUST >>> BLUR >>> GAUSSIAN BLUR
RADIUS = 16.00
If you want it more blurred
EDIT >>> Repeat Gaussian Blur
|
|
STEP 11
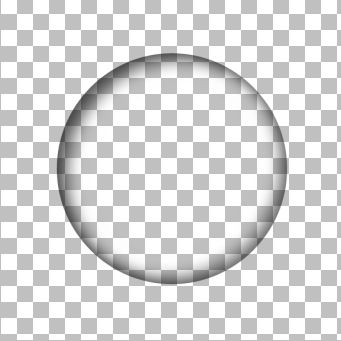
NOW.. to save your globe...
FIRST OPTION... with 2 highlights
1:- DELETE the bottom coloured layer
2:-
Right click on the Title Bar
and select
COPY MERGED from the options
3:- Right click in your PSP workspace
and select
Paste as NEW image.
4:- Name and Save as a .pspimage
|
|
STEP 12
SECOND OPTION... with 1 highlight
1:- CLOSE the top layer and Activate the layer below
2:- Right click on the Title Bar and select
COPY MERGED from the options
3:- Right click in your PSP workspace
and select Paste as NEW image.
4:- Name and Save as a .pspimage
|
|
|
|
STEP 13
Open a new image 600 x 600
Transparent background
PSP9: Colour Depth = 16 Million Colors (24bit)
PSPX-X6: Colour Depth RGB = 8bits/channel
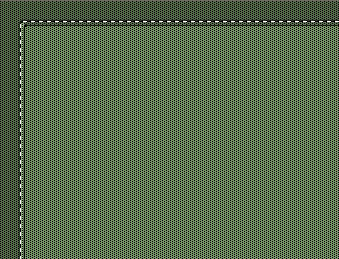
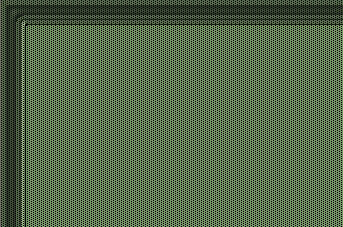
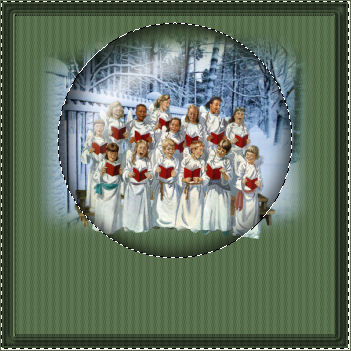
Flood fill with GREEN #576949
|
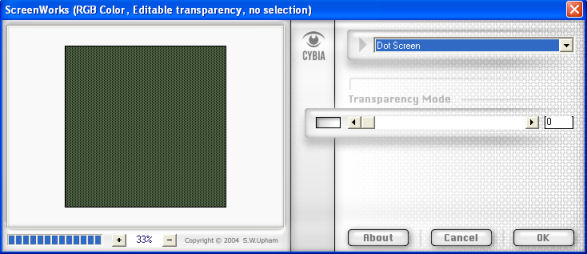
STEP 14
EFFECTS >>> PLUGINS >>> CYBIA >>> SCREENWORKS >>> DOT SCREEN
|
STEP 15
SELECTIONS >>> SELECT ALL
SELECTIONS >>> MODIFY >>> CONTRACT = 25
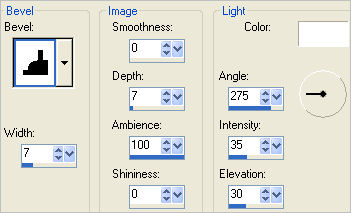
EFFECTS >>> 3D EFFECTS >>> OUTER BEVEL
|
|
STEP 16
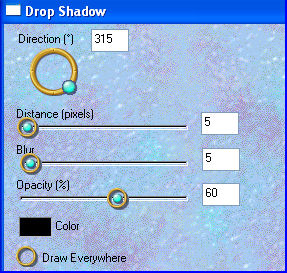
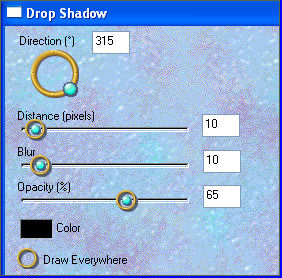
EFFECTS >>> 3D EFFECTS >>> DROP SHADOW
Vertical & Horizontal offsets = 1
Colour = Black
Opacity = 70
Blur = 2.00
Repeat Drop Shadow effect changing
Vertical & Horizontal Offsets to - ( minus ) 1
Click OK
SELECTIONS >>> MODIFY >>> EXPAND = 5
Repeat both Drop Shadows
|
|
STEP 17
SELECTIONS >>> INVERT
SELECTIONS >>> MODIFY >>> CONTRACT = 5
SELECTIONS >>> INVERT
EFFECTS >>> PLUGINS >>> EYE CANDY 3 >>>
DROP SHADOW
|
|
STEP 18
EDIT >>> Repeat Drop Shadow.. change DIRECTION to 135
DESELECT |
|
STEP 19
Open up the Globe with 1 highlight image you created
in your PSP workspace
Right click on the Title Bar and select COPY from the options
Right click on the Title Bar of your tag image
and select PASTE AS NEW LAYER from the options.
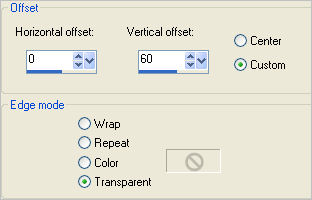
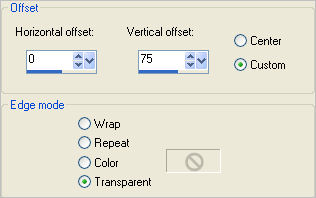
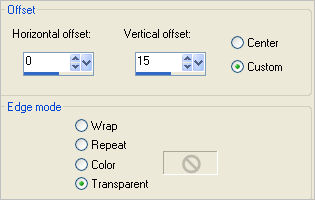
EFFECTS >>> IMAGE EFFECTS >>> OFFSET
|
|
STEP 20
Open up the anna.br-misted1027 image
in your PSP workspace
Right click on the Title Bar and select COPY from the options
Right click on the Title Bar of your tag image
and select PASTE AS NEW LAYER from the options.
IMAGE >>> RESIZE = 75%
Ensure "Resize all layers" is UNCHECKED
Resample using WEIGHTED AVERAGE
EFFECTS >>> IMAGE EFFECTS >>> OFFSET
|
|
STEP 21
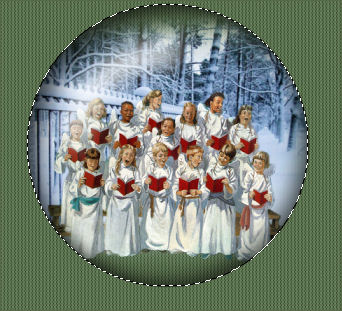
Open up the GG08~ChristmasChoir_001 image
in your PSP workspace
Right click on the Title Bar and select COPY from the options
Right click on the Title Bar of your tag image
and select PASTE AS NEW LAYER from the options.
IMAGE >>> RESIZE = 75%
Ensure "Resize all layers" is UNCHECKED
Resample using WEIGHTED AVERAGE
ADJUST >>> SHARPNESS >>> SHARPEN
EFFECTS >>> IMAGE EFFECTS >>> OFFSET |
|
STEP 22
LAYERS >>> MERGE >>> MERGE DOWN
LAYERS >>> ARRANGE >>> MOVE DOWN
ACTIVATE Raster 2
With your MAGIC WAND
Mode = Replace
Match Mode = RGB Value
Tolerance = 0
Feather = 1
Antialias = Checked
Sample Merged = UNCHECKED
PSP9 - X6: Check CONTIGUOUS
PSPX - X6: There is no " Sample Merged"
PSPX - X6: Use all layers = UNChecked
PSP9 - X6: ANTIALIAS = Outside
Select the area outside the globe
|
|
STEP 23
SELECTIONS >>> INVERT
SELECTIONS >>> MODIFY >>> CONTRACT = 3
SELECTIONS >>> INVERT
ACTIVATE Raster 3
Hit your DELETE key
SELECTIONS >>> INVERT |
|
STEP 24
EFFECTS >>> PLUGINS >>> EYE CANDY 3 >>>
DROP SHADOW |
|
STEP 25
EDIT >>> Repeat Drop Shadow.. change DIRECTION to 135
DESELECT
|
|
STEP 26
ACTIVATE Raster 2
Open up the atce33 bv image in your PSP workspace
Right click on the Title Bar and select COPY from the options
Right click on the Title Bar of your tag image
and select PASTE AS NEW LAYER from the options.
EFFECTS >>> PLUGINS >>> EYE CANDY 3 >>>
DROP SHADOW
Same settings
.BUT change DIRECTION to 315
Reposition with your MOVER tool
|
|
STEP 27
Open up the GG08~ChristmasSigns_001 image
in your PSP workspace
(The sign is already selected)
Right click on the Title Bar and select COPY from the options
Right click on the Title Bar of your tag image
and select PASTE AS NEW LAYER from the options.
EFFECTS >>> PLUGINS >>> EYE CANDY 3 >>>
DROP SHADOW
Same settings
PSP9:IMAGE >>> ROTATE >>> FREE ROTATE = LEFT 15
Ensure "All layers" is UNCHECKED
PSPX - PSPX6: IMAGE >>> FREE ROTATE = LEFT 15
Ensure "All layers" is UNCHECKED
Reposition with your MOVER tool
|
|
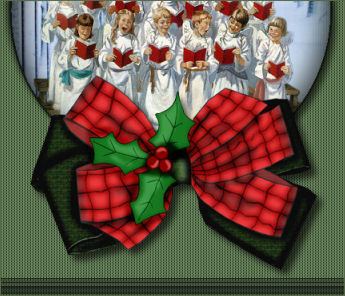
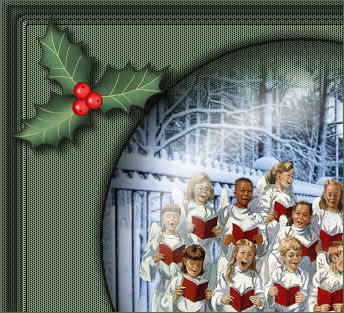
STEP 28
Open up the HollyJolly1PaintedBy~V image
in your PSP workspace
(The holly is already selected)
Right click on the Title Bar and select COPY from the options
Right click on the Title Bar of your tag image
and select PASTE AS NEW LAYER from the options.
IMAGE >>> RESIZE = 60%
Ensure "Resize all layers" is UNCHECKED
Resample using WEIGHTED AVERAGE
ADJUST >>> SHARPNESS >>> SHARPEN
EFFECTS >>> PLUGINS >>> EYE CANDY 3 >>>
DROP SHADOW
Same settings
BUT change DISTANCE & BLUR to 5
Reposition with your MOVER tool
|
|
STEP 29
LAYERS >>> DUPLICATE
IMAGE >>> MIRROR
LAYERS >>> MERGE >>> MERGE DOWN
LAYERS >>> DUPLICATE
IMAGE >>> FLIP
In your LAYER PALETTE
Move Copy of Raster 6 beneath Raster 4
LAYERS >>> MERGE >>> MERGE VISIBLE
|
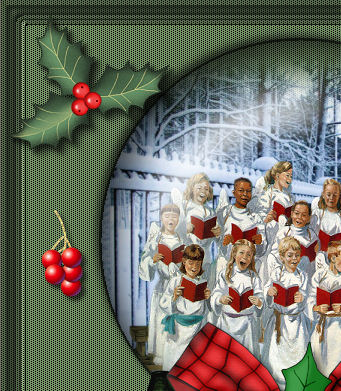
STEP 30
Open up the Baies de houx image
in your PSP workspace
(The berries are already selected)
Right click on the Title Bar and select COPY from the options
Right click on the Title Bar of your tag image
and select PASTE AS NEW LAYER from the options.
IMAGE >>> RESIZE = 60%
Ensure "Resize all layers" is UNCHECKED
Resample using WEIGHTED AVERAGE
ADJUST >>> SHARPNESS >>> SHARPEN
EFFECTS >>> PLUGINS >>> EYE CANDY 3 >>>
DROP SHADOW
Same settings
Reposition with your MOVER tool
|
|
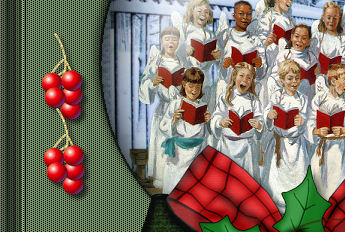
STEP 31
LAYERS >>> DUPLICATE
Reposition below previous berries with your MOVER tool
LAYERS >>> MERGE >>> MERGE DOWN
LAYERS >>> DUPLICATE
|
|
STEP 32
LAYERS >>> DUPLICATE
IMAGE >>> MIRROR
LAYERS >>> MERGE >>> MERGE DOWN
Open up the Globe with 1 highlight image you created
in your PSP workspace
Right click on the Title Bar and select COPY from the options
Right click on the Title Bar of your tag image
and select PASTE AS NEW LAYER from the options.
IMAGE >>> RESIZE = 25%
Ensure "Resize all layers" is UNCHECKED
Resample using WEIGHTED AVERAGE
Reposition with your MOVER tool
|
|
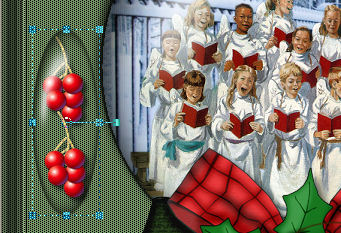
STEP 33
Select your DEFORMATION tool
Mode = SCALE
use default settings
PSPX-X3:Select your PICK tool
Adjust as shown
|
|
STEP 34
Click the RESET RECTANGLE arrow
Select your MOVER tool to disengage
the Deformation / Pick tool
LAYERS >>> DUPLICATE
IMAGE >>> MIRROR
LAYERS >>> MERGE >>> MERGE VISIBLE
ADD your name
LAYERS >>> MERGE >>> MERGE ALL (Flatten)
Save as .jpg image
|
|
|
|
|
|
|