STEP 1
Open a new image 650 x 500
Transparent background
RASTER BACKGROUND
PSPX - X2: Colour Depth = 8bits/channel
PSPX3: Colour Depth RGB = 8bits/channel
Flood fill withWHITE #ffffff
LAYERS >>> NEW RASTER LAYER
Flood fill with BLUE #6c8a8f
|
STEP 2
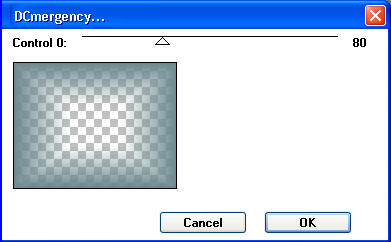
EFFECTS >>> PLUGINS >>> DC Layer >>> DCmergency |
|
STEP 3
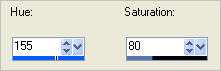
ADJUST >>> HUE & SATURATION >>> COLORIZE
LAYERS >>> NEW RASTER LAYER
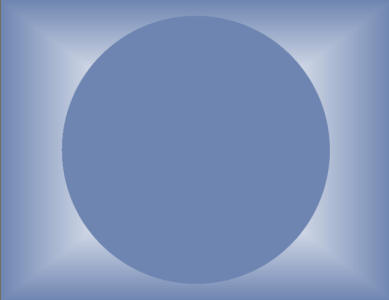
Flood fill with MID BLUE #6e85b1
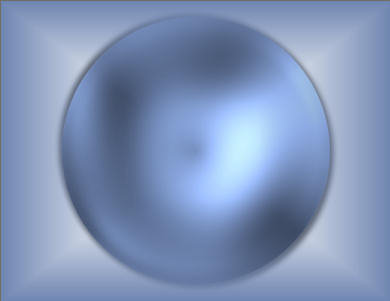
EFFECTS>>> GEOMETRIC EFFECTS >>> CIRCLE
EDGE MODE = Transparent
IMAGE >>> RESIZE = 90%
Ensure "Resize all layers" is UNCHECKED
Resample using WEIGHTED AVERAGE
|
|
STEP 4
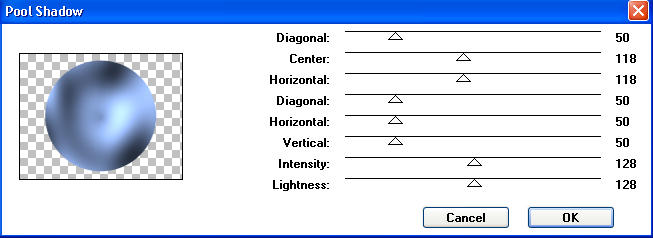
EFFECTS >>> PLUGINS >>> Gregs Factory Output Vol II >>> Pool Shadow
|
STEP 5
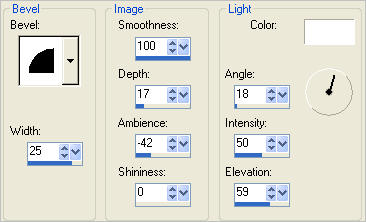
EFFECTS >>> 3D EFFECTS >>> INNER BEVEL |
|
STEP 6
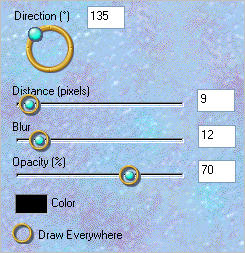
EFFECTS >>> PLUGINS >>> EYE CANDY 3 >>> DROP SHADOW |
|
STEP 7
EDIT >>> Repeat Drop Shadow.. change DIRECTION to 315
LAYERS >>> ARRANGE >>> MOVE DOWN
|
|
STEP 8
ACTIVATE RASTER 1
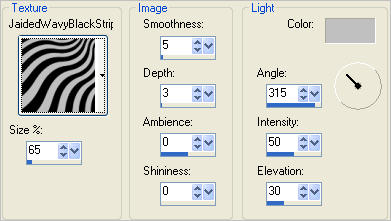
EFFECTS >>> TEXTURE EFFECTS >>> TEXTURE
COLOUR = #c0c0c0
ADJUST >>> SHARPNESS >>> SHARPEN MORE
|
|
STEP 9
ACTIVATE RASTER 3
LAYERS >>> NEW RASTER LAYER
SELECTIONS >>> SELECT ALL
Open up the Paysage 29.11.10.02 tubes & mists corinne.vicaire image
in your PSP workspace
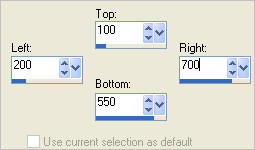
Choose your SELECTION TOOL then click on the CUSTOM SELECTION symbol
and enter these coordinates. |
|
STEP 10
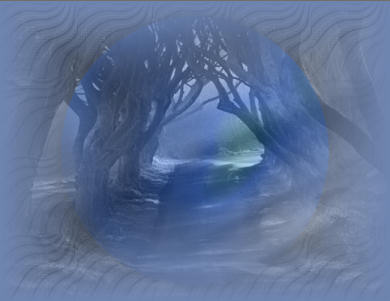
Right click on the Title Bar and select COPY from the options
Right click on the Title Bar of your tag image
and select PASTE INTO SELECTION from the options.
DESELECT
In your LAYER PALETTE
change the BLEND MODE to LUMINANCE (L)
|
|
STEP 11
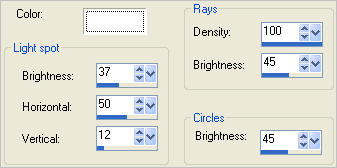
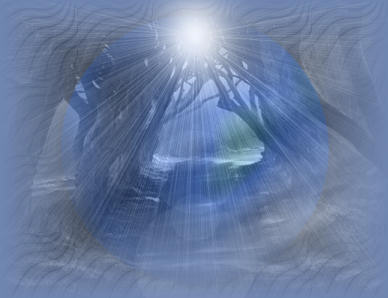
EFFECTS >>> ILLUMINATION EFFECTS >>> SUNBURST |
|
STEP 12
ACTIVATE RASTER 2
EDIT >>> Repeat Sunburst
Save as .pspimage
(So that you don't lose your work should PSP hiccup *S*)
Minimize for now
|
|
STEP 13
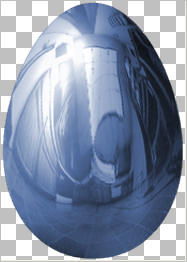
Open up the goldegg2 image in your PSP workspace
WINDOW >>> DUPLICATE
Close the original Image
ADJUST >>> HUE & SATURATION >>> COLORIZE
|
|
STEP 14
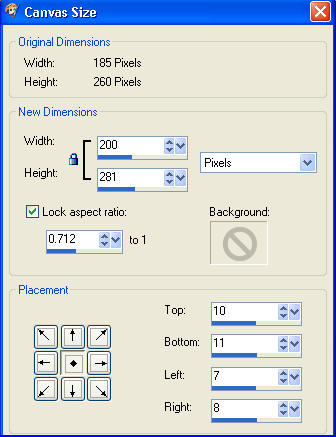
IMAGE >>> CANVAS SIZE |
|
STEP 15
WINDOW >>> DUPLICATE 3 times
so you have 4 individual copies of the blue egg
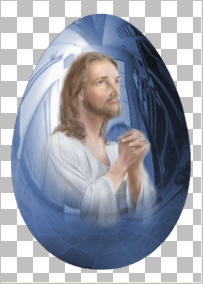
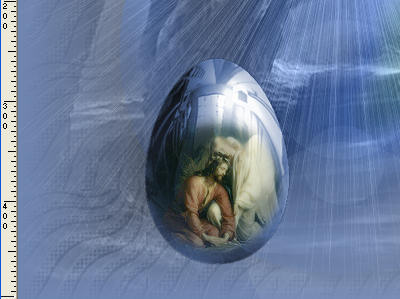
ACTIVATE your first blue egg
Open up the tJesusPrayingppjesus~pj(g) image
in your PSP workspace
Right click on the Title Bar and select COPY from the options
Right click on the Title Bar of your tag image
and select PASTE AS NEW LAYER from the options.
IMAGE >>> RESIZE = 40%
Ensure "Resize all layers" is UNCHECKED
Resample using WEIGHTED AVERAGE
LAYERS >>> MERGE >>> MERGE VISIBLE
ADJUST >>> SHARPNESS >>> SHARPEN
Save this as egg1.pspimage
|
|
STEP 16
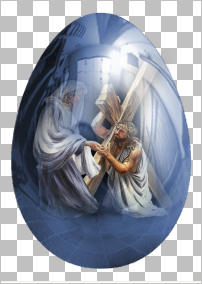
ACTIVATE your second blue egg
IMAGE >>> MIRROR
Open up the healinghands image
in your PSP workspace
Right click on the Title Bar and select COPY from the options
Right click on the Title Bar of your tag image
and select PASTE AS NEW LAYER from the options.
IMAGE >>> RESIZE = 40%
Ensure "Resize all layers" is UNCHECKED
Resample using WEIGHTED AVERAGE
LAYERS >>> MERGE >>> MERGE VISIBLE
ADJUST >>> SHARPNESS >>> SHARPEN
Save this as egg2.pspimage
|
|
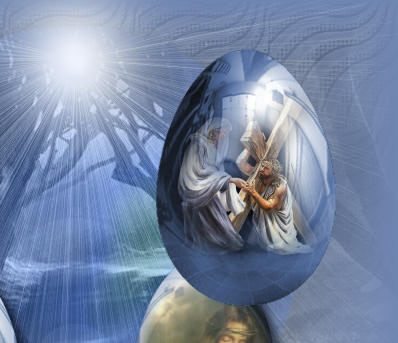
STEP 17
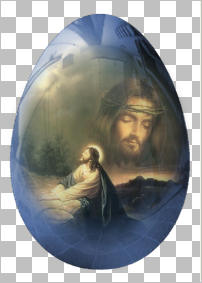
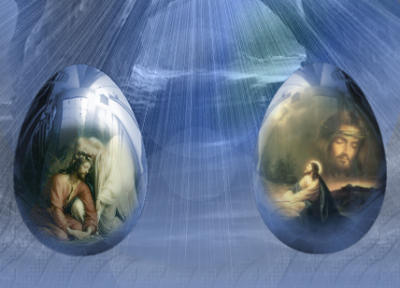
ACTIVATE your third blue egg
Open up the CJ_Thy Will Be Done image
in your PSP workspace
Right click on the Title Bar and select COPY from the options
Right click on the Title Bar of your tag image
and select PASTE AS NEW LAYER from the options.
IMAGE >>> RESIZE = 40%
Ensure "Resize all layers" is UNCHECKED
Resample using WEIGHTED AVERAGE
ADJUST >>> SHARPNESS >>> SHARPEN
|
|
STEP 18
ACTIVATE Layer2
With your MAGIC WAND
Mode = Replace
Match Mode = RGB Value
Tolerance = 0
Feather = 1
Antialias = Checked
Sample Merged = UNCHECKED
PSP9 - X3: Check CONTIGUOUS
PSPX - X3: There is no " Sample Merged"
PSPX - X3: Use all layers = UNChecked
PSP9 - X3: ANTIALIAS = Inside
Select the OUTER transparent area
ACTIVATE RASTER 1
EDIT >>> CLEAR
DESELECT
LAYERS >>> MERGE >>> MERGE VISIBLE
IMAGE >>> RESIZE = 80%
Ensure "Resize all layers" is UNCHECKED
Resample using WEIGHTED AVERAGE
ADJUST >>> SHARPNESS >>> SHARPEN
Save this as egg3.pspimage
|
|
STEP 19
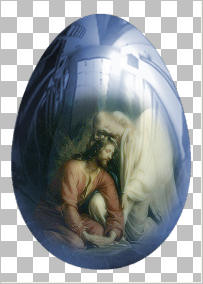
ACTIVATE your fourth blue egg
IMAGE >>> MIRROR
Open up the CJ_Bloch_Gethsemane_alta image
in your PSP workspace
Right click on the Title Bar and select COPY from the options
Right click on the Title Bar of your tag image
and select PASTE AS NEW LAYER from the options.
IMAGE >>> RESIZE = 30%
Ensure "Resize all layers" is UNCHECKED
Resample using WEIGHTED AVERAGE
Reposition down slightly with your MOVER TOOL
ADJUST >>> SHARPNESS >>> SHARPEN
|
|
STEP 20
ACTIVATE Layer2
With your MAGIC WAND
Mode = Replace
Match Mode = RGB Value
Tolerance = 0
Feather = 1
Antialias = Checked
Sample Merged = UNCHECKED
PSP9 - X3: Check CONTIGUOUS
PSPX - X3: There is no " Sample Merged"
PSPX - X3: Use all layers = UNChecked
PSP9 - X3: ANTIALIAS = Inside
Select the OUTER transparent area
ACTIVATE RASTER 1
EDIT >>> CLEAR
DESELECT
LAYERS >>> MERGE >>> MERGE VISIBLE
IMAGE >>> RESIZE = 80%
Ensure "Resize all layers" is UNCHECKED
Resample using WEIGHTED AVERAGE
ADJUST >>> SHARPNESS >>> SHARPEN
Save this as egg4.pspimage
|
|
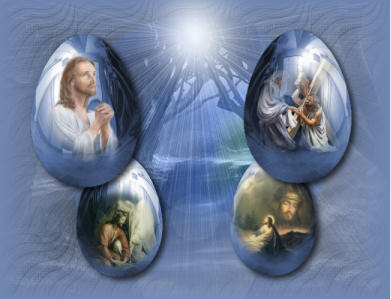
STEP 21
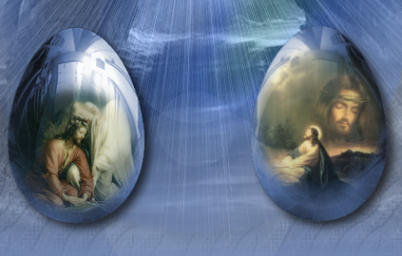
Maximize your tag image
Raster 2 active
Activate your egg4.pspimage
Right click on the Title Bar and select COPY from the options
Right click on the Title Bar of your tag image
and select PASTE AS NEW LAYER from the options.
Reposition with your MOVER tool
|
|
STEP 22
Activate your egg3.pspimage
Right click on the Title Bar and select COPY from the options
Right click on the Title Bar of your tag image
and select PASTE AS NEW LAYER from the options.
Reposition with your MOVER tool
LAYERS >>> MERGE >>> MERGE DOWN
|
|
STEP 23
EFFECTS >>> PLUGINS >>> EYE CANDY 3 >>> DROP SHADOW
Same settings |
|
STEP 24
Activate your egg1.pspimage
Right click on the Title Bar and select COPY from the options
Right click on the Title Bar of your tag image
and select PASTE AS NEW LAYER from the options.
Reposition with your MOVER tool |
|
STEP 25
Activate your egg2.pspimage
Right click on the Title Bar and select COPY from the options
Right click on the Title Bar of your tag image
and select PASTE AS NEW LAYER from the options.
Reposition with your MOVER tool
LAYERS >>> MERGE >>> MERGE DOWN
|
|
STEP 26
EFFECTS >>> PLUGINS >>> EYE CANDY 3 >>> DROP SHADOW
Same settings
|
|
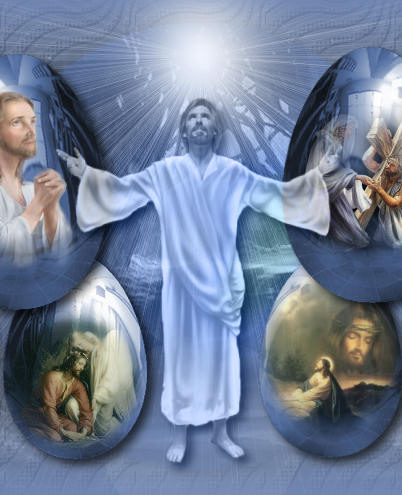
STEP 27
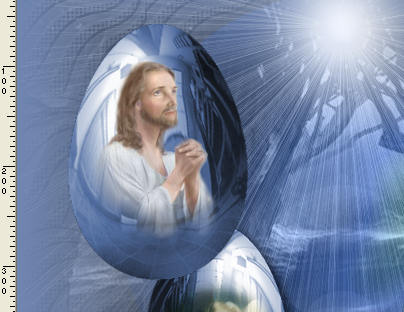
Open up the ANJ-Jesuslookingup image in your PSP workspace
Right click on the Title Bar and select COPY from the options
Right click on the Title Bar of your tag image
and select PASTE AS NEW LAYER from the options.
IMAGE >>> RESIZE = 65%
Ensure "Resize all layers" is UNCHECKED
Resample using WEIGHTED AVERAGE
EFFECTS >>> PLUGINS >>> EYE CANDY 3 >>> DROP SHADOW
Same settings
In your LAYER PALETTE change the OPACITY to 80%
Change the BLEND MODE to LUMINANCE (L)
Reposition down a little with your MOVER tool
LAYERS >>> MERGE >>> MERGE VISIBLE
|
|
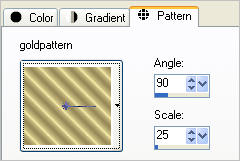
STEP 28
In your MATERIALS PALETTE load
goldpattern pattern in the foreground
using these settings
Load DARK BLUE #41516f in your background
|
|
STEP 29
LAYERS >>> NEW RASTER LAYER
Flood fill with DARK BLUE
SELECTIONS >>> SELECT ALL
SELECTIONS >>> MODIFY >>> CONTRACT = 3
EDIT >>> CLEAR
Flood fill with goldpattern
SELECTIONS >>> MODIFY >>> CONTRACT = 3
EDIT >>> CLEAR
Flood fill with DARK BLUE
SELECTIONS >>> MODIFY >>> CONTRACT = 3
EDIT >>> CLEAR
Flood fill with goldpattern
SELECTIONS >>> MODIFY >>> CONTRACT = 3
EDIT >>> CLEAR
|
|
STEP 30
EFFECTS >>> 3D EFFECTS >>> DROP SHADOW
Vertical & Horizontal offsets = 1
Colour = Black
Opacity = 70
Blur = 0
Repeat Drop Shadow effect changing
Vertical & Horizontal Offsets to - ( minus ) 1
Click OK
SELECTIONS >>> INVERT
EFFECTS >>> PLUGINS >>> EYE CANDY 3 >>> DROP SHADOW
Same settings
EDIT >>> Repeat Drop Shadow.. change DIRECTION to 135
DESELECT
|
|
STEP 31
Open up the KathrynEstry_WordsofFaith_believe image
in your PSP workspace
Right click on the Title Bar and select COPY from the options
Right click on the Title Bar of your tag image
and select PASTE AS NEW LAYER from the options.
IMAGE >>> RESIZE = 50%
Ensure "Resize all layers" is UNCHECKED
Resample using WEIGHTED AVERAGE
ADJUST >>> COLOUR BALANCE >>> NEGATIVE IMAGE
PSPX - X3: IMAGE >>> NEGATIVE IMAGE
LAYERS >>> DUPLICATE (Twice)
LAYERS >>> MERGE >>> MERGE DOWN (Twice)
EFFECTS >>> 3D EFFECTS >>> DROP SHADOW
Vertical & Horizontal offsets = 1
Colour = Black
Opacity = 100
Blur = 0
Reposition with your MOVER tool
|
|
STEP 32
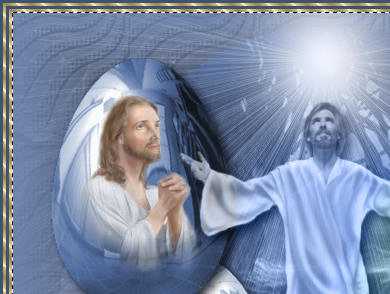
LAYERS >>> MERGE >>> MERGE ALL (Flatten)
Save as .jpg image
|