STEP 1
In your MATERIALS PALETTE
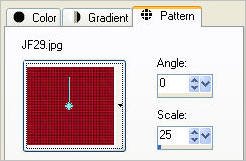
Load the ' JF29 ' pattern in your foreground
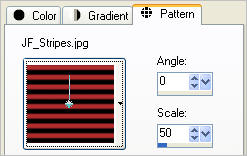
Load the ' JF_Stripes ' pattern in your background
using these settings
|
|
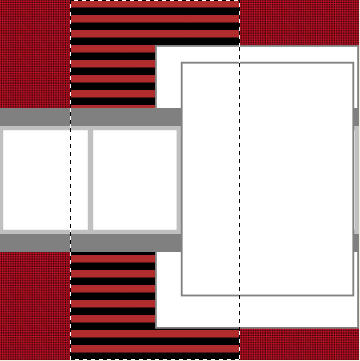
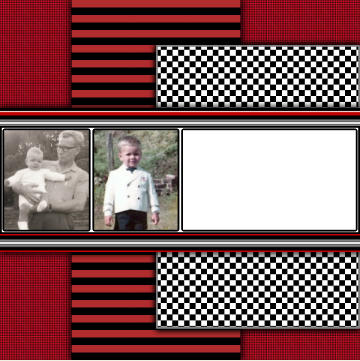
STEP 2
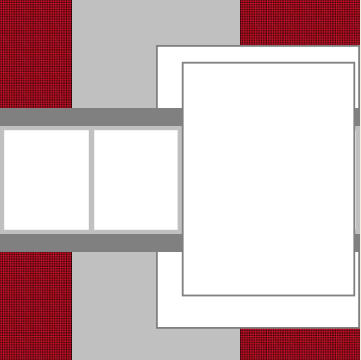
Open up the ST6.psp image in your PSP workspace
WINDOW >>> DUPLICATE
Close the original Image
Activate the bgd layer
Flood fill with the foreground pattern
|
|
STEP 3
Activate the paper1 layer
SELECTIONS >>> SELECT ALL
SELECTIONS >>> FLOAT
SELECTIONS >>> DEFLOAT
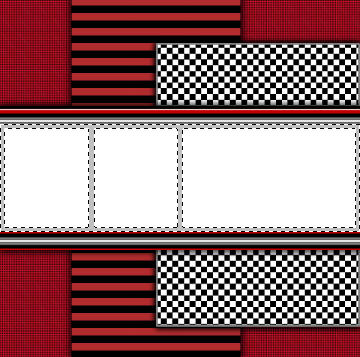
Flood fill with the background pattern
|
|
STEP 4
EFFECTS >>> PLUGINS >>> EYE CANDY 3 >>> DROP SHADOW |
|
STEP 5
EDIT >>> Repeat Drop Shadow.. change DIRECTION to 180
DESELECT
|
|
STEP 6
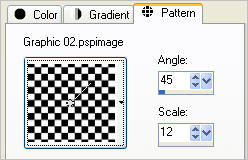
In your MATERIALS PALETTE
Load the ' Graphic 02 ' pattern in your foreground
using these settings
|
|
STEP 7
Activate the paper 2 layer
SELECTIONS >>> SELECT ALL
SELECTIONS >>> FLOAT
SELECTIONS >>> DEFLOAT
SELECTIONS >>> MODIFY >>> CONTRACT = 3
Flood fill with the foreground pattern
SELECTIONS >>> MODIFY >>> EXPAND = 3
EFFECTS >>> PLUGINS >>> EYE CANDY 3 >>> DROP SHADOW
Same settings
EDIT >>> Repeat Drop Shadow.. change DIRECTION to 0
EDIT >>> Repeat Drop Shadow.. change DIRECTION to 90
EDIT >>> Repeat Drop Shadow.. change DIRECTION to 270
DESELECT
|
|
STEP 8
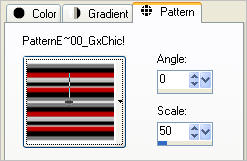
In your MATERIALS PALETTE
Load the ' PatternE~00_GxChic! ' pattern in your foreground
using these settings |
|
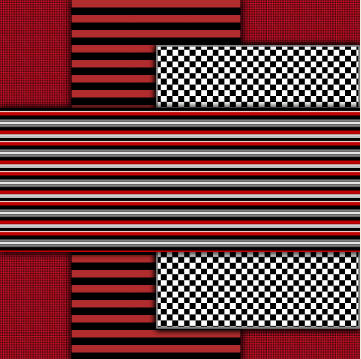
STEP 9
CLOSE lge frame layer
CLOSE small frames layer
Activate the horizontal band layer
SELECTIONS >>> SELECT ALL
SELECTIONS >>> FLOAT
SELECTIONS >>> DEFLOAT
Flood fill with the foreground pattern
EFFECTS >>> PLUGINS >>> EYE CANDY 3 >>> DROP SHADOW
Same settings
EDIT >>> Repeat Drop Shadow.. change DIRECTION to 90
DESELECT
|
|
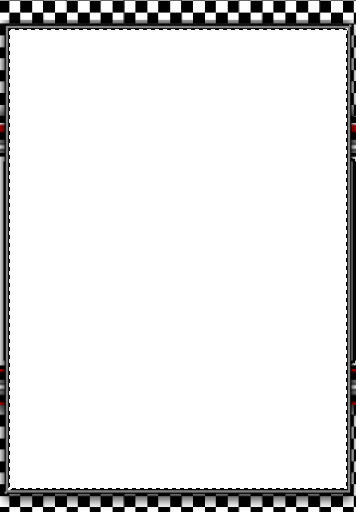
STEP 10
OPEN & Activate small frames layer
With your MAGIC WAND
Mode = Replace
Match Mode = RGB Value
Tolerance = 0
Feather = 0
Antialias = UNchecked
Sample Merged = UNCHECKED
PSP9 - X3: Check CONTIGUOUS
PSPX - X3: There is no " Sample Merged"
PSPX - X3: Use all layers = UNChecked
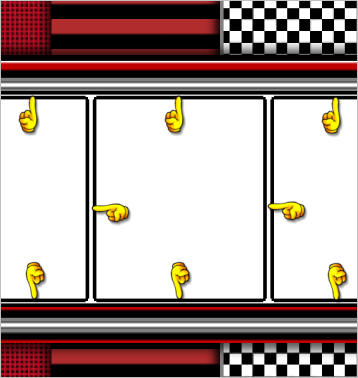
Select the grey border around the small frames
|
|
STEP 11
Flood fill with BLACK
SELECTIONS >>> MODIFY >>> CONTRACT = 3
ZOOM in and Flood fill the selection with WHITE
DESELECT
|
|
STEP 12
With your MAGIC WAND.... Same settings.
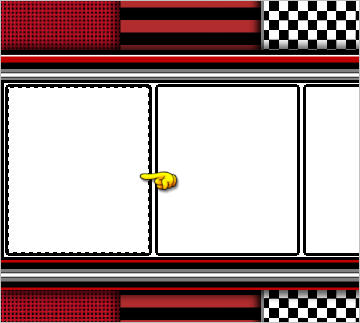
Select the left frame
|
|
STEP 13
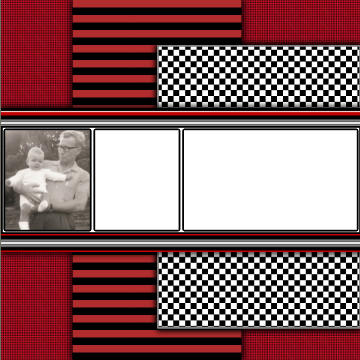
Open your own first small image in our PSP workspace
Right click on the Title Bar and select COPY from the options
Right click on the Title Bar of your frame image
and select PASTE INTO SELECTION from the options.
DESELECT
|
|
STEP 14
With your MAGIC WAND.... Same settings.
Select the MIDDLE frame
Open your own second small image in our PSP workspace
Right click on the Title Bar and select COPY from the options
Right click on the Title Bar of your frame image
and select PASTE INTO SELECTION from the options.
DESELECT
|
|
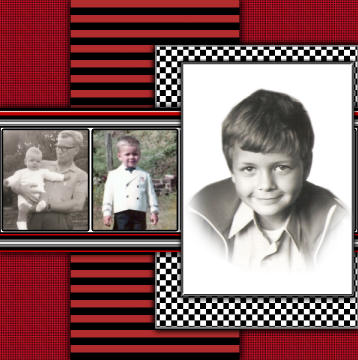
STEP 15
OPEN & Activate the lge frame layer
SELECTIONS >>> SELECT ALL
SELECTIONS >>> FLOAT
SELECTIONS >>> DEFLOAT
EFFECTS >>> PLUGINS >>> EYE CANDY 3 >>> DROP SHADOW
Same settings
EDIT >>> Repeat Drop Shadow.. change DIRECTION to 270
SELECTIONS >>> MODIFY >>> CONTRACT = 1
EFFECTS >>> 3D EFFECTS >>> DROP SHADOW
Vertical & Horizontal offsets = 1
Colour = Black
Opacity = 100
Blur = 0
Repeat Drop Shadow effect changing
Vertical & Horizontal Offsets to - ( minus ) 1
Click OK
SELECTIONS >>> MODIFY >>> CONTRACT = 3
Repeat BOTH Drop Shadows
|
|
STEP 16
Open your own third larger image in our PSP workspace
Right click on the Title Bar and select COPY from the options
Right click on the Title Bar of your frame image
and select PASTE INTO SELECTION from the options.
DESELECT |
|
STEP 17
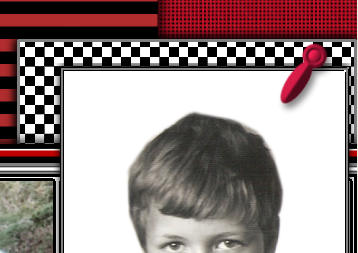
Open up the JF_RedClips image in your PSP workspace
Activate Raster 1
Right click on the Title Bar and select COPY from the options
Right click on the Title Bar of your frame image
and select PASTE AS NEW LAYER from the options.
Reposition with your MOVER tool
|
|
STEP 18
Back to the JF_RedClips image in your PSP workspace
Activate Raster 2
Right click on the Title Bar and select COPY from the options
Right click on the Title Bar of your frame image
and select PASTE AS NEW SELECTION from the options.
Position at top right of photo
DESELECT
|
|
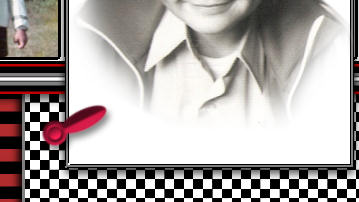
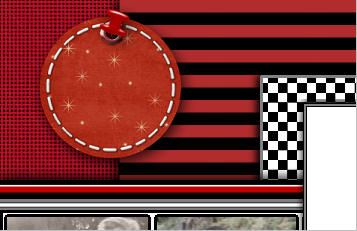
STEP 19
Open up the JF_PinandTag image in your PSP workspace
Activate the tag layer
Right click on the Title Bar and select COPY from the options
Right click on the Title Bar of your frame image
and select PASTE AS NEW LAYER from the options.
Reposition with your MOVER tool to top left |
|
STEP 20
Back to the JF_PinandTag image in your PSP workspace
Activate the pin layer
Right click on the Title Bar and select COPY from the options
Right click on the Title Bar of your frame image
and select PASTE AS NEW SELECTION from the options.
Position with your MOVER tool to top left on top of tag
DESELECT
|
|
STEP 21
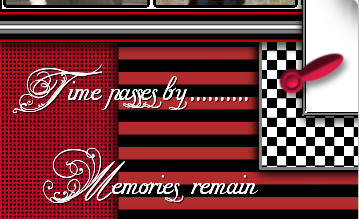
Open up the JF_WA_TimePassesBy image
in your PSP workspace
Right click on the Title Bar and select COPY from the options
Right click on the Title Bar of your frame image
and select PASTE AS NEW LAYER from the options.
Reposition with your MOVER tool to bottom left |
|
STEP 22
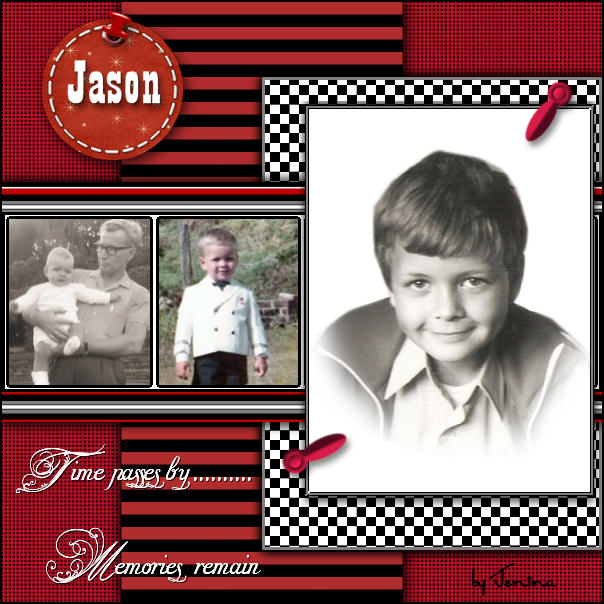
LAYERS >>> NEW RASTER LAYER
On this final layer you can add a 'name' or anything else
you wish on top of the tag.
|
|
STEP 23
LAYERS >>> MERGE >>> MERGE ALL (Flatten)
IMAGE >>> ADD BORDERS = SYMMETRIC 2
COLOUR = BLACK
Save as .jpg image
|
.. |