STEP 1
Open up the downloaded images in your PSP workspace and minimize.
Open a new image 600 x 350
Transparent background
PSPX - X2: Colour Depth = 8bits/channel
PSPX3: Colour Depth RGB = 8bits/channel
VIEW >>> RULERS
Flood fill with #f8fbec
Rename this layer bgd
|
STEP 2
Open frame.psp tube in your PSP workspace
Right click on the Title Bar
and select COPY from the options.
Right click on the Title Bar of your 'working' image
and select PASTE AS NEW LAYER from the options.
Rename this layer frame |
STEP 3
Open mask tube in your PSP workspace
Right click on the Title Bar
and select COPY from the options.
Right click on the Title Bar of your 'working' image
and select PASTE AS NEW LAYER from the options.
Rename this layer mask |
STEP 4
Open oval tube in your PSP workspace
Right click on the Title Bar
and select COPY from the options.
Right click on the Title Bar of your 'working' image
and select PASTE AS NEW LAYER from the options.
Rename this layer oval |
STEP 5
Open text tube in your PSP workspace
Right click on the Title Bar
and select COPY from the options.
Right click on the Title Bar of your 'working' image
and select PASTE AS NEW LAYER from the options.
Rename this layer text |
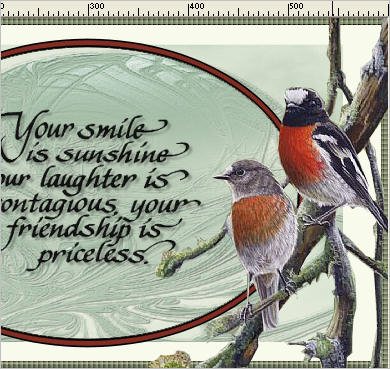
STEP 6
Open Peta Boyce bird 1 tube in your PSP workspace
Right click on the Title Bar
and select COPY from the options.
Right click on the Title Bar of your 'working' image
and select PASTE AS NEW LAYER from the options.
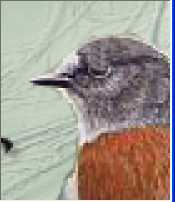
Reposition with your mover tool as shown
Rename this layer AS 1 |
|
STEP 7
LAYERS >> DUPLICATE 3 TIMES
Rename these layers AS 2 - AS 4 |
|
STEP 8
Open Peta Boyce bird 1 tube in your PSP workspace
Activate the copyright layer
Right click on the Title Bar
and select COPY from the options.
Right click on the Title Bar of your 'working' image
and select PASTE AS NEW LAYER from the options.
IMAGE >> RESIZE = 85%
Ensure "Resize all layers" is UNCHECKED
Place lower corner the duplicate and merge down.
Rename this layer copyright |
|
STEP 9
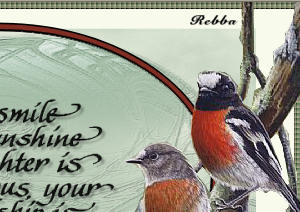
LAYERS >> NEW RASTER LAYER
Select your TEXT TOOL
with font and settings of your choice
add your name to the top right corner of the layer.
Rename this layer name. |
|
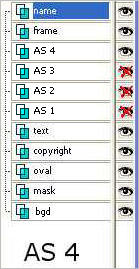
| |
STEP 10
To animate...
Close layers AS 1, AS 3, AS 4
Activate layer AS 2
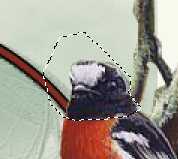
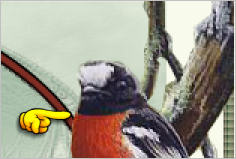
Zoom in on the top bird head
Select your Freehand Selection Tool
(Lasso)
Selection Type = Point to Point
Mode = Replace
Feather = 0
Antialias = Checked
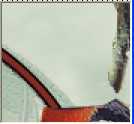
Click around head as shown
|
|
STEP 11
Selections >> Promote Selection to Layer
Activate layer AS 2
Hit keyboard DELETE
DESELECT
Close the Promoted Selection layer
Look to see if there are
any lines left around the head that needs to be erased
on AS 2 layer....
this one is ok.
|
|
STEP 12
Activate the Promoted Selection layer
Move the bird head down slightly with your MOVER tool
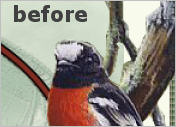 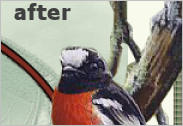
IMAGE >> ROTATE >> FREE ROTATE = LEFT 3
Ensure "All layers" is UNCHECKED
Move the Promoted Selection layer below AS 2
Make sure the edges match up... adjust with your MOVER tool if necessary
Activate layer AS 2
LAYERS >> MERGE >> MERGE DOWN
Rename this layer AS 2 and close layer
|
STEP 13
Open & Activate layer AS 4 (yes 4)
Select your Freehand Selection Tool
(Lasso)
Same settings
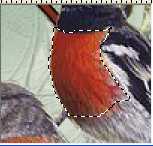
Draw around the red part of the bird breast
|
|
STEP 14
Effects >> Distortion Effects >> Punch
STRENGTH =25
SELECTIONS >> SELECT NONE
CLOSE layer AS 4 |
STEP 15
Open & Activate layer AS 3
Select CLONE Tool
Use these settings

|
STEP 16
Right click on an area above the eye
on the lower bird
to set your pattern
|
|
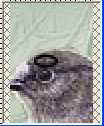
STEP 17
Then left click over the top part of the eye to close it.
|
|
STEP 18
Click on the MOVER tool to disengage the clone tool
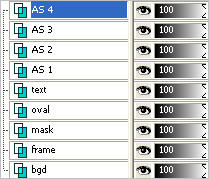
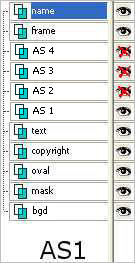
Set up LAYER PALETTE as shown
|
|
STEP 19
Right click on Title Bar and select
Copy merged from the options
In ANIMATION SHOP
Right click the workspace and select
'Paste As New Animation' from the options. |
|
STEP 20
Back to PSP.
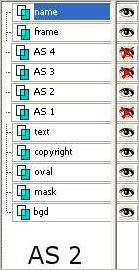
Set up LAYER PALETTE as shown
Right click on Title Bar and select
Copy merged from the options
In ANIMATION SHOP
Right click top of frame image and select
'Paste After Current Frame' from the options. |
|
STEP 21
Back to PSP.
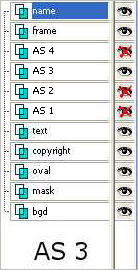
Set up LAYER PALETTE as shown
Right click on Title Bar and select
Copy merged from the options
In ANIMATION SHOP
Right click top of frame image and select
'Paste After Current Frame' from the options. |
|
STEP 22
Back to PSP.
Set up LAYER PALETTE as shown
Right click on Title Bar and select
Copy merged from the options
In ANIMATION SHOP
Right click top of frame image and select
'Paste After Current Frame' from the options.
|
|
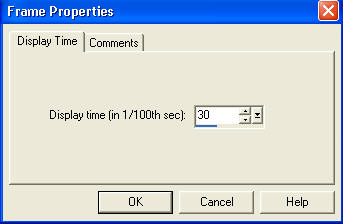
STEP 23
Edit >> Select All
Right click on Title Bar of frames
Select 'Frame Properties' from the options
Display time = 30 |
|
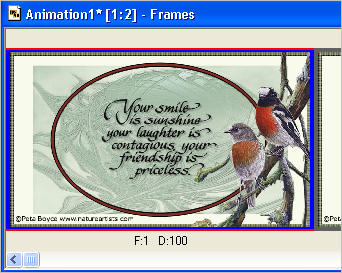
STEP 24
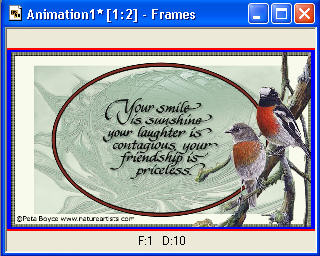
Scroll the arrow on the bottom of the frame to first frame
( F:1)
Click the blue rim around the picture to highlight it,
Right click on Title Bar of frames
Select 'Frame Properties' from the options
Display time = 100 |
|
STEP 25
View >> Animation
File >> Save As
Locate the folder in which you wish to save it.
Name your animation.
With the Gif Optimiser keep pressing NEXT
until you get to the last one... click FINISH
Close the Animation
Close the frames.
Close Animation Shop
|
|
|
I hope you have enjoyed this tutorial.
Rebba
|
|
|