STEP 1
Open up the downloaded images in your PSP workspace and minimize.
Open up the missytagtemplate43 image in your PSP workspace
WINDOW >>> DUPLICATE
Close the original Image
Delete the 'copyright info' layer
|
STEP 2
In your MATERIALS PALETTE
Load #c58aa1 in your foreground
Load #792546 in your background
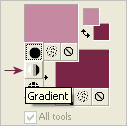
Select the foreground gradient option
|
|
STEP 3
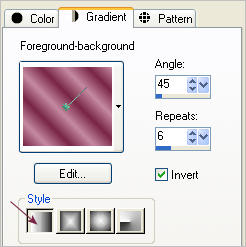
Locate the 'Foreground-background' gradient
Use these settings |
|
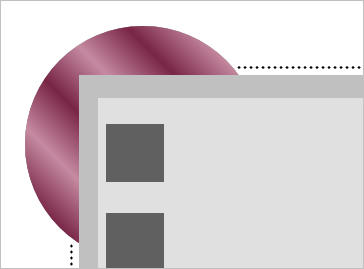
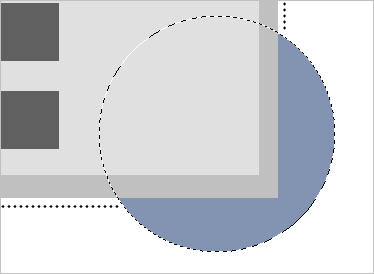
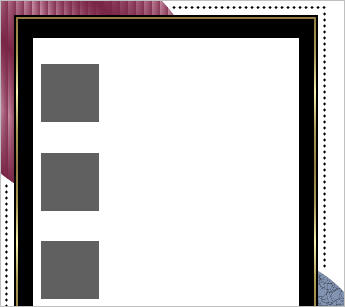
STEP 4
On your template
Activate layer circle1
SELECTIONS >>> SELECT ALL
SELECTIONS >>> FLOAT
SELECTIONS >>> DEFLOAT
Flood Fill with gradient
DESELECT
|
|
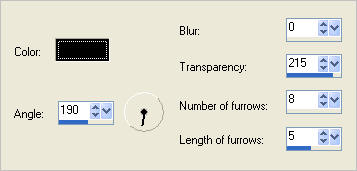
STEP 5
EFFECTS >> TEXTURE EFFECTS >> BLINDS
and use these settings.
COLOUR =
#792546
|
|
STEP 6
Activate layer circle2
SELECTIONS >>> SELECT ALL
SELECTIONS >>> FLOAT
SELECTIONS >>> DEFLOAT
Flood Fill with #8394b2
|
|
STEP 7
EFFECTS >> TEXTURE EFFECTS >> fine leather
and use these settings.
COLOUR = BLACK
DESELECT
|
|
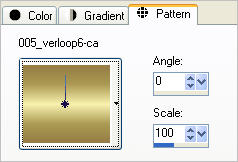
STEP 8
In your MATERIALS PALETTE
Load the ' 005_verloop6-ca ' pattern in your foreground
using these settings |
|
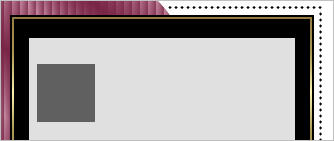
STEP 9
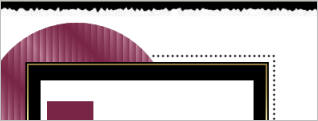
Activate layer large rectangle
SELECTIONS >>> SELECT ALL
SELECTIONS >>> FLOAT
SELECTIONS >>> DEFLOAT
Flood Fill with black
SELECTIONS >> MODIFY >>CONTRACT = 2
EDIT >>> CLEAR
Fill with gold pattern
SELECTIONS >> MODIFY >>CONTRACT = 2
Flood Fill with black
DESELECT
|
|
STEP 10
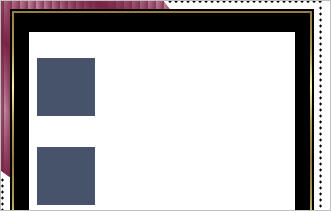
Activate layer small rectangle
SELECTIONS >>> SELECT ALL
SELECTIONS >>> FLOAT
SELECTIONS >>> DEFLOAT
Flood Fill with white
DESELECT
|
|
STEP 11
Activate layer squares
LAYERS >> DUPLICATE >>3 TIMES
Rename these layers AS1 to AS4
|
|
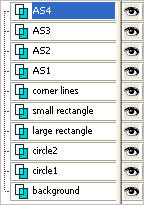
STEP 12
Close layers AS2, AS3 and AS4
Activate layer AS1
SELECTIONS >>> SELECT ALL
SELECTIONS >>> FLOAT
SELECTIONS >>> DEFLOAT
Flood Fill with #97a9c9
|
|
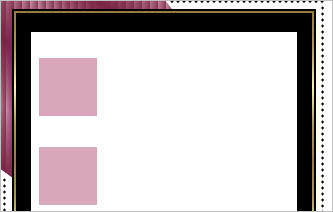
STEP 13
Close layer AS1
Open & Activate layer AS2
Flood Fill with #daa6bc
DESELECT
|
|
STEP 14
Close layer AS2
Open & Activate layer AS3
Flood Fill with #46536a
|
|
STEP 15
Close layer AS3
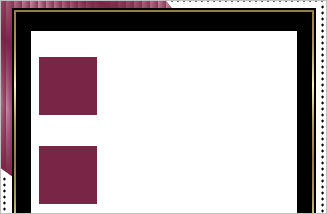
Open & Activate layer AS4
Flood Fill with #792546
DESELECT |
|
STEP 16
Maximize the sr_country17.tub
Right click on the Title Bar and select COPY from the options.
Right click on the Title Bar of your 'working' image
and select PASTE AS NEW LAYER from the options.
IMAGE >> RESIZE =95%
Ensure "Resize all layers" is UNCHECKED
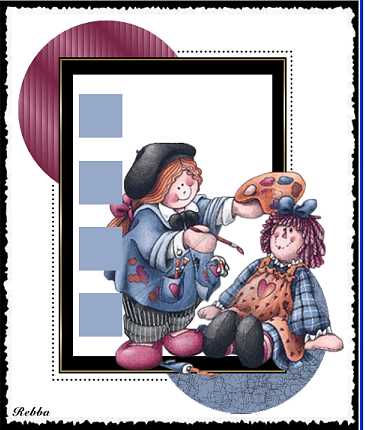
Tube placement -------->>>>>>
Rename this layer tube
|
|
STEP 17
Activate layer background
EFFECTS >> PLUGINS >> <I.C.NET Software> Filters Unlimited 2.0 >>>Edge Square
use these settings.
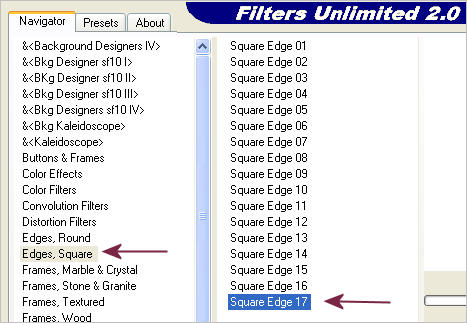
Click Apply |
STEP 18
LAYERS >> NEW RASTER LAYER
Flood Fill with black
LAYERS >>> ARRANGE >>> SEND TO BOTTOM
Rename this layer black bgd
|
|
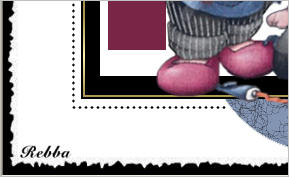
STEP 19
LAYERS >> NEW RASTER LAYER
Select your TEXT TOOL
with font and settings of your choice
add your name to the bottom left corner of the layer.
Rename this layer name.
|
|
This is final placement
|
|
STEP 20
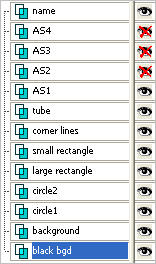
Set up LAYER PALETTE as shown
Right click on Title Bar and select
Copy merged from the options |
|
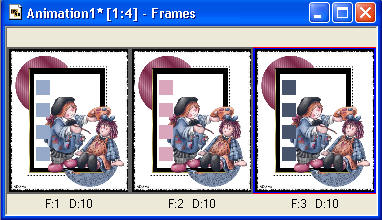
STEP 21
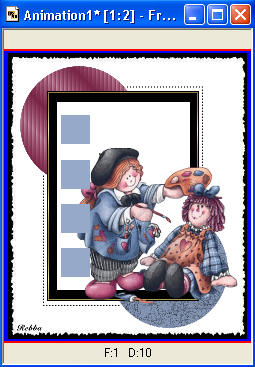
In ANIMATION SHOP
Right click the workspace and select
'Paste As New Animation' from the options.
|
|
STEP 22
Back to PSP.
CLOSE AS1
OPEN AS2
Right click on Title Bar and select
Copy merged from the options
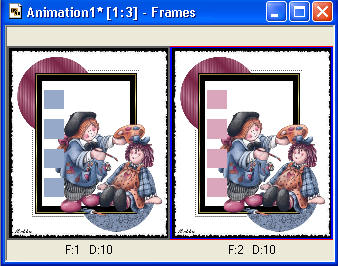
In ANIMATION SHOP
Right click top of frame image and select
'Paste After Current Frame' from the options.
|
|
STEP 23
Back to PSP.
CLOSE AS2
OPEN AS3
Right click on Title Bar and select
Copy merged from the options
In ANIMATION SHOP
Right click top of frame image and select
'Paste After Current Frame' from the options. |
|
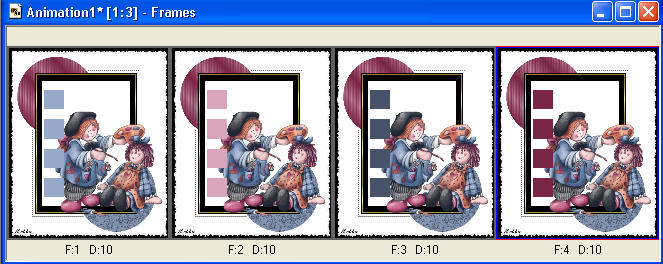
STEP 24
Back to PSP.
CLOSE AS3
OPEN AS4
Right click on Title Bar and select
Copy merged from the options
In ANIMATION SHOP
Right click top of frame image and select
'Paste After Current Frame' from the options.
|
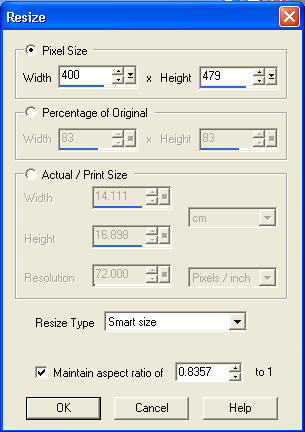
STEP 25
Click on the Title Bar of the frames
Animation >> Resize animation
Select width and height in pixels
Click OK |
|
STEP 26
View >> Animation
and while it is still running,
File >> Save As
Locate the folder in which you wish to save it.
Name your animation.
With the Gif Optimiser keep pressing NEXT
until you get to the last one... click FINISH
Close the Animation
Close the frames.
Close Animation Shop
|
|
|
I hope you have enjoyed doing this simple tutorial
Rebba |
|
|