STEP 1
Open up the downloaded images in your PSP workspace and minimize.
Open up the master template image in your PSP workspace
WINDOW >>> DUPLICATE
Close the original Image
LAYERS >> NEW RASTER LAYER
Rename this layer bgd
Flood Fill with #9184c7
|
STEP 2
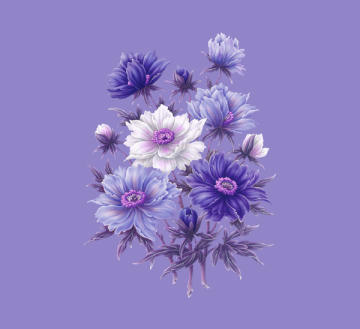
Activate the JA-RobPohl_Temtations03-mac-3 image
Right click on the Title Bar and select COPY from the options.
Right click on the Title Bar of your 'working' image
and select PASTE AS NEW LAYER from the options
Rename this layer flowers
|
|
STEP 3
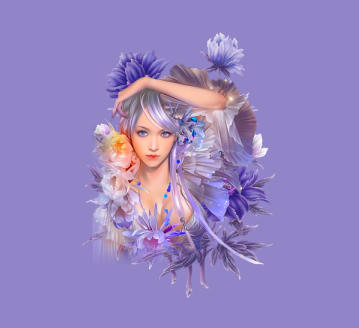
Activate the AmesthystFantasy image
Right click on the Title Bar and select COPY from the options.
Right click on the Title Bar of your 'working' image
and select PASTE AS NEW LAYER from the options.
IMAGE >> RESIZE = 50%
Ensure "Resize all layers" is UNCHECKED
Rename this layer girl |
|
STEP 4
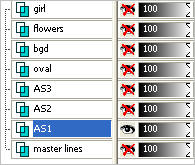
In your LAYER PALETTE
Activate layer master lines
LAYERS >> DUPLICATE>> THREE TIMES
Rename these layers AS1-AS3
Activate layer AS1
Set up Layer Palette as shown
|
|
STEP 5
Effects >> Geometric Effects >> Circle >>Transparent
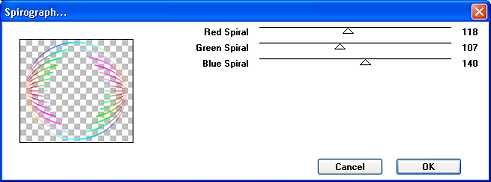
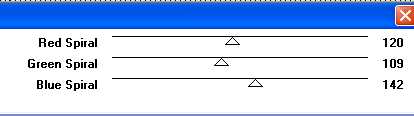
EFFECTS >> PLUGINS >> VM Instant Art >> Spirograph
use these settings.
|
STEP 6
Effects >> 3D Effects >> Drop Shadow
Vertical and Horizontal = 1
Opacity =75
Blur = 0.00
Color = Black.
Repeat Drop Shadow effect changing
Vertical & Horizontal Offsets to - (minus) 1
Click OK
|
|
STEP 7
Open & Activate layer AS2
Close layer AS1
Effects >> Geometric Effects >> Circle >>Transparent
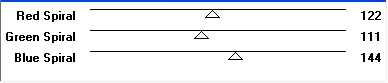
EFFECTS >> PLUGINS >> VM Instant Art >> Spirograph
use these settings.
|
STEP 8
Effects >> 3D Effects >> Drop Shadow
Vertical and Horizontal = 1
Opacity =75
Blur = 0.00
Color = Black.
Repeat Drop Shadow effect changing
Vertical & Horizontal Offsets to - (minus) 1
Click OK
|
STEP 9
Open & Activate layer AS3
Close layer AS2
Effects >> Geometric Effects >> Circle >>Transparent
EFFECTS >> PLUGINS >> VM Instant Art >> Spirograph
use these settings.
Effects >> 3D Effects >> Drop Shadow
Vertical and Horizontal = 1
Opacity =75
Blur = 0.00
Color = Black.
Repeat Drop Shadow effect changing
Vertical & Horizontal Offsets to - (minus) 1
Click OK
|
STEP 10
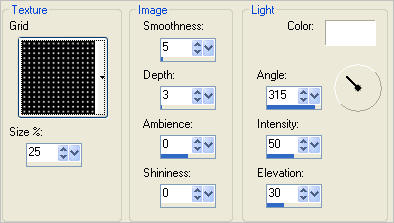
EFFECTS >> TEXTURE EFFECTS >> TEXTURE
and use these settings.
APPLY this texture to each AS layer |
|
STEP 11
CLOSE ALL AS layers
Activate the bgd layer
LAYERS >>> ARRANGE >>> SEND TO BOTTOM
Open the master lines layer
Activate the top layer
LAYERS >> NEW RASTER LAYER
Select your TEXT TOOL
with font and settings of your choice
add your name to the bottom left corner of the layer.
Rename this layer Name. |
|
STEP 12
Open the outline image
Activate the width 3 layer
Right click on the Title Bar and select COPY from the options.
Right click on the Title Bar of your 'working' image
and select PASTE AS NEW LAYER from the options.
Rename this layer outline.
|
|
STEP 13
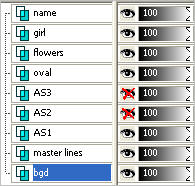
Set up LAYER PALETTE as shown
|
|
STEP 14
Right click on Title Bar and select
Copy merged from the options
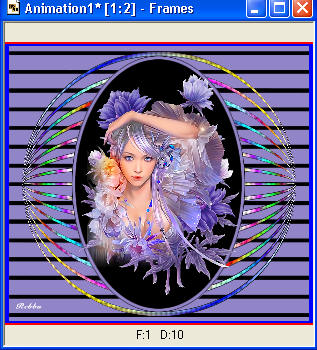
In ANIMATION SHOP
Right click the workspace and select
'Paste As New Animation' from the options. |
|
STEP 15
Back to PSP.
Open & Activate layer AS2
Close layer AS3
Right click on Title Bar and select
Copy merged from the options
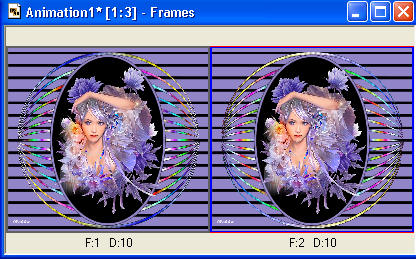
In ANIMATION SHOP
Right click top of frame image and select
'Paste After Current Frame' from the options.
|
STEP 16
Back to PSP.
Open & Activate layer AS1
Close layer AS2
Right click on Title Bar and select
Copy merged from the options
In ANIMATION SHOP
Right click top of frame image and select
'Paste After Current Frame' from the options.
Edit >> Select All
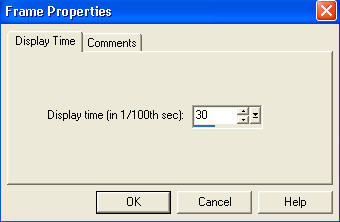
Right click on top of frames
Select 'Frame Properties' from the options
Display time = 30
|
|
STEP 17
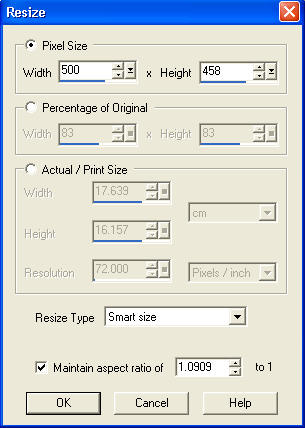
Animation>> Resize Animation
500 pixels wide |
|
STEP 18
View >> Animation
and while it is still running,
File >> Save As
Locate the folder in which you wish to save it.
Name your animation... Click SAVE
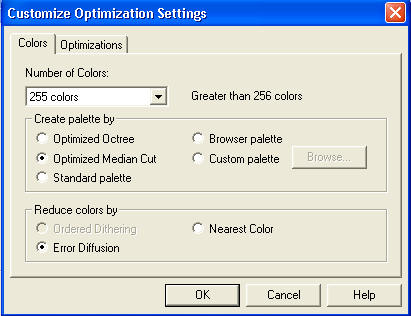
Click on CUSTOMIZE button
Enter these settings
Click OK
|
|
STEP 19
With the Gif Optimiser keep pressing NEXT
until you get to the last one... click FINISH
Close the Animation
Close the frames.
Close Animation Shop
|
I hope you have enjoyed the tutorial
Rebba
|
|
|