NOTE:.. many times I will design an animation and realize that
it is to large of file to use.
I'm going to use such a file and only use
parts of it to make a nice animation.
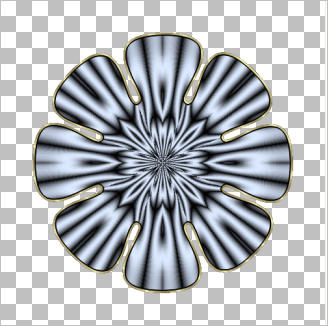
This filter master.psp was made with the Pattern
Generator ( fractal flower 2) filter in Filter Unlimited.
|
STEP 1
Open up the downloaded images in your PSP workspace and minimize.
Open filter master.psp tube in your PSP workspace
WINDOW >> DUPLICATE
Close the original image
LAYERS >> NEW RASTER LAYER
Flood Fill with Black
Rename this layer black bgd
VIEW >>> RULERS
|
STEP 2
LAYERS >> NEW RASTER LAYER
Flood Fill with white
EFFECTS >> PLUGINS >> <I.C.NET Software> >> Filters Unlimited 2.0 >> Square edge
use these settings.
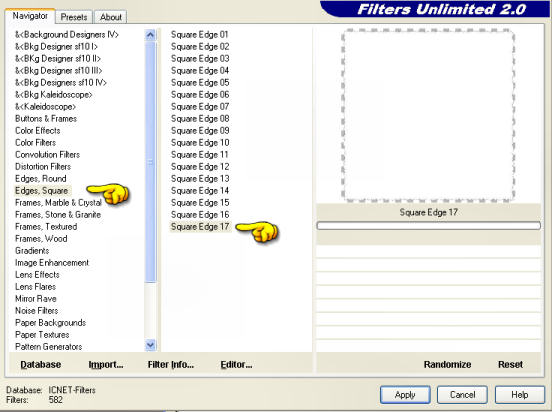
Rename this layer white bgd
|
|
|
STEP 3
In your MATERIALS PALETTE
Load SOLID ' #b5c0d3 ' in your foreground
NULL the background
LAYERS >> NEW RASTER LAYER
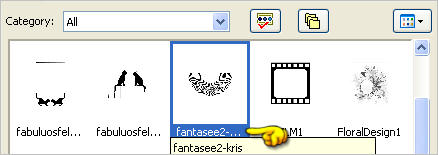
Select the Paint Brush Tool
fantasee2-kris brush

|
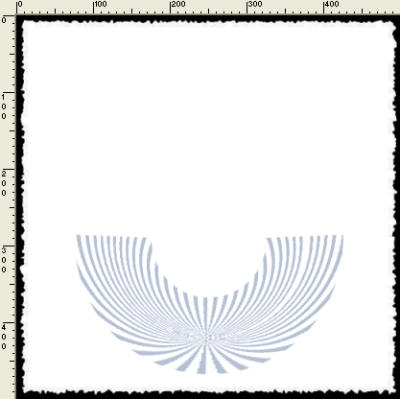
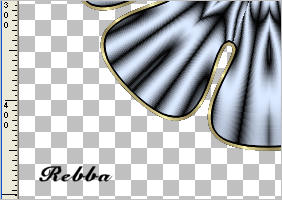
STEP 4
Centre your cursor in line with the 250 pixel mark
on the top ruler
and
place the brush at the lower section of the image
|
|
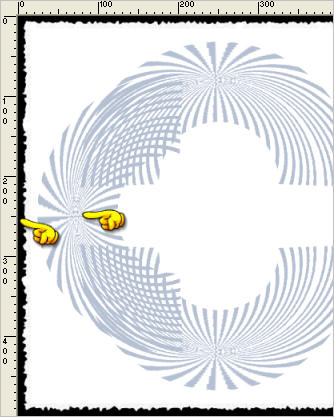
STEP 5
LAYERS >> DUPLICATE
IMAGE >>> FLIP
LAYERS >> DUPLICATE
IMAGE >> ROTATE >> FREE ROTATE = LEFT 90
Ensure "All layers" is UNCHECKED
PSPX - PSPX2:
IMAGE >> FREE ROTATE = LEFT 90
Ensure "All layers" is UNCHECKED
Move to the left of your image with your
MOVER TOOL
lining up the centre with the 250 pixel mark
on the left ruler
|
|
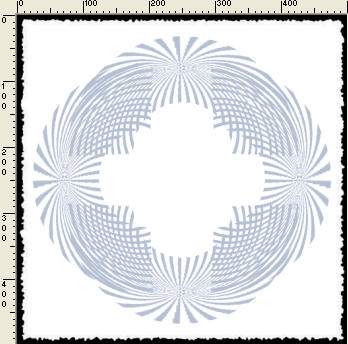
STEP 6
LAYERS >> DUPLICATE
IMAGE >>> MIRROR
|
|
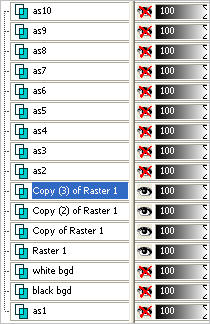
STEP 7
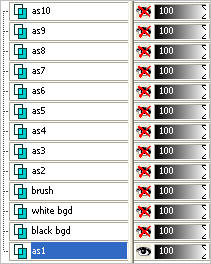
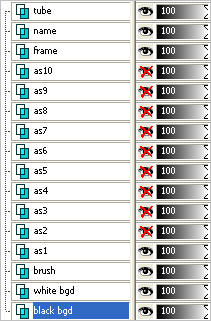
Set up your Layer Palette as shown
LAYERS >>> MERGE >> VISIBLE.
Rename this merged layer brush |
|
STEP 8
Set up your Layer Palette as shown.
Activate layer as1 |
|
STEP 9
In your MATERIALS PALETTE
NULL the foreground
Load SOLID ' black ' in your background
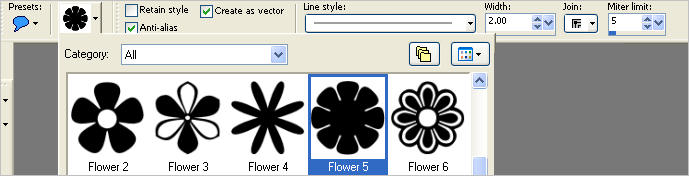
Select Preset Shapes Tool
Flower 5
|
STEP 10
Starting at 50 pixels across and 50 pixels down
drag your cursor to 450 pixels across and 450 pixels down and release
LAYERS >> Convert to Raster Layer
Rename this layer black flower |
|
STEP 11
SELECTIONS >> SELECT ALL
SELECTIONS >> FLOAT
SELECTIONS >> DEFLOAT
SELECTIONS >> INVERT
Activate your SELECTION TOOL
|
|
STEP 12
Close black flower layer
Activate layer as1
EDIT >> CLEAR
Open & Activate layer as2
EDIT >> CLEAR |
|
STEP 13
Open & Activate layer as3
EDIT >> CLEAR
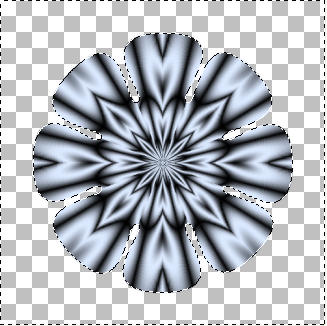
Do this until all ten as layers has the sides cleared away.
DESELECT
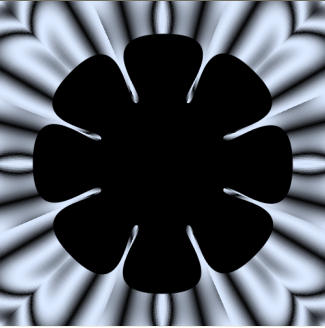
Open & Activate layer black flower
LAYERS >>> ARRANGE >>> BRING TO TOP
SELECTIONS >> SELECT ALL
SELECTIONS >> FLOAT
SELECTIONS >> DEFLOAT
|
|
STEP 14
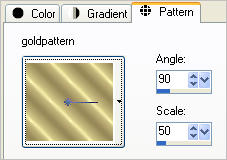
In your MATERIALS PALETTE load
goldpattern pattern in the foreground using these settings
|
|
STEP 15
Flood fill the shape with the goldpattern
SELECTIONS >> MODIFY >>CONTRACT = 3
EDIT >> CLEAR
Flood Fill with black
SELECTIONS >> MODIFY >>CONTRACT =2
EDIT >> CLEAR
DESELECT
RENAME this layer frame
|
|
STEP 16
LAYERS >> NEW RASTER LAYER
Select your TEXT TOOL
with font and settings of your choice
add your name to the bottom left corner of the layer.
Rename this layer Name. |
|
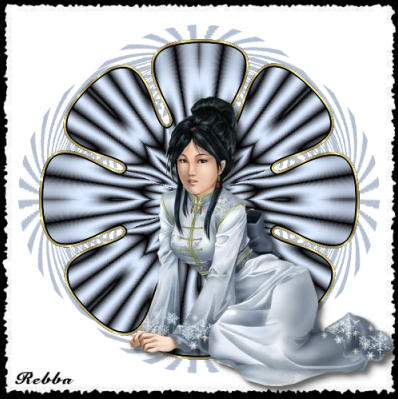
STEP 17
Activate the Janalyper2.psp image
Right click on the Title Bar and select COPY from the options.
Right click on the Title Bar of your 'working' image
and select PASTE AS NEW LAYER from the options.
Effects >> 3D Effects >> Drop Shadow
Vertical and Horizontal = 5
Opacity = 50
Blur = 5.00
Color = Black.
OPEN all layers in your Layer Palette
Reposition the tube with your MOVER TOOL as shown
Rename this layer tube
|
|
STEP 18
Set up LAYER PALETTE as shown
|
|
STEP 19
Right click on Title Bar and select
Copy merged from the options
In ANIMATION SHOP
Right click the workspace and select
'Paste As New Animation' from the options. |
|
STEP 20
Back to PSP.
Close layer as1
Activate layer as2
Right click on Title Bar and select
Copy merged from the options
In ANIMATION SHOP
Right click top of frame image and select
'Paste After Current Frame' from the options. |
|
STEP 21
Continue Copy merged in PSP with each as layer as in step above
and "PasteAfter Current Frame"
in ANIMATION SHOP
until all as layers are in ANIMATION SHOP.
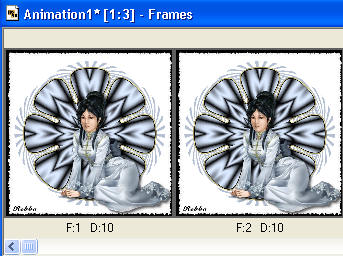
You should have 10 frames
|
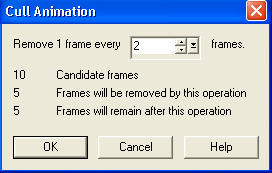
STEP 22
In ANIMATION SHOP
Edit >> Select All
Animation >> Cull Animation
|
|
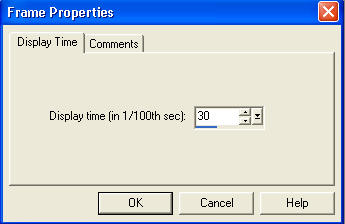
STEP 23
NOTE: anytime I cull the animation I change the speed slower to 30
EDIT >>> SELECT ALL
Right click on top of frames
Select 'Frame Properties' from the options
Display time = 30 |
|
STEP 24
View >> Animation
and while it is still running,
File >> Save As
Locate the folder in which you wish to save it.
Name your animation.
With the Gif Optimiser keep pressing NEXT
until you get to the last one... click FINISH
Close the Animation
Close the frames.
Close Animation Shop |
. |
I hope you enjoyed the tutorial
Rebba |
. |