This tutorial was written by Rebba to be shared with the Artistry Master Group.
March 2011
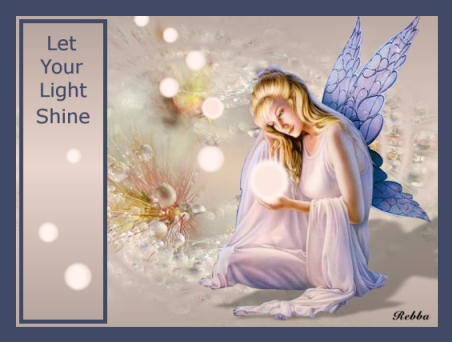
I have created the animation to have fun with but also to teach perhaps a
different way of doing it, I call My Way. I'm not a tutorial writer so this is more in
steps and doesn't expound on the design or PSP part of the tutorial. If you have any
Open up the downloaded images in your PSP workspace and minimize.
Open a new image 567 x 428
Transparent background
PSPX - X2: Colour Depth = 8bits/channel
PSPX3: Colour Depth RGB = 8bits/channel
This is your "working" image
.
|
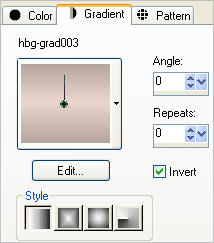
In your MATERIALS PALETTE
Load the ' hbg-grad003 ' gradient in your foreground
Angle = 0
Scale = 0
Invert = checked
Load DARK BLUE' #404966 ' in your background
Flood fill the 'working' image with the gradient
Rename this layer bgd
|
|
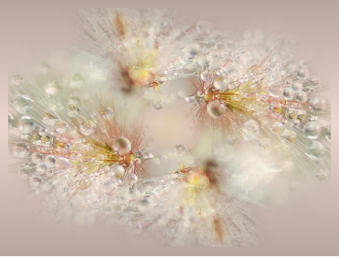
Open image 8 in your PSP workspace
Right click on the Title Bar
and select COPY from the options.
Right click on the Title Bar of your 'working' image
and select PASTE AS NEW LAYER from the options
Rename this layer water drop
|
|
LAYERS >> NEW RASTER LAYER
Flood fill with the gradient
LAYERS >> Load/Save Mask >>
Load Mask from disk
Locate the kwc swirledthing mask
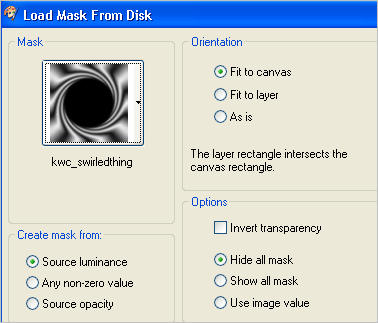
Click LOAD
LAYERS >>> MERGE >>> MERGE GROUP
|
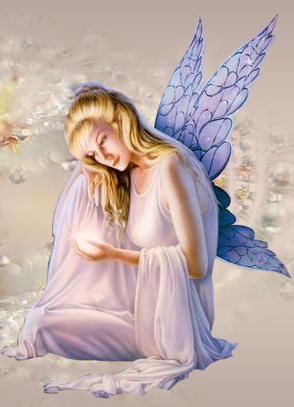
Open elfen4-daja.psp image in your PSP workspace
Right click on the Title Bar
and select COPY from the options.
Right click on the Title Bar of your 'working' image
and select PASTE AS NEW LAYER from the options
IMAGE >>> MIRROR
Move to right side, we will set placement shortly |
|
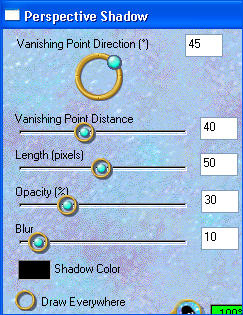
EFFECTS >> PLUGINS >> EYE CANDY 3 >> PERSPECTIVE SHADOW
use these settings.
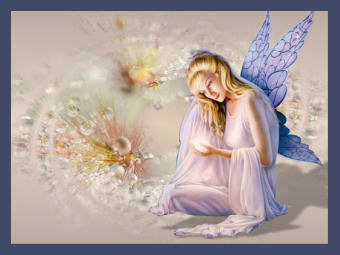
Rename this layer angel |
|
ACTIVATE bgd layer
SELECTIONS >> SELECT ALL
SELECTIONS >> MODIFY >>CONTRACT = 20
SELECTIONS >>> INVERT
LAYERS >> NEW RASTER LAYER
LAYERS >> ARRANGE >> BRING TO TOP
Flood Fill with DARK BLUE
DESELECT
Rename this layer frame
|
|
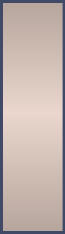
Open a new image 100 x 370
Transparent background
PSPX - X2: Colour Depth = 8bits/channel
PSPX3: Colour Depth RGB = 8bits/channel
Flood fill with the gradient
LAYERS >> MERGE >> MERGE ALL (Flatten)
IMAGE >>> ADD BORDERS = Symmetric 5
Color = DARK BLUE #404966
|
|
Right click on the Title Bar
and select COPY from the options.
Right click on the Title Bar of your 'working' image
and select PASTE AS NEW LAYER from the options.
Rename this layer rectangle
Set Placement as shown
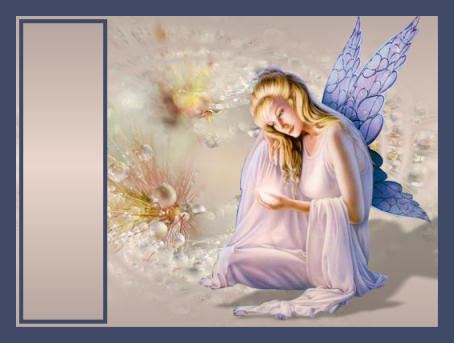 |
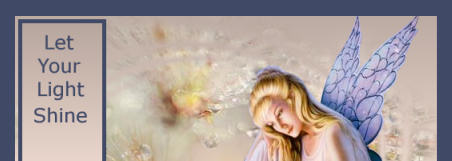
LAYERS >> NEW RASTER LAYER
Rename this layer text
Select the Paint Brush Tool
OPEN the let your light shine.PspBrush
Use these settings

Right click your mouse to use the DARK BLUE color
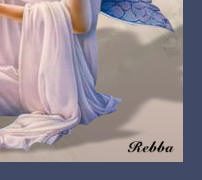
Set the text as shown
|
LAYERS >> NEW RASTER LAYER
Select your TEXT TOOL
with font and settings of your choice
add your name to the
bottom right corner of the layer.
Rename this layer Name.
PSPX3.. click the "A" tool
then before clicking on the work
hold down the shift key and then click,
it will bring up the entry box as other versions do
|
|
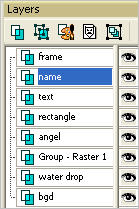
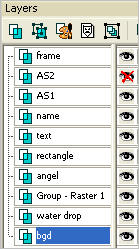
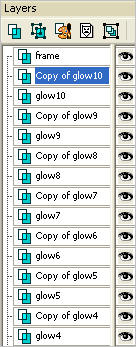
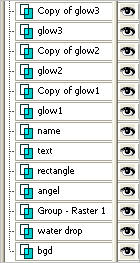
Your Layer Palette should look like this |
|
Open master glow tube in your PSP workspace
This image has 10 layers already named
This shows the number of layer
and placement.
Activate layer glow1
Right click on the Title Bar
and select COPY from the options.
|
|
Right click on the Title Bar of your 'working' image
and select PASTE AS NEW LAYER from the options.
With your MOVER Tool..
Place this in the angels hand as shown
|
|
On the master glow image
Activate layer glow 2
Right click on the Title Bar
and select COPY from the options.
Right click on the Title Bar of your 'working' image
and select PASTE AS NEW LAYER from the options.
Rename this layer glow2
CONTINUE COPY AND PASTING ALL 10 LAYERS
Naming them glow3 to glow10 as you do each one.
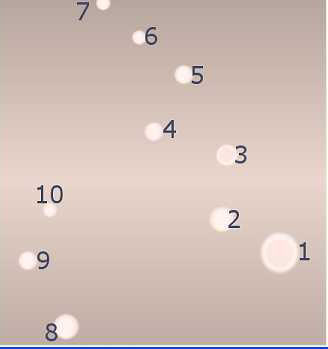
This is my placement for them
NOTE: your doesn't have to be just like this but remember
once they are placed
they can't be moved.
|
In the Layer Palette activate glow1
and DUPLICATE
Continue until all glow layers are duplicated
as shown
|
 ..  |
CLOSE ALL layers
EXCEPT the glow1 to glow10 layers
Activate glow1
LAYERS >>> MERGE >> VISIBLE
Rename the merged layer AS1
|
|
CLOSE AS1
Open all of your Copy of glow layers
Activate Copy of glow1
LAYERS >>> MERGE >> VISIBLE
Rename the merged layer AS2
|
|
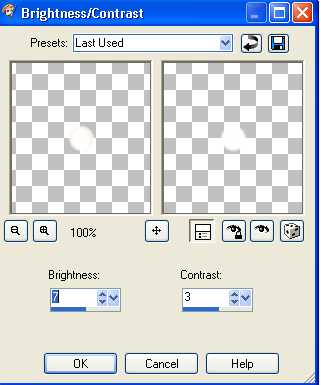
ADJUST >> Brightness and Contrast >> Brightness/Contrast
using these settings
|
|
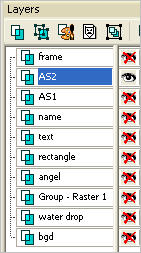
Set up LAYER PALETTE as shown
|
|
Right click on Title Bar and select
Copy merged from the options
In ANIMATION SHOP
Right click the workspace and select
'Paste As New Animation' from the options.
Back to PSP
CLOSE AS1
OPEN AS2
Right click on Title Bar and select
Copy merged from the options
|
|
In ANIMATION SHOP
Right click top of frame image and select
'Paste After Current Frame' from the options.
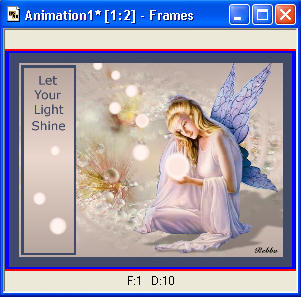
View >> Animation
and while it is still running
File >> Save As
Locate the folder in which you wish to save it.
Name your animation.
With the Gif Optimiser keep pressing NEXT
until you get to the last one... click FINISH
Close the Animation
Close the frames
Close Animation Shop
.
|
I hope you enjoyed the tutorial
Rebba
|
|