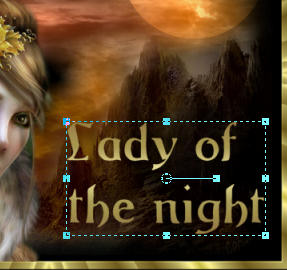
LADY OF THE NIGHT
PSP8 to PSPX3
This tutorial was written by Rebba to be shared with the Artistry Master Group.
AUGUST 2011
I have created the animation to have fun with but also to teach perhaps a
different way of doing it, I call My Way. I'm not a tutorial writer so this is more in
steps and doesn't expound on the design or PSP part of the tutorial. If you have any
trouble understanding please email me I will be happy to explain.
rebbad@embarqmail.com
There will also be NOTES added to the tut and this is to explain something that I had
trouble with. I hope this will save you from having the same problem.
The tubes used are not mine and the copyright belongs to the artist. No
infringement intended.
Note: Remember to save often in PSP and to Edit >> Empty Clipboard in PSP when
you come out of AS and back into PSP. You don't want to lose everything
(like me) when almost finished.
You will need the following to complete this tutorial
ANIMATION SHOP
Materials
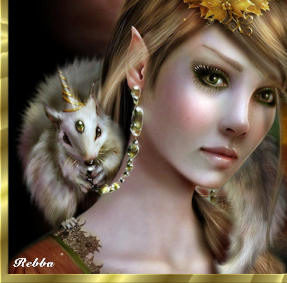
1228506075-feerie.psp
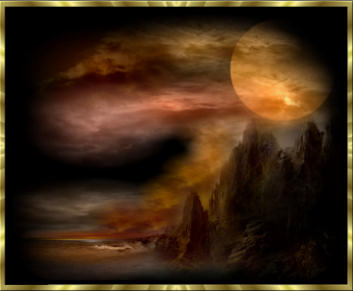
bg frame.psp
sunset.psp
Save to a folder on your computer
cmv-gold .bmp
Save to your PSP Patterns folder
PSP8: C:\Program Files\Jasc Software\Paint Shop Pro 8\Patterns
PSP9: C:\Program Files\Jasc Software\Paint Shop Pro 9\Patterns
PSPX: C:\Program Files\Corel\Corel Paint Shop Pro X\Patterns
PSPXI / X2: C:\Program Files\Corel\Corel Paint Shop Pro Photo X2\Corel_08
PSPX3: C:\Program Files\Corel\X3\PSPClassic\Corel_08
Argos.ttf font
Save to your WINDOWS >>> FONTS folder
or
to a folder where you store your extra fonts.
********************************
STEP 1
Open up the downloaded images in your PSP workspace and minimize.
Open up the bg frame image in your PSP workspace
WINDOW >>> DUPLICATE
Close the original Image
This is
your 'working' image
Rename this layer bgd
|
STEP 2
Activate the sunset.psp image
Right click on the Title Bar and
select COPY from the options.
Right click on the Title Bar of your 'working' image
and select PASTE AS NEW LAYER
from the options.
Rename this layer AS1
LAYERS >> DUPLICATE>>TWICE
Rename these layers AS2, AS3
|
|
STEP 3
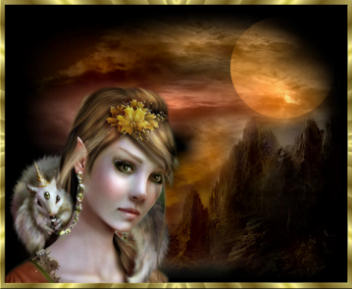
Activate the 1228506075-feerie.psp image
Activate raster2
Right click on the Title Bar and
select COPY from the options.
Right click on the Title Bar of your 'working' image
and select PASTE AS NEW LAYER from the options.
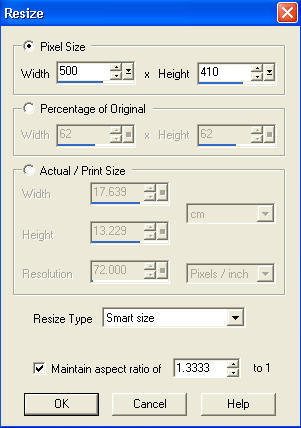
IMAGE >> RESIZE = 75%
Ensure "Resize all layers" is UNCHECKED
Move to bottom left
Rename this layer tube
|
|
STEP 4
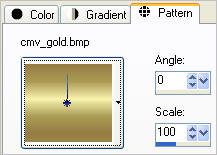
In your MATERIALS PALETTE
Load the ' cmv gold ' pattern in your background
using these settings.
|
|
|
STEP 6
LAYERS >> NEW RASTER LAYER
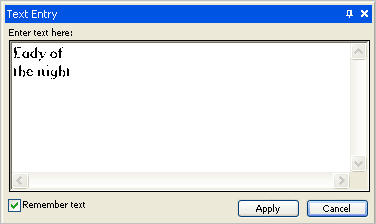
Select your TEXT TOOL
with font and settings of your choice
add your name to the bottom left corner of the layer.
Rename this layer Name. |
|
STEP 7
Set up LAYER PALETTE as shown
|
|
STEP 8
Right click on Title Bar and select
Copy merged from the options
In ANIMATION SHOP
Right click the workspace and select
'Paste As New Animation' from the options
|
STEP 9
Back to PSP.
OPEN AS2
Right click on Title Bar and select
Copy merged from the options
|
STEP 10
In ANIMATION SHOP
Right click top of frame image and select
'Paste After Current Frame' from the options.
Back to PSP.
OPEN AS3
Right click on Title Bar and select
Copy merged from the options
|
STEP 11
In ANIMATION SHOP
Right click top of frame image and select
'Paste After Current Frame' from the options.
Edit >> Select All
Right click on top of frames
Select 'Frame Properties' from the options
Display time =30 or speed you wish.
Animation >> Resize Animation
View >> Animation
and while it is still running,
File >> Save As
Locate the folder in which you wish to save it.
Name your animation.
With the Gif Optimiser keep pressing NEXT
until you get to the last one... click FINISH
Close the Animation
Close the frames.
Close Animation Shop
|
| |
I hope you have enjoyed this simple tut
Rebba |
| |
Page designed by

for
http://www.artistrypsp.com/
Copyright © 2000-2011 Artistry In PSP / PSP Artistry
All rights reserved.
Unless specifically made available for download,
no graphics or text may be removed from this site for any reason
without written permission from Artistry In PSP / PSP Artistry
|