This tutorial was written by Rebba to be shared with the Artistry Master Group.
AUGUST 2011
I have created the animation to have fun with but also to teach perhaps a
different way of doing it, I call My Way. I'm not a tutorial writer so this is more in
steps and doesn't expound on the design or PSP part of the tutorial. If you have any
STEP 1
Open up the downloaded images in your PSP workspace and minimize.
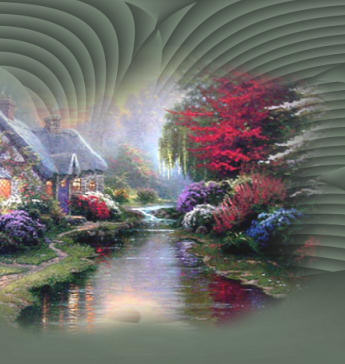
Open up the background.psp image in your PSP workspace
WINDOW >>> DUPLICATE
Close the original Image
This is your 'working image'
|
STEP 2
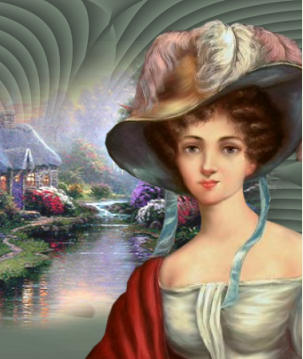
Activate the A-Quite-Evening.psp image
Right click on the Title Bar and select
COPY from the options.
Right click on the Title Bar of your 'working' image
and select PASTE AS NEW LAYER
from the options.
Move to lower right corner
about 50 pixels from edge
|
|
STEP 3
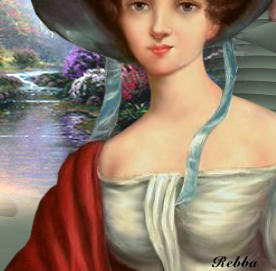
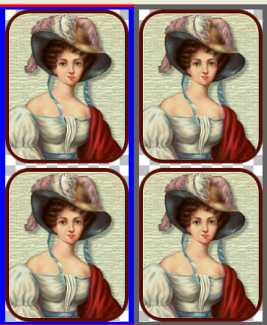
Activate the bps olden days lady image
Right click on the Title Bar and select
COPY from the options.
Right click on the Title Bar of your 'working' image
and select PASTE AS NEW LAYER
from the options.
IMAGE >>> MIRROR
Move to lower right corner
|
|
STEP 4
Load ' #560f02 ' in your background
NULL FOREGROUND
LAYERS >> NEW RASTER LAYER
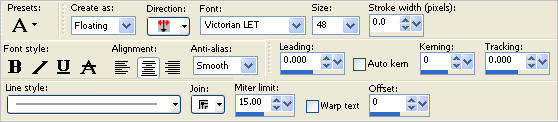
Select your TEXT TOOL
|
STEP 5
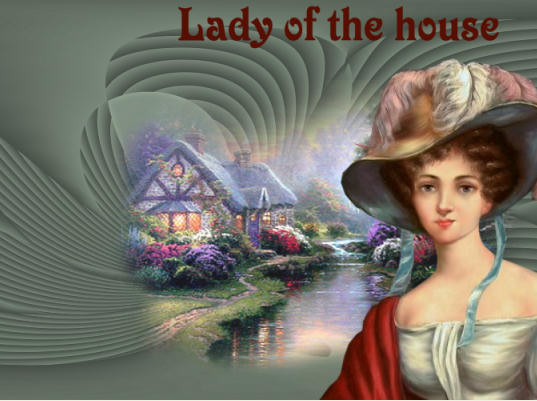
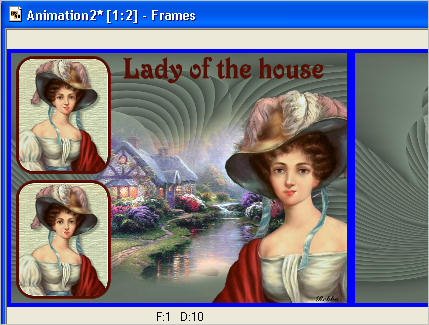
Type "Lady of the house" or whatever you wish.
Click APPLY
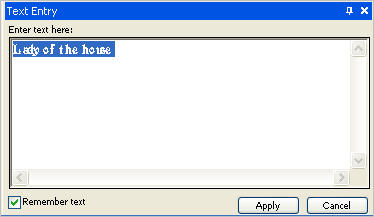
Place to the top right of your 'working image'
SELECTIONS >>> SELECT NONE
Check the placement now of your large lady,
text and background correct if needed
|
STEP 6
LAYERS >> NEW RASTER LAYER
Select your TEXT TOOL
with font and settings of your choice
add your name to the bottom RIGHT corner
of the layer.
Minimize your 'working image' for now |
|
STEP 7
Open side AS.pspimage in your PSP workspace
Right click on the Title Bar and select
COPY from the options.
In ANIMATION SHOP
Right click the workspace and select
'Paste As New Animation' from the options.
Edit >> Copy
Edit >> Paste After Current Frame
|
|
STEP 8
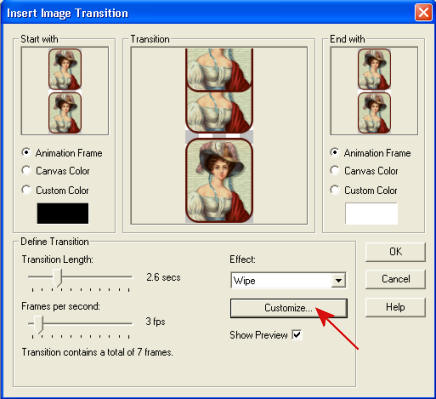
Select the gray edge around frame 1
Effects >> Insert Image Transition.
Use these settings
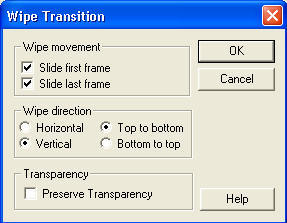
Then click the "Customize" button (settings below)
|
STEP 9
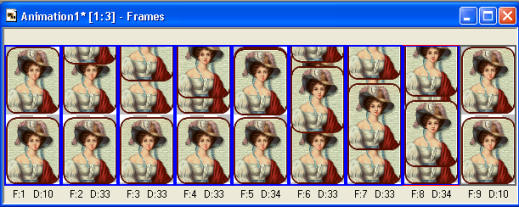
CLICK OK
If you pull on the right side if the frame you will
see you have 9 frames that look like this.
(Animation1)
|
STEP 10
Back to PSP.
Open your minimized 'working image'
Right click on Title Bar and select
Copy merged from the options
In ANIMATION SHOP
Right click the workspace and select
'Paste As New Animation' from the options.
Edit >> Copy
Edit >> Paste After Current Frame
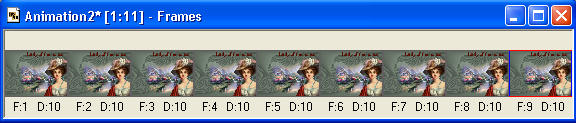
Depress your CTRL Key and hit the letter "L" 8 times
until you have 9 frames
same number as side ladies.
(Animation2)
|
STEP 11
Still in ANIMATION SHOP
Activate the ladies frames
(Animation1)
Edit >> Select All
Edit >> Copy
Edit >> Propagate Paste
Activate the background frames
(Animation2)
Edit >> Select All
ZOOM in on the first frame
so you can be precise with your placement
Edit >> Paste into selected frame
Your images will be attached to the mouse
line it up with equal space from
the left side, top and bottom.
Right click on top of frames
Select 'Frame Properties' from the options
Display time = 30 or speed you like.
ANIMATION >>> Cull Animation
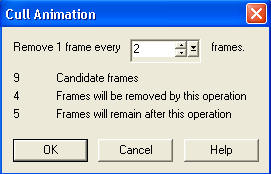
RIGHT Click inside frame 5 and select
CUT from the options
|
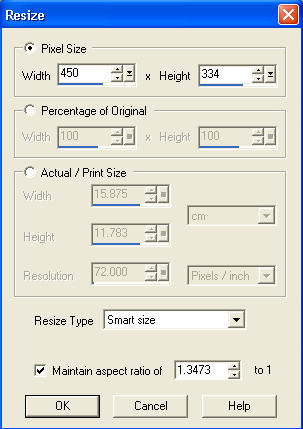
STEP 12
Click on the Title Bar of the frames
Animation >> Resize Animation
Select width and height in pixels
Click OK
|
|
STEP 13
View >> Animation
and while it is still running,
File >> Save As
Locate the folder in which you wish to save it.
Name your animation.
With the Gif Optimiser keep pressing NEXT
until you get to the last one... click FINISH
Close the Animation
Close the frames.
Close Animation Shop |
| |
I hope you enjoyed the tutorial
Rebba |
| |