STEP 1
Open up the downloaded images in your PSP workspace and minimize.
Maximize the blinds.psp image in your PSP workspace
WINDOW >>> DUPLICATE
Close the original Image
|
STEP 2
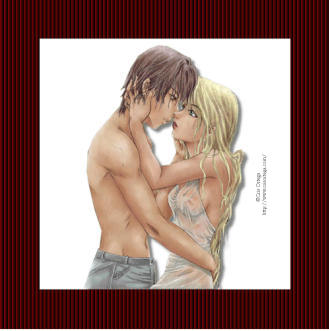
Maximize the couples image
Right click on the Title Bar and
select COPY from the options.
Right click on the Title Bar
of your 'working' image
and select PASTE AS NEW LAYER
from the options |
|
STEP 3
LAYERS >> NEW RASTER LAYER
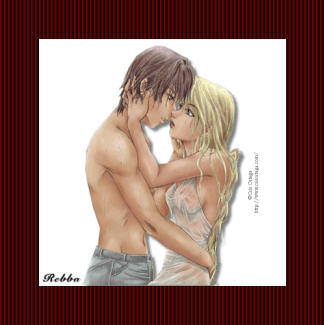
Select your TEXT TOOL
with font and settings of your choice
add your name to the bottom left corner of the layer.
|
|
STEP 4
LAYERS >>> MERGE >> VISIBLE.
Right click on Title Bar and select
Copy from the options
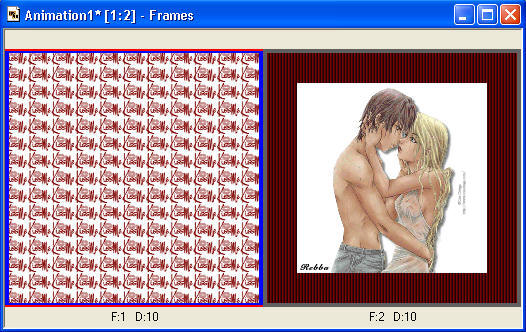
In ANIMATION SHOP
Right click the workspace and select
'Paste As New Animation' from the options.
|
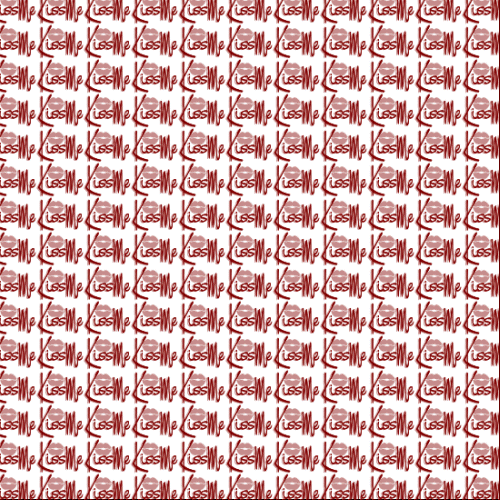
STEP 5
Back to PSP.
Maximize the paper image.psp image
in your PSP workspace
Right click on Title Bar and select
Copy from the options
In ANIMATION SHOP
Right click on the Title Bar of the
animation frame
and select 'Paste Before Current Frame'
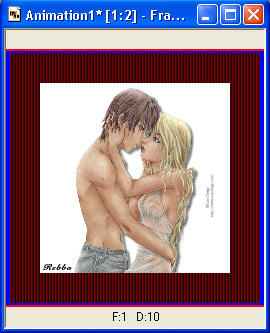
You now have 2 frames the first will be the paper
the second will be the couple.
|
STEP 6
Select the gray edge around frame 1 (F:1)
Effects >> Insert Image Transition.
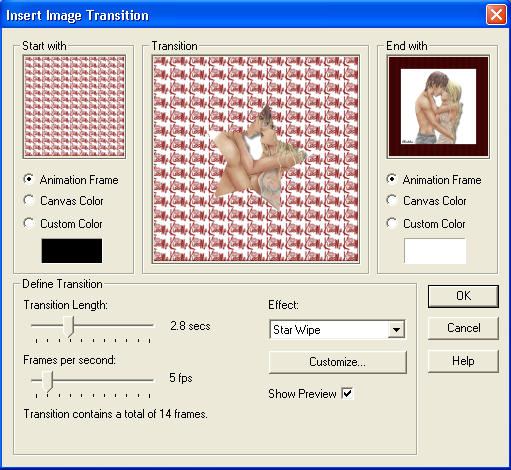
Click OK
|
NOTE:
You now have 16 frames...
we now need to remove the frames that we don't want.
We will not cull them as usual but remove the ones not needed.
|
STEP 7
Select the gray edge around frame 2 (F:2)
Hold down the Ctrl key and
Select the gray edge around frame 4, 5, 8,
10,12,14,15.
Now scroll back through them
again to make sure the right ones are highlighted.
Then hit the Delete Frames icon .
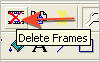
You should now have 8 frames
|
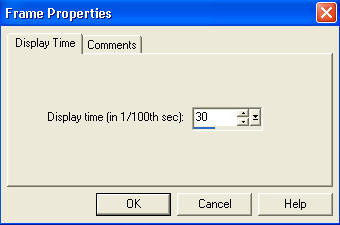
STEP 8
Edit >> Select All
Right click on Title Bar of frames
Select 'Frame Properties' from the options
Display time = 30 or speed you chose
|
|
STEP 9
View >> Animation
and while it is still running,
File >> Save As
Locate the folder in which you wish to save it.
Name your animation.
With the Gif Optimiser keep pressing NEXT
until you get to the last one... click FINISH
Close the Animation
Close the frames.
Close Animation Shop
|
I hope you enjoyed another easy one.
Rebba
|