STEP 1
Open up the downloaded images in your PSP workspace and minimize.
Open up the seamless pattern image in your PSP workspace
WINDOW >>> DUPLICATE
Close the original Image
Rename this layer AS1
LAYERS >> DUPLICATE 4 TIMES
Rename these layers AS2-AS5 |
STEP 2
Activate AS1
Close all other layers
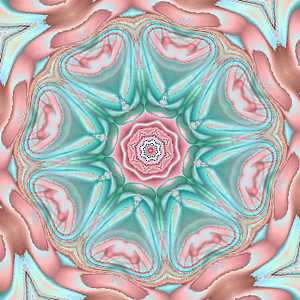
EFFECTS >>> REFLECTION >>> KALEIDOSCOPE

|
STEP 3
ADJUST >>> SHARPNESS >>> SHARPEN
|
|
STEP 4
Open & Activate layer AS2
Close layer AS1
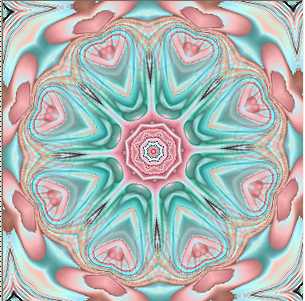
EFFECTS >>> REFLECTION >>> KALEIDOSCOPE
Same setting except change rotation to 5
ADJUST >>> SHARPNESS >>> SHARPEN
|
|
STEP 5
Activate layer AS3
Close layer AS2
EFFECTS >>> REFLECTION >>> KALEIDOSCOPE
Same setting except change rotation to 10
ADJUST >>> SHARPNESS >>> SHARPEN
|
|
STEP 6
Activate layer AS4
Close layer AS3
EFFECTS >>> REFLECTION >>> KALEIDOSCOPE
Same setting except change rotation to 15
ADJUST >>> SHARPNESS >>> SHARPEN
|
|
STEP 7
Activate layer AS5
Close layer AS4
EFFECTS >>> REFLECTION >>> KALEIDOSCOPE
Same setting except change rotation to 20
ADJUST >>> SHARPNESS >>> SHARPEN
|
|
STEP 8
Still on layer AS5
Choose your SELECTION TOOL
Selection Type = CIRCLE
Mode = Replace
Feather = 0
Antialias = Checked
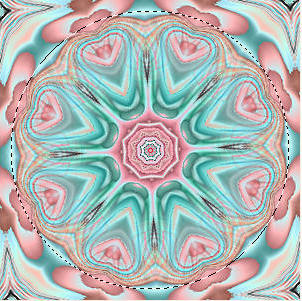
Put point in center and draw out to edge of circle part of pattern.
SELECTIONS >> INVERT
Highlight each layer one at a time and hit the delete key.
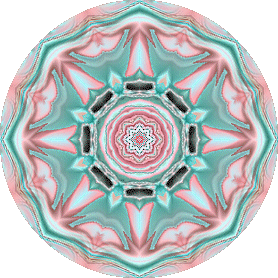
You should have this
|
|
STEP 9
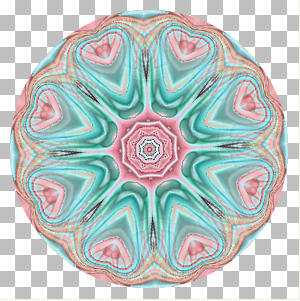
SELECTIONS >> INVERT
Highlight each layer one at a time and hit the delete key.
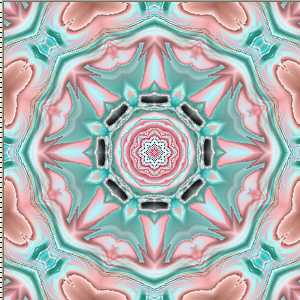
You should have this |
|
STEP 10
Activate AS1
Right click on the Title Bar and select COPY from the options.
In ANIMATION SHOP
Right click the workspace and select
'Paste As New Animation' from the options. |
|
STEP 11
Back to PSP.
Activate AS2
Right click on the Title Bar
and select COPY from the options.
In ANIMATION SHOP
Right click top of frame image and select
'Paste After Current Frame' from the options. |
|
STEP 12
Back to PSP.
Activate AS3
Right click on the Title Bar
and select COPY from the options.
In ANIMATION SHOP
Right click top of frame image and select
'Paste After Current Frame' from the options.
|
STEP 13
Back to PSP.
Activate AS4
Right click on the Title Bar
and select COPY from the options.
In ANIMATION SHOP
Right click top of frame image and select
'Paste After Current Frame' from the options.
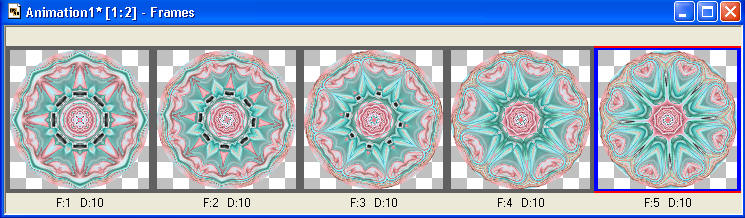
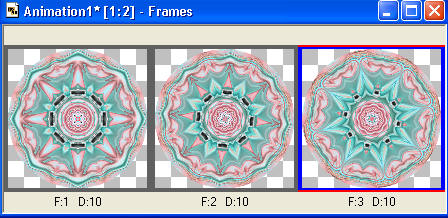
You will have 4 frames
Back to PSP.
Activate AS5
Right click on the Title Bar
and select COPY from the options.
In ANIMATION SHOP
Right click top of frame image and select
'Paste After Current Frame' from the options.
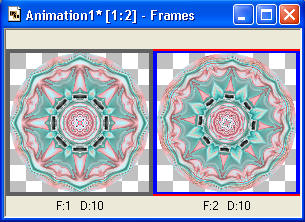
You will have 5 frames
|
NOTE: Each Kaleidoscope will look different depending on the pattern used.
Now you can save it as it is with 5 frames or
add more frames it will run smoother but be a larger file.
|
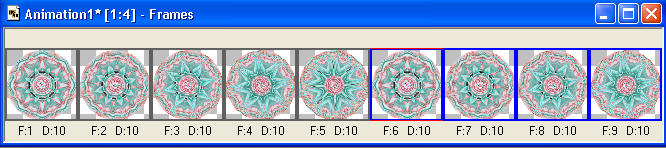
STEP 14
TO ADD MORE.
Select the gray edge around frame 1 (F:1)
Hold down the Ctrl key and also select frame 2-4 (F:2 - F:4)
All frames except 5 should be selected.
Edit >> Copy
NOW
Select the gray edge around frame 5
Edit >> Paste After Current Frame
|
STEP 15
View >> Animation
and while it is still running,
File >> Save As
Locate the folder in which you wish to save it.
Name your animation.
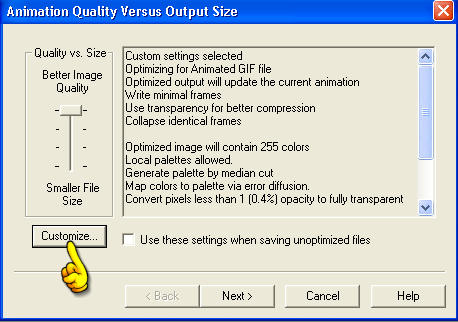
When here click CUSTOMIZE
|
STEP 16
Select the Partial Transparency Tab
Use these setting and find a color like #c0a09a
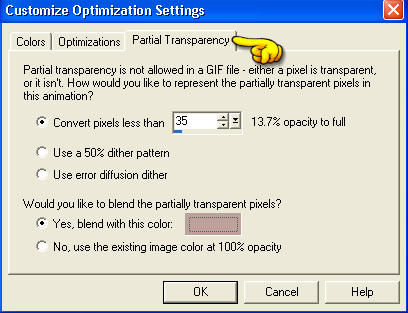
Click OK
|
STEP 17
With the Gif Optimiser keep pressing NEXT
until you get to the last one... click FINISH
Close the Animation
Close the frames.
Close Animation Shop
|
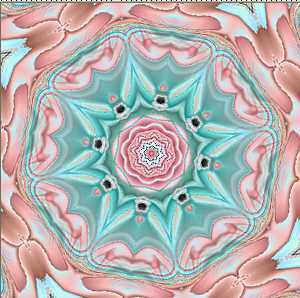
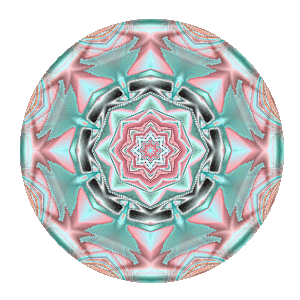
Another example.
Using Wrap setting instead of Reflect
|
|
I hope you enjoyed the kaleidoscope
tutorial and try it on different tags.
Rebba
|
| .
|