STEP 1
Open up the downloaded images in your PSP workspace and minimize.
Open a new image 500 x 480
Transparent background
PSPX - X2: Colour Depth = 8bits/channel
PSPX3: Colour Depth RGB = 8bits/channel
In your MATERIALS PALETTE
Load black ' #000000 ' in your foreground
Load pink ' #f0bff1 ' in your background
Flood fill with black
Rename this layer bgd
.
|
STEP 2
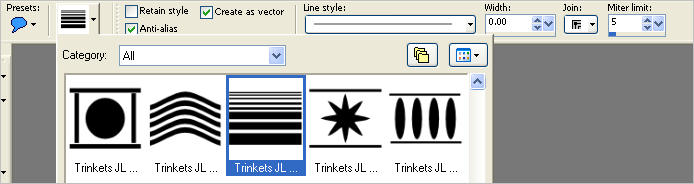
Select Preset Shapes Tool
Shape = Trinkets (Border Elements) -c
Join = Miter Join
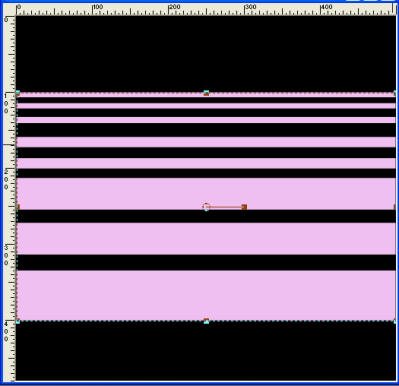
Starting at 0 pixels across and 100 pixels down
drag your cursor to 500 pixels across and 400 pixels down and release
In your Layer Palette
Right click on this layer and select
"Convert to Raster Layer " from the options
Rename this layer bgd shape
|
STEP 3
LAYERS >> NEW RASTER LAYER
Choose your SELECTION TOOL
Selection Type = Rectangle
Mode = Replace
Feather = 0
Antialias = Checked
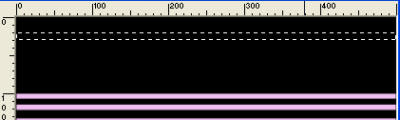
Make a strip about 10 pixel high across the image
|
|
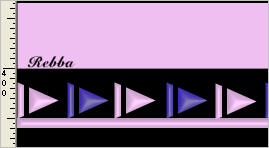
STEP 4
Flood fill with pink
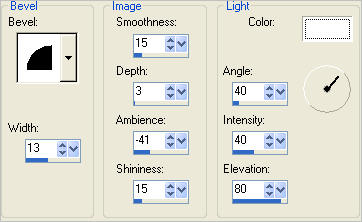
EFFECTS >> 3D EFFECTS >> INNER BEVEL
DESELECT
Rename this layer top strip
|
|
STEP 5
LAYERS >> DUPLICATE
IMAGE >>> FLIP
Rename this layer lower strip
Place them 10 pixel from top and bottom |
|
STEP 6
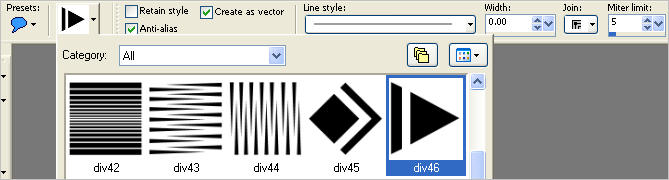
Select Preset Shapes Tool
Shape = div46
Join = Miter Join
Draw out shape about 30 pixels tall and 40 pixels wide.

In your Layer Palette
Right click on this layer and select
"Convert to Raster Layer " from the options
Rename this layer AS1
|
STEP 7
EFFECTS >> 3D EFFECTS >> INNER BEVEL
Same settings
LAYERS >>> DUPLICATE
IMAGE >>> FLIP
LAYERS >>> MERGE >>> MERGE DOWN
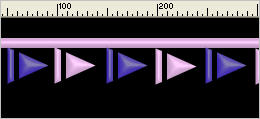
LAYERS >> DUPLICATE (4 TIMES)
Rename the duplicated layers AS3, AS5, AS7 and AS9
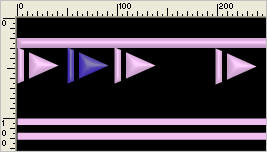
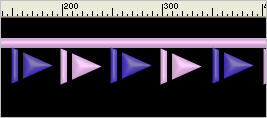
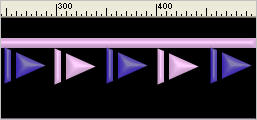
Move them as shown starting with AS9 far right (400 pixel mark)
AS7 to the left (300 pixel mark)
AS5 to the left (200 pixel mark)
AS3 to the left (100 pixel mark)
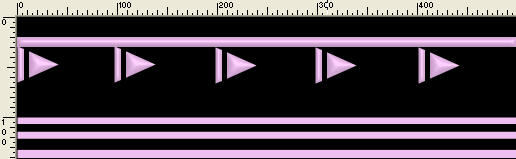
The bottom row will look the same
|
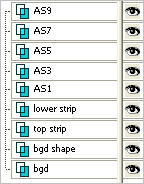
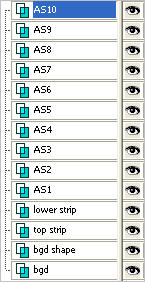
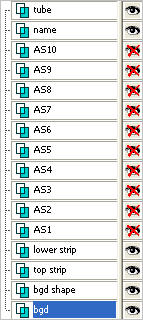
STEP 8
Your LAYER PALETTE should look like this
|
|
STEP 9
ACTIVATE LAYER AS1
LAYERS >>> DUPLICATE
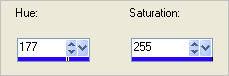
ADJUST >>> HUE & SATURATION >>> COLORIZE
|
|
STEP 10
PSP8 - PSP9:
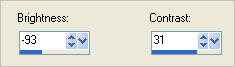
COLOURS >>> ADJUST >>> BRIGHTNESS/CONTRAST
PSPX - PSPX3:
ADJUST >>> BRIGHTNESS and CONTRAST >>> BRIGHTNESS/CONTRAST
|
|
STEP 11
Reposition with your MOVER tool
Rename this layer AS2
|
|
STEP 12
LAYERS >>> DUPLICATE
Reposition with your MOVER tool
Rename this layer AS4
|
|
STEP 13
LAYERS >>> DUPLICATE
Reposition with your MOVER tool
Rename this layer AS6
|
|
STEP 14
LAYERS >>> DUPLICATE
Reposition with your MOVER tool
Rename this layer AS8 |
|
STEP 15
LAYERS >>> DUPLICATE
Reposition with your MOVER tool
Rename this layer AS10 |
|
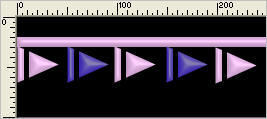
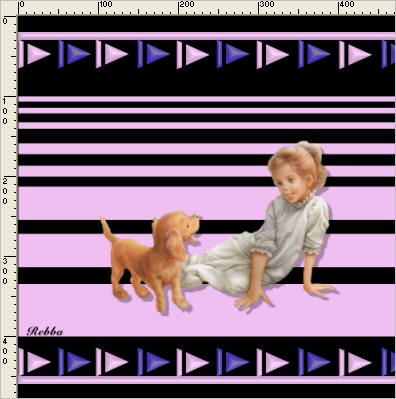
Your image should look like this
|
|
STEP 16
Set up LAYER PALETTE as shown |
|
STEP 17
LAYERS >> NEW RASTER LAYER
Select your TEXT TOOL
with font and settings of your choice
add your name to the bottom left corner of the layer.
Rename this layer name. |
|
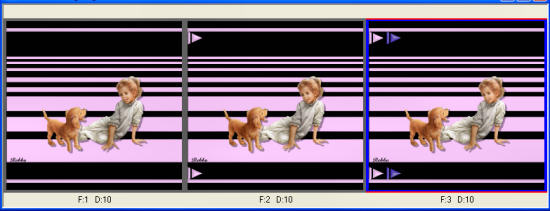
STEP 18
Activate the girl image
Right click on the Title Bar and select COPY from the options.
Right click on the Title Bar of your 'working' image
and select PASTE AS NEW LAYER from the options.
Reposition with your MOVER tool
Rename this layer tube
|
|
STEP 19
Set up LAYER PALETTE as shown
|
|
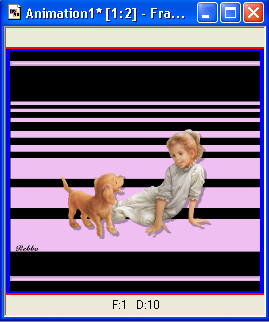
STEP 20
Right click on Title Bar and select
Copy merged from the options
In ANIMATION SHOP
Right click the workspace and select
'Paste As New Animation' from the options.
|
|
STEP 21
Back to PSP.
Open AS 1
Right click on Title Bar and select
Copy merged from the options
In ANIMATION SHOP
Right click top of frame image and select
'Paste After Current Frame' from the options.
|
|
STEP 22
Back to PSP.
Open AS 2
Right click on Title Bar and select
Copy merged from the options
In ANIMATION SHOP
Right click top of frame image and select
'Paste After Current Frame' from the options.
|
STEP 23
Back to PSP.
Continue opening the next AS layers one at a time and
Copy merged
and in ANIMATION SHOP
Right click top of frame image and select
'Paste After Current Frame' from the options.
You should have 11 frames
Leave at default speed
Resize if you wish
|
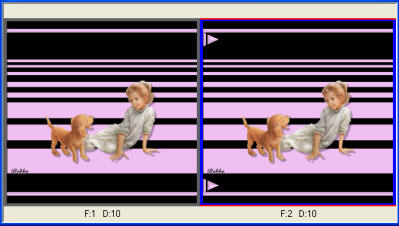
STEP 24
View >> Animation
and while it is still running,
File >> Save As
Locate the folder in which you wish to save it.
Name your animation.
With the Gif Optimiser keep pressing NEXT
until you get to the last one... click FINISH
Close the Animation
Close the frames.
Close Animation Shop |
|
|
I hope you have enjoyed the tutorial
Rebba |
|
|