STEP 1
Open up the downloaded images in your PSP workspace and minimize.
Open a new image 550 x 450
Transparent background
PSPX - X2: Colour Depth = 8bits/channel
PSPX3: Colour Depth RGB = 8bits/channel
Flood fill with white
Rename this layer bgd
This is your "working image"
|
STEP 2
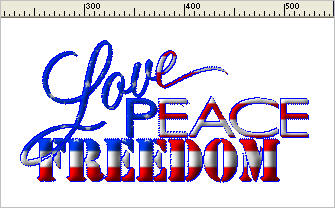
Open word art tube in your PSP workspace
Right click on the Title Bar
and select COPY from the options.
Right click on the Title Bar of your 'working' image
and select PASTE AS NEW LAYER from the options.
Using your MOVER tool place in top right
Rename this layer wordart
|
|
STEP 3
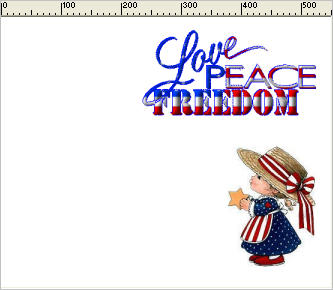
Open girl image (37F3C3.jpg)
in your PSP workspace
Right click on the Title Bar
and select COPY from the options.
Right click on the Title Bar of your 'working' image
and select PASTE AS NEW LAYER from the options.
NOTE: the boy and girl images have a background
so make sure when placing them
that you don't cover up part on the image.
Place the girl to bottom right
(don't worry about correct placement
we will move them later).
Rename this layer girl
|
|
STEP 4
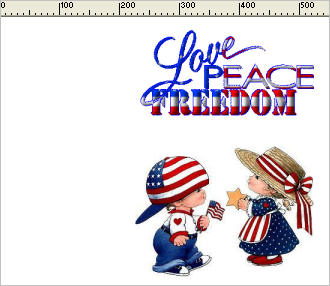
Open boy image (B19EF7.jpg)
in your PSP workspace
Right click on the Title Bar
and select COPY from the options.
Right click on the Title Bar of your 'working' image
and select PASTE AS NEW LAYER from the options.
Using your MOVER tool place to left of girl.
Rename this layer boy
|
|
STEP 5
Activate the bgd layer
Close all other layers
Open base star tube in your PSP workspace
Right click on the Title Bar
and select COPY from the options.
Right click on the Title Bar of your 'working' image
and select PASTE AS NEW LAYER from the options.
The star should copy to the center if not adjust to center.
|
STEP 6
EFFECTS >> PLUGINS >> Mura's Meister >> Copies
use these settings.
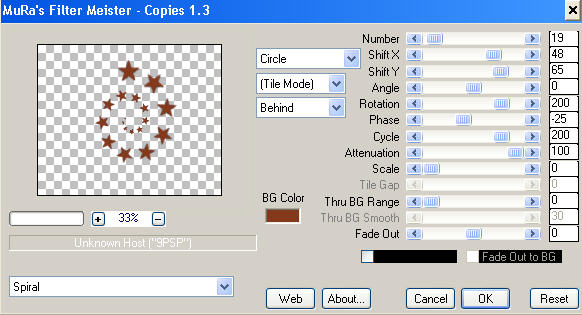
|
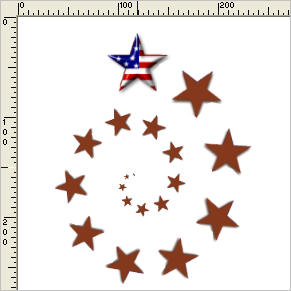
STEP 7
IMAGE >> RESIZE = 80%
Ensure "Resize all layers" is UNCHECKED
Place to top left corner as shown
Rename this layer master star
|
|
STEP 8
Open star pattern tube again
in your PSP workspace
Right click on the Title Bar
and select COPY from the options.
Right click on the Title Bar of your 'working' image
and select PASTE AS NEW LAYER from the options.
IMAGE >> RESIZE = 95%
Ensure "Resize all layers" is UNCHECKED
Move the star on top of the top star
(this star is larger than copy)
Rename this layer AS1
|
|
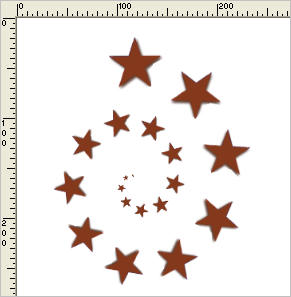
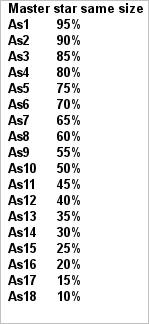
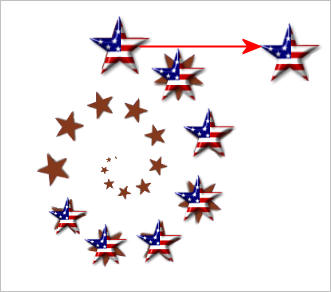
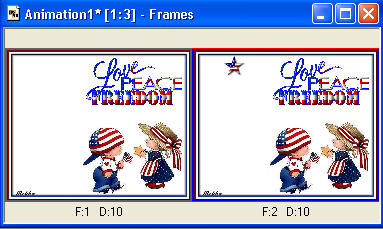
NOTE: we will be duplicating the AS1(top) star each time, then placing on top of next star
going clockwise, resizing that star down
5 % lower each time
as shown in image on the right >>>>
then renaming that star the next AS number.
Rename as you go along or you will be lost. |
|
STEP 9
ACTIVATE RASTER AS1
LAYERS >> DUPLICATE
place on top of second star
IMAGE >> RESIZE = 90%
Ensure "Resize all layers" is UNCHECKED
ADJUST >> SHARPNESS >> SHARPEN
Rename this layer AS2
|
|
STEP 10
ACTIVATE RASTER AS1
LAYERS >> DUPLICATE
place on top of third star
IMAGE >> RESIZE = 85%
Ensure "Resize all layers" is UNCHECKED
ADJUST >> SHARPNESS >> SHARPEN
Rename this layer AS3
ACTIVATE RASTER AS1
LAYERS >> DUPLICATE
place on top of fourth star
IMAGE >> RESIZE = 80%
Ensure "Resize all layers" is UNCHECKED
ADJUST >> SHARPNESS >> SHARPEN
Rename this layer AS4
|
|
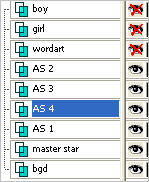
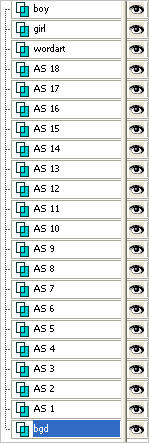
Your LAYER PALETTE
should look like this
|
|
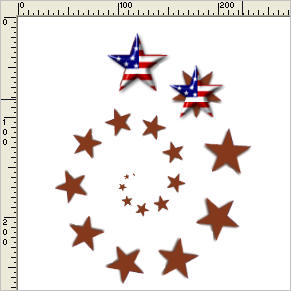
STEP 11
Continue doing this ... resizing by 5% each time
and sharpening
every layer until you have 18 layers
of stars on top of the master star layer.
As the stars get smaller...
once you duplicate the AS1 layer
move the duplicated star out to the right
then resize....
so that the resized star won't disappear
under one of the other stars
|
|
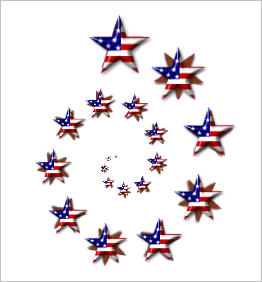
Your image
should look like this |
|
STEP 12
Delete the master star layer.
Open the
wordart
girl
boy
layers.
Make sure the layers
are in order
from AS1 on bottom to AS18 on top
|
|
STEP 13
Open up the frame.pspimage in your PSP workspace
Right click on the Title Bar and select COPY from the options
Right click on the Title Bar of your image
and select PASTE AS NEW LAYER from the options.
Rename this layer frame.
|
STEP 14
LAYERS >> NEW RASTER LAYER
Select your TEXT TOOL
with font and settings of your choice
add your name to the bottom left corner of the layer.
Rename this layer name. |
|
This is my placement when completed

|
STEP 15
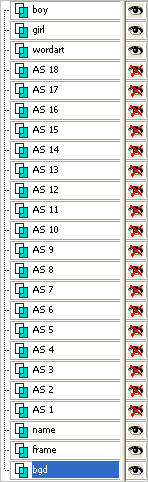
Close all AS layers
Set up LAYER PALETTE as shown
Save your work as a .pspimage
so as not to lose all your hard work.
|
|
STEP 16
Right click on Title Bar and select
Copy merged from the options
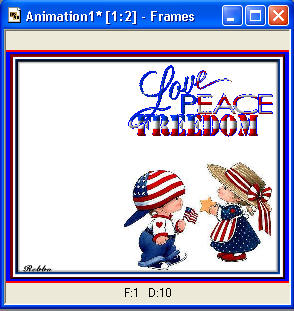
In ANIMATION SHOP
Right click the workspace and select
'Paste As New Animation' from the options.
|
|
STEP 17
Back to PSP.
OPEN layer AS 1
Right click on Title Bar and select
Copy merged from the options
In ANIMATION SHOP
Right click top of frame image and select
'Paste After Current Frame' from the options.
|
|
TIP
Because you'll have to "Copy Merge" so often
it would be advisable to
EDIT >>> Empty Clipboard
periodically to save your PSP freezing up.
Do this when you come back into PSP before doing a "Copy Merge"
|
STEP 18
Back to PSP.
Leaving the previous AS layers open each time...
open the next AS layer
Right click on Title Bar and select
Copy merged from the options
In ANIMATION SHOP
Right click top of frame image and select
'Paste After Current Frame' from the options.
Do this until all 18 AS layers are copied into animation shop.
You should have 19 frames in total
|
STEP 19
In ANIMATION SHOP
EDIT >> Select All
View >> Animation
and while it is still running,
File >> Save As
Locate the folder in which you wish to save it.
Name your animation.
With the Gif Optimizer keep pressing NEXT
until you get to the last one... click FINISH
Close the Animation
Close the frames.
Close Animation Shop
|
I hope you have enjoyed the tutorial.
Rebba
|
| |
|