STEP 1
Open up the downloaded images in your PSP workspace and minimize.
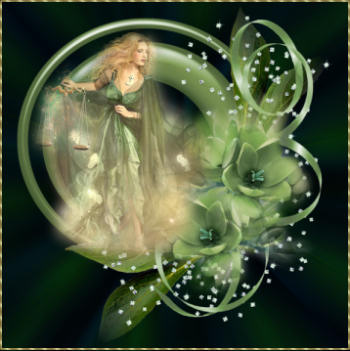
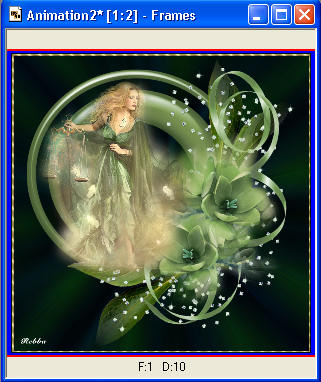
Open up the framed bg image in your PSP workspace
WINDOW >>> DUPLICATE
Close the original Image
This is your 'working' image
|
STEP 2
Maximize the flower circle tube
in your PSP workspace
Right click on the Title Bar and select
COPY from the options.
Right click on the Title Bar of your 'working' image
and select PASTE AS NEW LAYER
from the options.
|
|
STEP 3
Maximize the DD_mistedfantasy1 tube
in your PSP workspace
Right click on the Title Bar and select
COPY from the options.
Right click on the Title Bar of your 'working' image
and select PASTE AS NEW LAYER
from the options.
IMAGE >> MIRROR
IMAGE >> RESIZE = 65%
Ensure "Resize all layers" is UNCHECKED
Reposition with your Mover Tool
|
|
STEP 4
LAYERS >> NEW RASTER LAYER
Select your TEXT TOOL
with font and settings of your choice
add your name to the bottom left corner of the layer.
|
|
STEP 5
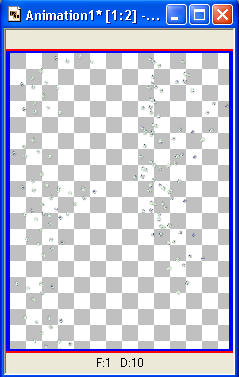
Maximize the master flake lg.psp tube
in your PSP workspace
Right click on the Title Bar and select
COPY from the options.
In ANIMATION SHOP
Right click the workspace and select
'Paste As New Animation' from the options.
|
|
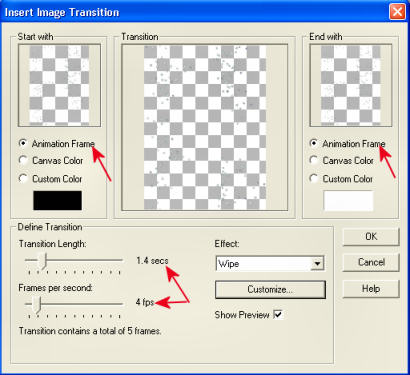
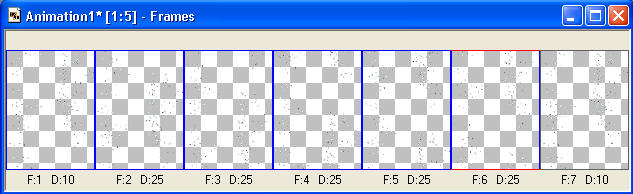
STEP 6
Still in ANIMATION SHOP
Edit >> Paste After Current Frame
|
|
| |
STEP 8
Back to PSP.
Activate the working image
Right click on Title Bar and select
Copy merged from the options
In ANIMATION SHOP
Right click the workspace and select
'Paste As New Animation' from the options.
|
|
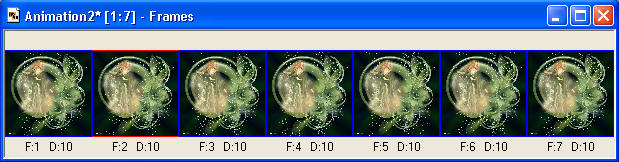
STEP 9
Depress your CTRL key and press the letter L
(Upper Case) 6 times
|
STEP 10
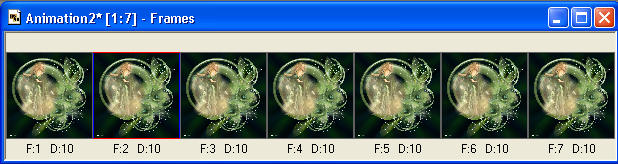
Activate the flakes frames
Edit >> Select All
Edit >> Copy
Activate the working image frames
Edit >> Select All
Edit >> Propagate Paste
Edit >> Paste into selected frame
The flakes will be attached to the mouse
it will be in the right place so just click to set the flakes
Right click on top of frames
Select 'Frame Properties' from the options
Display time = 30
|
STEP 11
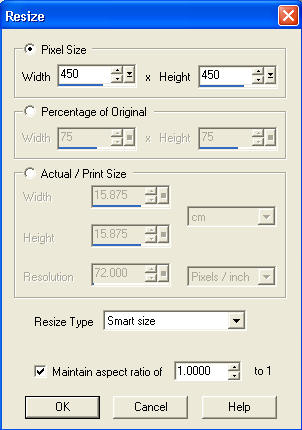
Animation >> Resize Animation
width = 450 pixels
|
|
STEP 12
View >> Animation
and while it is still running,
File >> Save As
Locate the folder in which you wish to save it.
Name your animation.
With the Gif Optimiser keep pressing NEXT
until you get to the last one... click FINISH
Close the Animation
Close the frames.
Close Animation Shop |
| |
I hope you enjoyed the tutorial
Rebba |
| |