Open up the downloaded images in your PSP workspace and minimize.
Note: open an image with enough width for your name.
|
STEP 1
Open a new image 500 x 130
Transparent background
PSPX - X2: Colour Depth = 8bits/channel
PSPX3: Colour Depth RGB = 8bits/channel
Flood fill with black
Rename this layer bgd
|
STEP 2
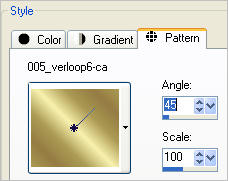
In your MATERIALS PALETTE
Load the ' 005_verloop6-ca ' pattern in your background
using these settings below. |
|
STEP 3
CLOSE the bgd layer
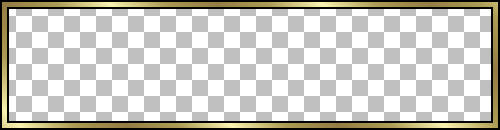
LAYERS >> NEW RASTER LAYER
Rename this layer frame
Flood fill with black
SELECTIONS >> SELECT ALL
SELECTIONS >> MODIFY >>CONTRACT = 2
Flood fill with pattern
SELECTIONS >> MODIFY >>CONTRACT =5
EDIT >> CLEAR
Flood fill with black
SELECTIONS >> MODIFY >>CONTRACT = 2
EDIT >> CLEAR
DESELECT
|
STEP 4
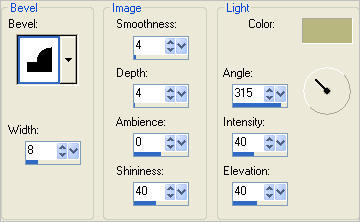
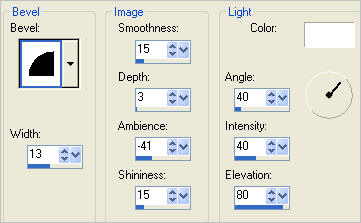
EFFECTS >> 3D EFFECTS >> INNER BEVEL
COLOUR =
#b8b780
|
|
NOTE: if you use a different heart make sure it has a fat bevel to help
appear as a 3D image. |
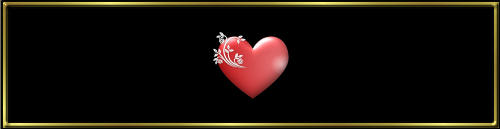
STEP 5
OPEN the bgd layer
Open myfatheartwithflowerrainy.png tube
in your PSP workspace
Right click on the Title Bar and select
COPY from the options.
Right click on the Title Bar of your 'working' image
and select PASTE AS NEW LAYER from the options
IMAGE >> RESIZE = 18%
Ensure "Resize all layers" is UNCHECKED
|
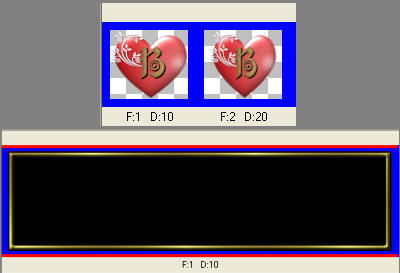
STEP 6
LAYERS >> DUPLICATE
As many times as needed for your name.
VIEW >>> RULERS
VIEW >>> GUIDES
Place your cursor on top ruler and drag guide down to bottom of heart.
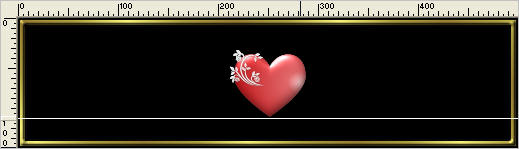
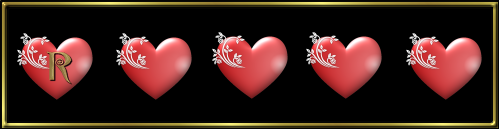
Arrange your hearts so the tip will line up with guide

VIEW >>> GUIDES
(To remove guide)
|
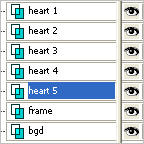
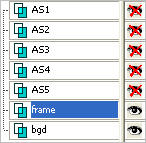
In your LAYER PALETTE
Rearrange the heart layers in order from left to right
|
|
STEP 7
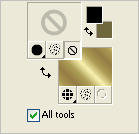
In your MATERIALS PALETTE
X (null) your foreground
|
|
Steps for doing name!
|
STEP 8
Select your TEXT TOOL
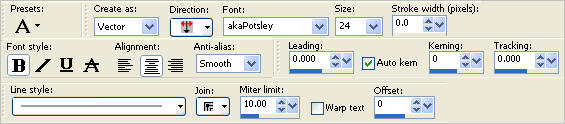
ACTIVATE THE TOP LAYER
Type the FIRST letter of your name and place it over the first heart.
In your LAYER PALETTE
Right click on this layer and select
"Convert to Raster Layer " from the options
|
STEP 9
EFFECTS >> 3D EFFECTS >> INNER BEVEL
|
|
|
STEP 10
Effects >> 3D Effects >> Drop Shadow
Vertical and Horizontal = 1
Opacity = 100
Blur = 0.00
Color = Black.
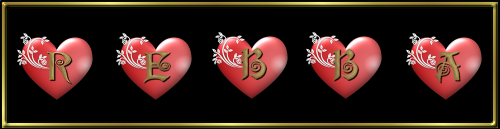
Continue redoing steps 9 and 10 and complete your name.
|
Steps for merging heart and letters!
.
|
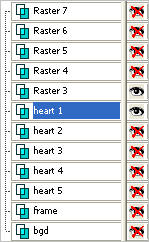
STEP 11
Close all layers except heart 1
and first letter of your name
ACTIVATE heart 1
LAYERS >>> MERGE >> VISIBLE.
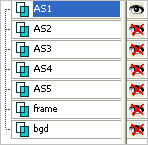
Rename this layer AS1 |
 . 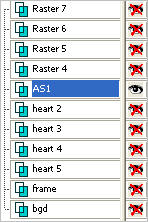 |
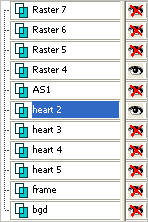
STEP 12
Close all layers except heart 2
and second letter of your name
ACTIVATE heart 2
LAYERS >>> MERGE >> VISIBLE.
Rename this layer AS2 |
 . 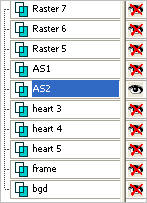 |
STEP 13
Continue doing these steps until you complete your name.
.
|
STEP 14
Close all layer except AS1 (the first merged heart)
Right click on the Title Bar and select COPY from the options.
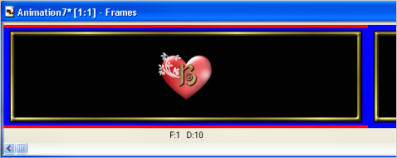
In ANIMATION SHOP
Right click the workspace and select
'Paste As New Animation' from the options.
|
|
STEP 15
Back to PSP.
Close AS1
Open AS2
Right click on the Title Bar and select COPY from the options.
In ANIMATION SHOP
Right click the workspace and select
'Paste As New Animation' from the options. |
|
STEP 16
Continue until all letters are pasted in
ANIMATION SHOP.
NOTE: you will have a new animation for each letter of your name.

|
Steps for animating heart!
.
|
STEP 17
Select your first letter
Effects >> Insert Image Effects >> COMPRESS
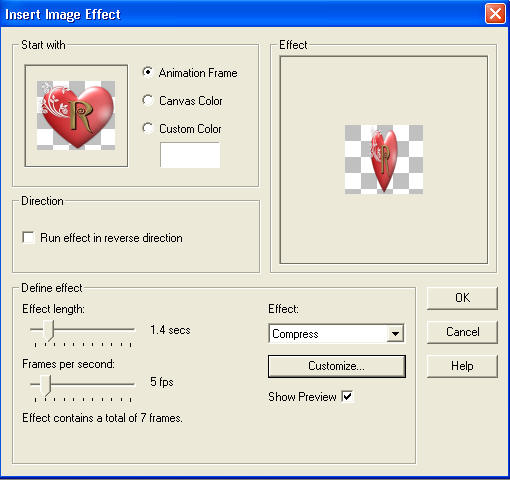
Click Customize
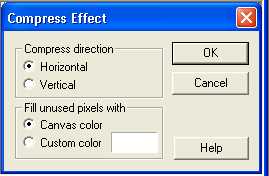
Click OK
|
STEP 18
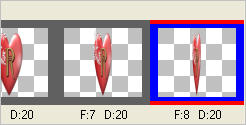
Select the gray edge around frame 8 (F:8)
Delete  the 8th frame
|
|
STEP 19
EDIT >> Select All
Edit >> Copy
Select the gray edge around frame 7 (F:7)
Edit >> Paste After Current Frame
Animation >> Reverse frames
You should now have 14 frames like this


|
NOTE: if you wish to save your name to use later save each letter
when you get to this point.
File >> Save As
Use a light gray color for outline.
Continue until each of your letters are animated.
|
STEP 20
Back to PSP.
Close all layers except black bgd and the gold frame.
Right click on Title Bar and select
Copy merged from the options |
|
STEP 21
In ANIMATION SHOP
Right click the workspace and select
'Paste As New Animation' from the options.
Edit >> Copy
Edit >> Paste After Current Frame
Hold down the Ctrl key and hit L (Upper case)
until you have 14 frames.
EDIT >> Select All
Minimize all your letters except the middle letter in your name to give room to work.
|
|
STEP 22
Activate the middle letter
Edit >> Select All
Edit >> Copy
Edit >> Propagate Paste
Active the background image
Edit >> Select All
Edit >> Paste into selected frame
Your letter will be attached to mouse place it
in the center of your image click mouse to place it.
|
|
NOTE: you will need to work from the center out to space the letters correctly.
Undo if you get one wrong.
STEP 23
Continue in the same manner as in STEP 22 with the remaining letters
When finished....
Click inside frame 14 (F:14) to select the frame
Right click on Title Bar of frames
Select 'Frame Properties' from the options
Display time =100
|
STEP 24
View >> Animation
and while it is still running,
File >> Save As
Locate the folder in which you wish to save it.
Name your animation.
With the Gif Optimiser keep pressing NEXT
until you get to the last one... click FINISH
Close the Animation
Close the frames.
Close Animation Shop |
|
|
I hope you have enjoyed the tutorial
Rebba |
|
|