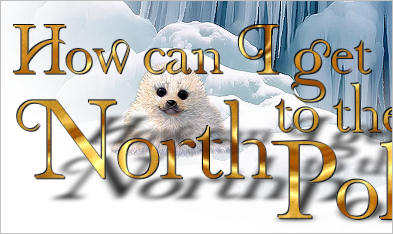
This should be a lot easier to do since Conny from
Conny's Tubes has done all the hard work for us in her
CliffBonamiePolarBearConnyTube.psp
Thank you Conny!!
|
STEP 1
VIEW >>> RULERS
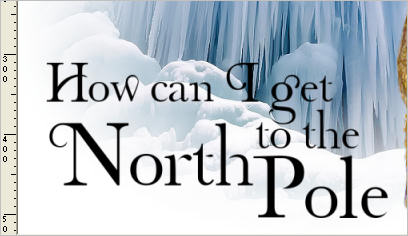
Open up the 12283242424_divers image in your PSP workspace
WINDOW >>> DUPLICATE
Close the original Image
DELETE RASTER 2
OPEN RASTER 1
Hit your DELETE key
Flood fill with white
ACTIVATE
Groupe - Raster 1
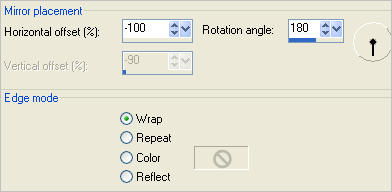
EFFECTS >>> REFLECTION EFFECTS >>> ROTATING MIRROR
LAYERS >>> MERGE >>> MERGE DOWN
Rename this layer bgd
|
|
STEP 2
CLOSE the bgd layer
Select VIEW >>> Change Grid, Guide and Snap Properties
Check GUIDES Tab
Change "Current image settings"
then click OK

|
STEP 3
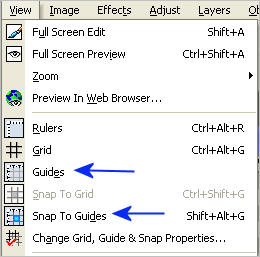
VIEW >>> Check Guides
and check Snap to Guides |
|
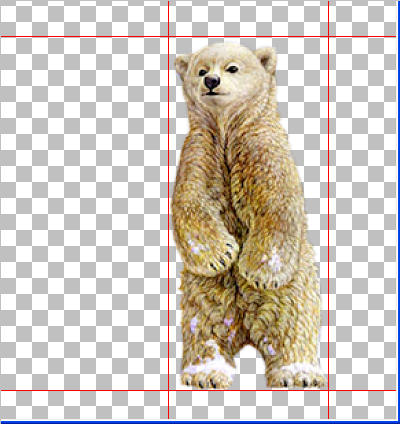
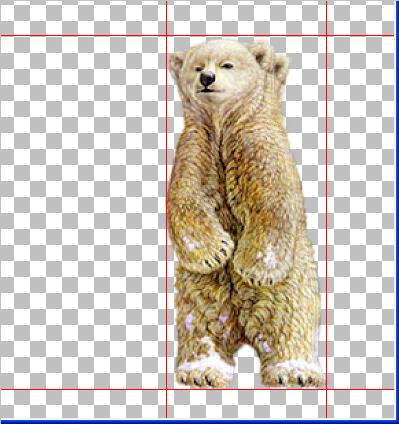
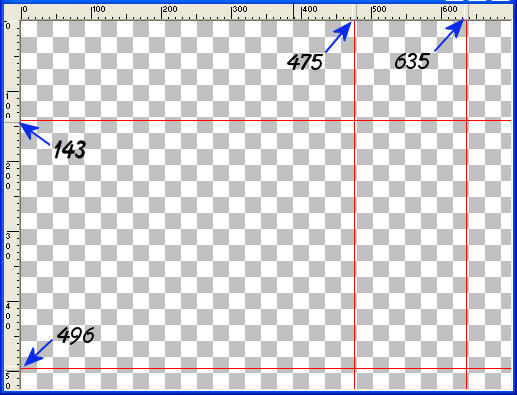
STEP 4
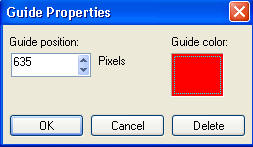
Place your cursor on the left ruler and drag to 635 across and release.
Place your cursor on the left ruler and drag to 475 across and release.
Place your cursor on the top ruler and drag down to 496 and release.
Place your cursor on the top ruler and drag down to 143 and release.
|
STEP 5
To double check your settings Right Click on the GUIDE HANDLES
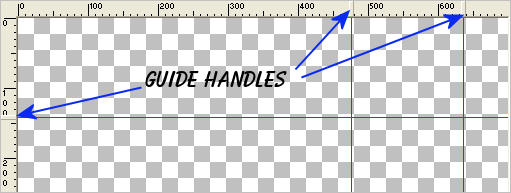
and check the position
|
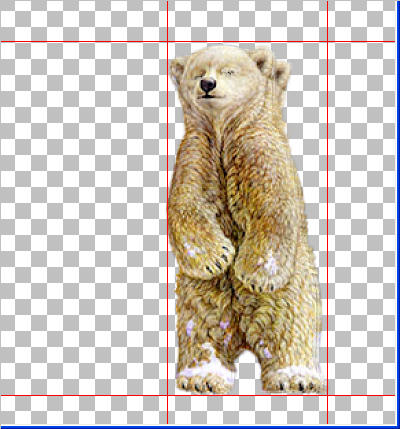
STEP 6
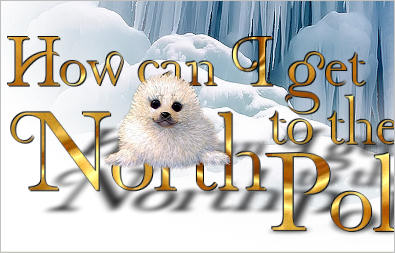
Open up the CliffBonamiePolarBearConnyTubeimage
in your PSP workspace
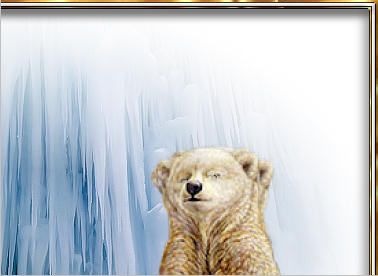
Activate the bear layer
Right click on the Title Bar and select COPY from the options
(DO NOT CLOSE THIS IMAGE)
Right click on the Title Bar of your tag image
and select PASTE AS NEW LAYER from the options.
Reposition with your MOVER tool to bottom right corner
Rename this layer bear
|
|
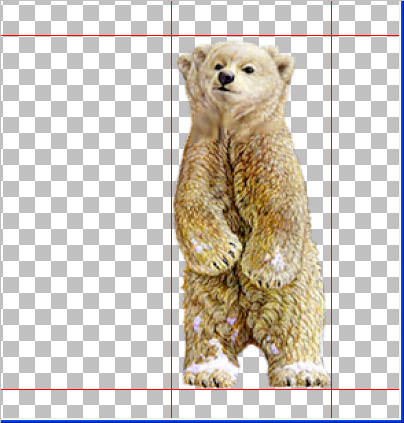
STEP 7
Open up the CliffBonamiePolarBearConnyTubeimage
in your PSP workspace
Activate the head right layer
Right click on the Title Bar and select COPY from the options
Right click on the Title Bar of your tag image
and select PASTE AS NEW LAYER from the options.
Reposition with your MOVER tool on top of the previous bear
Rename this layer head right |
|
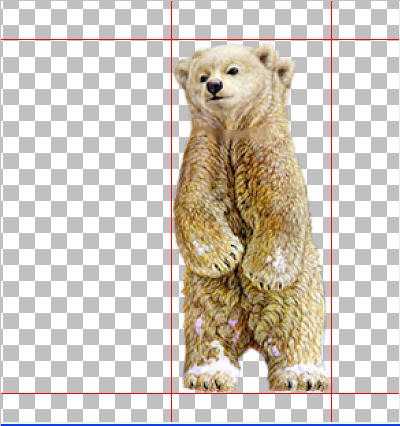
STEP 8
Open up the CliffBonamiePolarBearConnyTubeimage
in your PSP workspace
Activate the head left layer
Right click on the Title Bar and select COPY from the options
Right click on the Title Bar of your tag image
and select PASTE AS NEW LAYER from the options.
Reposition with your MOVER tool on top of the previous bear
Rename this layer head left |
|
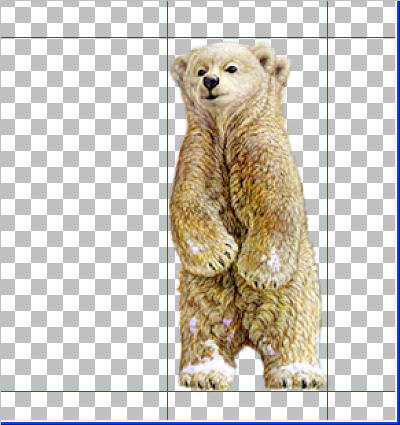
STEP 9
Open up the CliffBonamiePolarBearConnyTubeimage
in your PSP workspace
Activate the mouth open layer
Right click on the Title Bar and select COPY from the options
Right click on the Title Bar of your tag image
and select PASTE AS NEW LAYER from the options.
Reposition with your MOVER tool on top of the previous bear
Rename this layer mouth open |
|
STEP 10
Open up the CliffBonamiePolarBearConnyTubeimage
in your PSP workspace
Activate the eyes 1/2 closed layer
Right click on the Title Bar and select COPY from the options
Right click on the Title Bar of your tag image
and select PASTE AS NEW LAYER from the options.
Reposition with your MOVER tool on top of the previous bear
Rename this layer eyes 1/2 closed |
|
STEP 11
Open up the CliffBonamiePolarBearConnyTube image
in your PSP workspace
Activate the eyes closed layer
Right click on the Title Bar and select COPY from the options
Right click on the Title Bar of your tag image
and select PASTE AS NEW LAYER from the options.
Reposition with your MOVER tool on top of the previous bear
Rename this layer eyes closed |
|
STEP 12
VIEW >>> GUIDES (To turn off)
CLOSE all layers except bgd and bear layers
ACTIVATE the bear layer
|
|
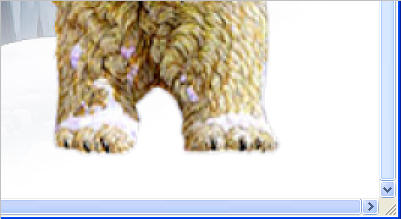
STEP 13
OPEN the head right layer
ZOOM in
and check
that the feet don't move as you click this layer on and off.
|
|
STEP 14
CLOSE the head right layer
OPEN the head left layer
ZOOM in
and check
that the feet don't move as you click this layer on and off.
|
|
STEP 15
Working your way up all the layers...continue opening and closing the layers,
zooming in and checking the position of the feet
adjusting if necessary.
If you select your MOVER TOOL you can then use the arrows on your keyboard
to adjust.
This will reduce any unwanted movement when we animate.
|
STEP 16
ACTIVATE the top layer
Open up the christmas-in-the-air-by-drehi-6 image
in your PSP workspace
Right click on the Title Bar and select COPY from the options
Right click on the Title Bar of your tag image
and select PASTE AS NEW LAYER from the options.
IMAGE >>> RESIZE = 75%
Ensure "Resize all layers" is UNCHECKED
Resample using WEIGHTED AVERAGE
Reposition with your MOVER tool
|
|
STEP 17
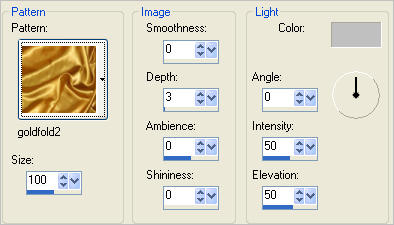
EFFECTS >>> TEXTURE EFFECTS >>> SCULPTURE
COLOUR = #c0c0c0
PATTERN = goldfold2
|
|
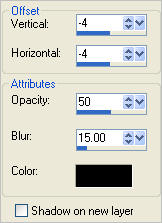
STEP 18
EFFECTS >>> 3D EFFECTS >>> DROP SHADOW
Vertical & Horizontal offsets = 1
Colour = Black
Opacity = 100
Blur = 0
Repeat Drop Shadow effect changing
Vertical & Horizontal Offsets to - ( minus ) 1
Click OK
|
|
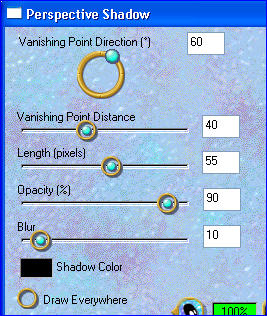
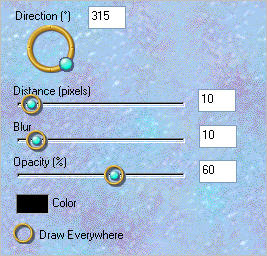
STEP 19
EFFECTS >>> PLUGINS >>> EYE CANDY 3 >>>
PERSPECTIVE SHADOW |
|
STEP 20
Rename this layer text |
|
STEP 21
Open up the SWDSamantha image
in your PSP workspace
Right click on the Title Bar and select COPY from the options
Right click on the Title Bar of your tag image
and select PASTE AS NEW LAYER from the options.
IMAGE >>> RESIZE = 40%
Ensure "Resize all layers" is UNCHECKED
Resample using WEIGHTED AVERAGE
ADJUST >>> SHARPNESS >>> SHARPEN
Reposition with your MOVER tool |
|
STEP 22
LAYERS >>> ARRANGE >>> MOVE DOWN
Rename this layer seal
|
|
STEP 23
ACTIVATE the text layer
LAYERS >>> NEW RASTER LAYER
Flood fill with WHITE
EFFECTS >>> TEXTURE EFFECTS >>> SCULPTURE
Same settings
SELECTIONS >>> SELECT ALL
SELECTIONS >>> MODIFY >>> CONTRACT = 3
EDIT >>> CLEAR
Flood fill with WHITE
SELECTIONS >>> MODIFY >>> CONTRACT = 3
EFFECTS >>> TEXTURE EFFECTS >>> SCULPTURE
Same settings
SELECTIONS >>> MODIFY >>> CONTRACT = 3
EDIT >>> CLEAR
|
|
STEP 24
EFFECTS >>> 3D EFFECTS >>> DROP SHADOW
Vertical & Horizontal offsets = 1
Colour = Black
Opacity = 100
Blur = 0
Repeat Drop Shadow effect changing
Vertical & Horizontal Offsets to - ( minus ) 1
Click OK
DESELECT
With your MAGIC WAND
Mode = Replace
Match Mode = RGB Value
Tolerance = 0
Feather = 0
Antialias = UNchecked
Sample Merged = UNCHECKED
PSP9 - X3: Check CONTIGUOUS
PSPX - X3: There is no " Sample Merged"
PSPX - X3: Use all layers = UNChecked
Select the centre white border
|
|
STEP 25
EFFECTS >>> 3D EFFECTS >>> DROP SHADOW
Vertical & Horizontal offsets = 1
Colour = Black
Opacity = 100
Blur = 0
Repeat Drop Shadow effect changing
Vertical & Horizontal Offsets to - ( minus ) 1
Click OK
DESELECT
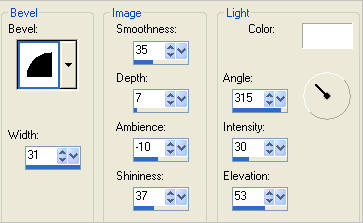
EFFECTS >>> 3D EFFECTS >>> INNER BEVEL
|
|
STEP 26
EFFECTS >>> PLUGINS >>> EYE CANDY 3 >>> DROP SHADOW |
|
STEP 27
EFFECTS >>> 3D EFFECTS >>> DROP SHADOW |
|
STEP 28
Rename this layer frame |
|
STEP 29
LAYERS >> NEW RASTER LAYER
Select your TEXT TOOL
with font and settings of your choice
add your name to the bottom left corner of the layer.
Rename this layer name.
|
|
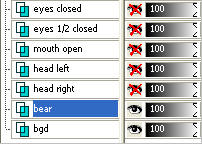
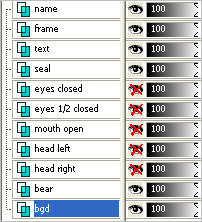
STEP 30
Set up LAYER PALETTE as shown |
|
STEP 31
Right click on Title Bar and select
Copy merged from the options
In ANIMATION SHOP
Right click the workspace and select
'Paste As New Animation' from the options.
|
|
STEP 32
Back to PSP.
EDIT >>> Empty clipboard
CLOSE the bear layer
OPEN the head right layer
Right click on Title Bar and select
Copy merged from the options
In ANIMATION SHOP
Right click top of frame image and select
'Paste After Current Frame' from the options.
|
STEP 33
Back to PSP.
EDIT >>> Empty clipboard
CLOSE the head right layer
OPEN the head left layer
Right click on Title Bar and select
Copy merged from the options
In ANIMATION SHOP
Right click top of frame image and select
'Paste After Current Frame' from the options.
|
STEP 34
Back to PSP.
EDIT >>> Empty clipboard
CLOSE the head left layer
OPEN the mouth open layer
Right click on Title Bar and select
Copy merged from the options
In ANIMATION SHOP
Right click top of frame image and select
'Paste After Current Frame' from the options. |
STEP 35
Back to PSP.
EDIT >>> Empty clipboard
CLOSE the mouth open layer
OPEN the eyes 1/2 closed layer
Right click on Title Bar and select
Copy merged from the options
In ANIMATION SHOP
Right click top of frame image and select
'Paste After Current Frame' from the options. |
STEP 36
Back to PSP.
EDIT >>> Empty clipboard
CLOSE the eyes 1/2 closed layer
OPEN the eyes closed layer
Right click on Title Bar and select
Copy merged from the options
In ANIMATION SHOP
Right click top of frame image and select
'Paste After Current Frame' from the options.
|
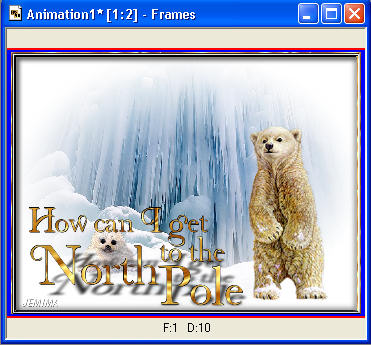
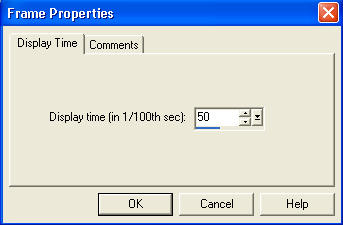
STEP 37
Edit >> Select All
Right click on Title Bar of frames
Select 'Frame Properties' from the options
Display time = 50 |
|
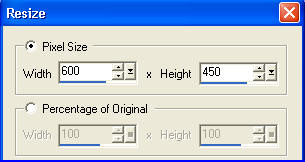
STEP 38
Animation >> Resize animation
Select width 600 and height 450 in pixels
Check "Maintain aspect ratio of... "
Click OK |
|
STEP 39
View >> Animation
and while it is still running,
File >> Save As
Locate the folder in which you wish to save it.
Name your animation.
With the Gif Optimiser keep pressing NEXT
until you get to the last one... click FINISH
Close the Animation
Close the frames.
Close Animation Shop |
. |