HEAR NO-SEE NO- SPEAK NO
PSP8 to PSPX3
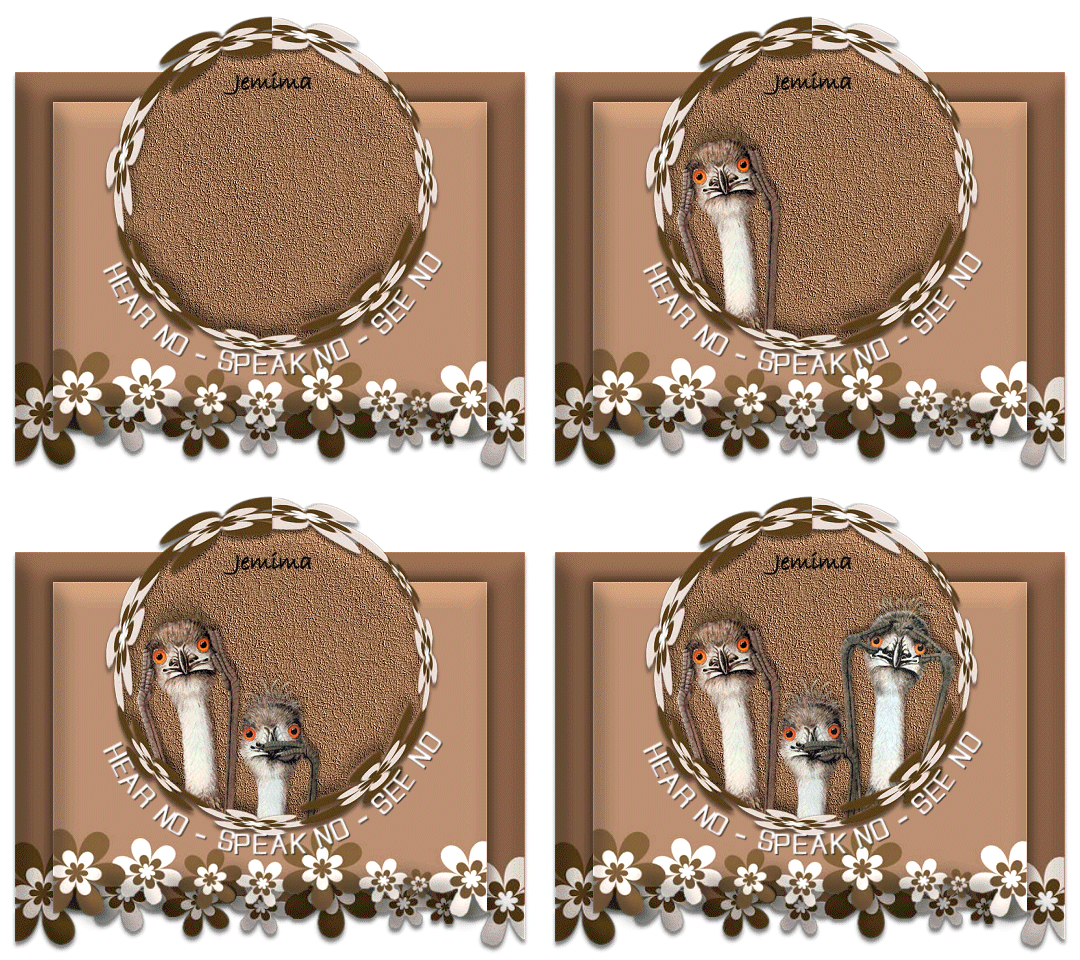

This tutorial was written by Jemima ~ JANUARY 2012
Copyright © 2012 ~ Jemima ~ All rights reserved

********************************
This was created using PSP9 but can be adapted for other versions of PSP.

You will need the following to complete this tutorial

Materials

JF_NoEvilWA.pspimage
k0167499.pspimage
HearSpeakSeeNoEvil.pspimage
Save to a folder on your computer


Plugins

** EYE CANDY3 **
http://pspgroep.seniorennet.be/filterpagina.htm


********************************

Open a new image 600 x 600
Transparent background
PSPX - X2: Colour Depth = 8bits/channel
PSPX3: Colour Depth RGB = 8bits/channel


Open up the k0167499image in your PSP workspace

Right click on the Title Bar and select COPY from the options


Right click on the Title Bar of your tag image
and select PASTE AS NEW LAYER from the options.


LAYERS >>> DUPLICATE

CLOSE 'Copy of Raster 2'
ACTIVATE RASTER 2


IMAGE >>> RESIZE = 85%
Ensure "Resize all layers" is UNCHECKED
Resample using WEIGHTED AVERAGE


ADJUST >>> SHARPNESS >>> SHARPEN

EFFECTS >>> 3D EFFECTS >>> INNER BEVEL


LAYERS >>> DUPLICATE

IMAGE >>> RESIZE = 85%
Ensure "Resize all layers" is UNCHECKED
Resample using WEIGHTED AVERAGE


ADJUST >>> SHARPNESS >>> SHARPEN

ADJUST >>> BRIGHTNESS and CONTRAST >>> BRIGHTNESS/CONTRAST


EFFECTS >>> 3D EFFECTS >>> DROP SHADOW
Vertical & Horizontal offsets = 5
Colour = Black
Opacity = 40
Blur = 15.00

Repeat Drop Shadow effect changing
Vertical & Horizontal Offsets to - ( minus ) 5
Click OK

CLOSE 'Copy of Raster 2' (2nd top layer)
CLOSE RASTER 2


ACTIVATE the TOP layer


EFFECTS >>> DISTORTION EFFECTS >>> POLAR COORDINATES


With your MAGIC WAND


Select the coloured centre of the image


Hit your DELETE key

DESELECT

Choose your SELECTION TOOL


Draw a rectangle around the 'circle' remaining in the centre of the image


EDIT >>> CLEAR
DESELECT


With your MAGIC WAND ... same settings BUT change FEATHER = 0
Select the transparent centre

SELECTIONS >>> MODIFY >>> EXPAND = 5

LAYERS >>> NEW RASTER LAYER

LAYERS >>> ARRANGE >>> MOVE DOWN

Flood fill with BROWN #a87b5a

EFFECTS >>> TEXTURE EFFECTS >>> FINE LEATHER
COLOUR =
#bcbcbc


DESELECT

EFFECTS >>> 3D EFFECTS >>> INNER BEVEL
Same settings


IMAGE >>> RESIZE = 65%
Ensure "Resize all layers" is UNCHECKED
Resample using WEIGHTED AVERAGE


ADJUST >>> SHARPNESS >>> SHARPEN

ACTIVATE THE TOP LAYER


IMAGE >>> RESIZE = 65%
Ensure "Resize all layers" is UNCHECKED
Resample using WEIGHTED AVERAGE

ADJUST >>> SHARPNESS >>> SHARPEN


OPEN ALL LAYERS

With the TOP layer still active

Reposition with your MOVER tool


ACTIVATE RASTER 3

Reposition with your MOVER tool


Open up the HearSpeakSeeNoEvil image in your PSP workspace
Activate the "left" layer

Right click on the Title Bar and select COPY from the options


Right click on the Title Bar of your tag image
and select PASTE AS NEW LAYER from the options.


IMAGE >>> RESIZE = 65%
Ensure "Resize all layers" is UNCHECKED
Resample using WEIGHTED AVERAGE


ADJUST >>> SHARPNESS >>> SHARPEN

EFFECTS >>> 3D EFFECTS >>> DROP SHADOW


Reposition with your MOVER tool

NOTE: Don't worry about the excess showing


Go back to the HearSpeakSeeNoEvil image
Activate the "right" layer

Right click on the Title Bar and select COPY from the options


Right click on the Title Bar of your tag image
and select PASTE AS NEW LAYER from the options.


IMAGE >>> RESIZE = 65%
Ensure "Resize all layers" is UNCHECKED
Resample using WEIGHTED AVERAGE

ADJUST >>> SHARPNESS >>> SHARPEN

EFFECTS >>> 3D EFFECTS >>> DROP SHADOW
Same settings

Reposition with your MOVER tool

NOTE: Don't worry about the excess showing


Go back to the HearSpeakSeeNoEvil image
Activate the "centre" layer

Right click on the Title Bar and select COPY from the options


Right click on the Title Bar of your tag image
and select PASTE AS NEW LAYER from the options.


IMAGE >>> RESIZE = 65%
Ensure "Resize all layers" is UNCHECKED
Resample using WEIGHTED AVERAGE

ADJUST >>> SHARPNESS >>> SHARPEN

EFFECTS >>> 3D EFFECTS >>> DROP SHADOW
Same settings

Reposition with your MOVER tool


ACTIVATE THE TOP LAYER


With your MAGIC WAND


Select the area outside the floral circle

SELECTIONS >>> MODIFY >>> EXPAND =
5

(Only the inner 'marching ants' will now be visible)


ACTIVATE RASTER 5

Hit your DELETE key

ACTIVATE RASTER 4

Hit your DELETE key


DESELECT

ACTIVATE THE TOP LAYER

Open up the JF_NoEvilWA image in your PSP workspace

Right click on the Title Bar and select COPY from the options

Right click on the Title Bar of your tag image
and select PASTE AS NEW LAYER from the options.


EFFECTS >>> 3D EFFECTS >>> DROP SHADOW
Vertical & Horizontal offsets = 1
Colour = Black
Opacity = 70
Blur = 0


Reposition with your MOVER tool


ACTIVATE RASTER 1

Flood fill with WHITE

In your LAYER PALETTE change the OPACITY to 0%
(Even though this layer will now be invisible we need it for the animation part
of the tut (frames/layers) so the size will remain consistent throughout.)

Choose your SELECTION TOOL then click on the CUSTOM SELECTION symbol
and enter these coordinates.


IMAGE >>> CROP TO SELECTION


ACTIVATE RASTER 2

EFFECTS >>> 3D EFFECTS >>> DROP SHADOW


ACTIVATE Copy of Raster 2 (2nd top layer)


EFFECTS >>> 3D EFFECTS >>> DROP SHADOW
Same settings

Save as .psp image


To animate go to NEXT page


Page designed by


for

http://www.artistrypsp.com/

Copyright © 2000-2012 Artistry In PSP / PSP Artistry
All rights reserved.
Unless specifically made available for download,
no graphics or text may be removed from this site for any reason
without written permission from Artistry In PSP / PSP Artistry