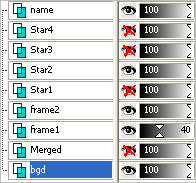
STEP A1
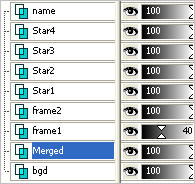
Set up LAYER PALETTE as shown |
|
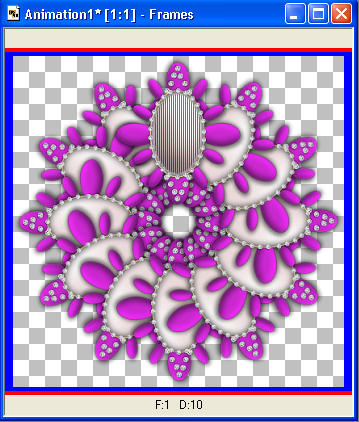
STEP A2
Right click on Title Bar and select
Copy from the options
In ANIMATION SHOP
Right click the workspace and select
'Paste As New Animation' from the options.
|
|
STEP A3
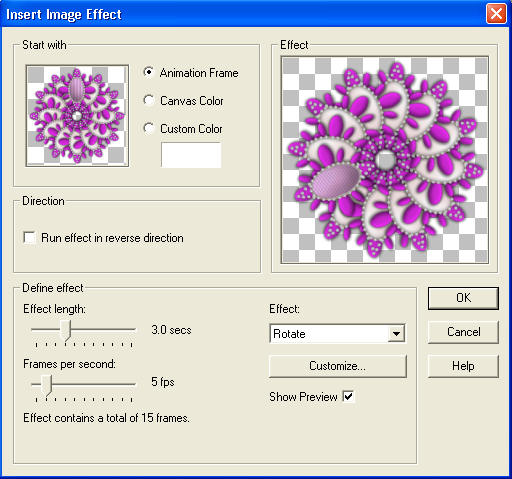
Effects >> Insert Image Effect >> ROTATE
Click CUSTOMIZE button first and enter these settings
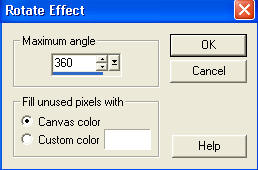
Click OK
Then enter these settings and click OK
|
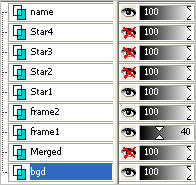
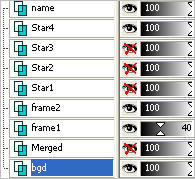
STEP A4
Back to PSP.
Set up LAYER PALETTE as shown
Right click on Title Bar and select
Copy merged from the options
|
|
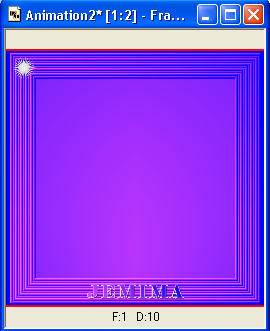
STEP A5
In ANIMATION SHOP
Right click the workspace and select
'Paste As New Animation' from the options. |
|
STEP A6
Back to PSP.
Set up LAYER PALETTE as shown
Right click on Title Bar and select
Copy merged from the options |
|
STEP A7
In ANIMATION SHOP
Right click top of frame image and select
'Paste After Current Frame' from the options. |
|
STEP A8
Back to PSP.
Set up LAYER PALETTE as shown
Right click on Title Bar and select
Copy merged from the options |
|
STEP A9
In ANIMATION SHOP
Right click top of frame image and select
'Paste After Current Frame' from the options.
|
STEP A10
Back to PSP.
Set up LAYER PALETTE as shown
Right click on Title Bar and select
Copy merged from the options |
|
STEP A11
In ANIMATION SHOP
Right click top of frame image and select
'Paste After Current Frame' from the options.
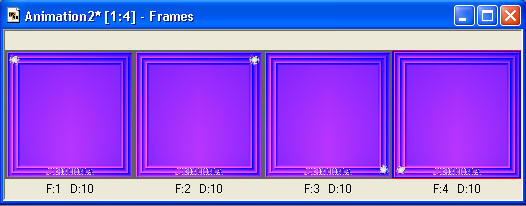 |
STEP A12
Edit >> Select All
Edit >> Copy
Left click inside frame 4 (F:4) to select
Right click top of frame image and select
'Paste After Current Frame' from the options.
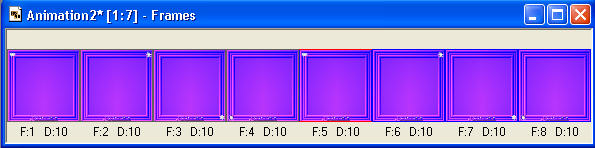
You now will have 8 frames
|
STEP A13
Edit >> Select All
Edit >> Copy
Left click inside frame 8 (F:8) to select
Right click top of frame image and select
'Paste After Current Frame' from the options.
You now will have 16 frames
|
STEP A14
Return to the first animation "Animation1*"
Click on Title Bar to activate
Edit >> Select All
Edit >> Copy
Edit >> Propagate Paste
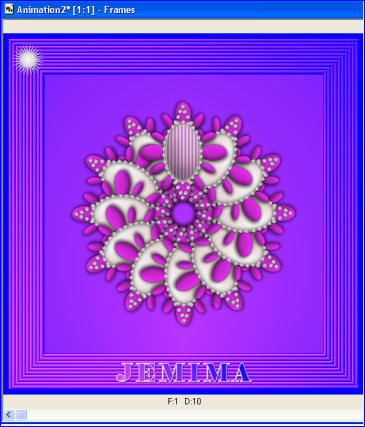
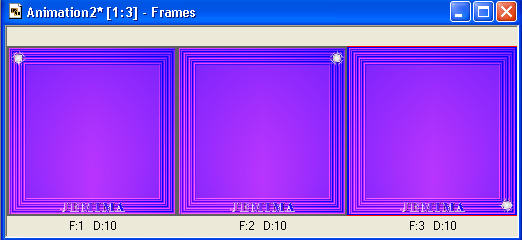
Click on Title Bar of "Animation2*" (frames) to activate
Edit >> Select All
ZOOM in on the first frame (F:1)
and place the image as shown
then release your mouse button
|
|
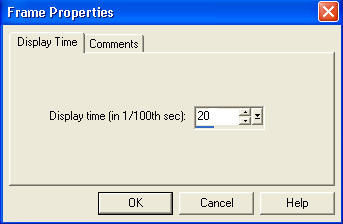
STEP A15
EDIT >> Select All
Right click on Title Bar of frames
Select 'Frame Properties' from the options
Display time = 20
|
|
NOTE:
If saved at this size the animation will be 1.50MB
Reduced to 400 x 400
It will be 1.16MB
So for this tutorial we will reduce the size. |
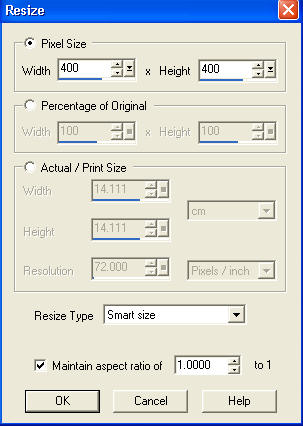
STEP A16
Click on the Title Bar of the frames
EDIT >> Select All
Animation >> Resize animation
Select width and height in pixels (400 x 400)
Click OK
|
|
STEP A17
View >> Animation
and while it is still running,
File >> Save As
Locate the folder in which you wish to save it.
Name your animation.
With the Gif Optimiser keep pressing NEXT
until you get to the last one... click FINISH
Close the Animation
Close the frames.
Close Animation Shop
|
|
|