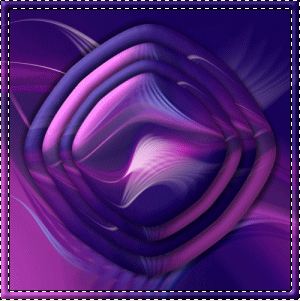
STEP 1
Open up the abstract_purple.jpg image in your PSP workspace
WINDOW >>> DUPLICATE
Close the original Image
LAYERS >>> Promote background layer
|
STEP 2
LAYERS >>> DUPLICATE
IMAGE >>> RESIZE =85%
Ensure "Resize all layers" is UNCHECKED
Resample using WEIGHTED AVERAGE
EFFECTS>>> GEOMETRIC EFFECTS >>> CIRCLE
EDGE MODE = Transparent
EDIT >>> Repeat Circle
IMAGE >>> MIRROR
|
|
STEP 3
LAYERS >>> DUPLICATE
IMAGE >>> RESIZE =85%
Ensure "Resize all layers" is UNCHECKED
Resample using WEIGHTED AVERAGE
IMAGE >>> FLIP
IMAGE >>> MIRROR
|
|
STEP 4
LAYERS >>> DUPLICATE
IMAGE >>> RESIZE =85%
Ensure "Resize all layers" is UNCHECKED
Resample using WEIGHTED AVERAGE
IMAGE >>> FLIP
IMAGE >>> MIRROR |
|
STEP 5
LAYERS >>> DUPLICATE
IMAGE >>> RESIZE =85%
Ensure "Resize all layers" is UNCHECKED
Resample using WEIGHTED AVERAGE
IMAGE >>> FLIP
IMAGE >>> MIRROR
|
|
STEP 6
EFFECTS >>> 3D EFFECTS >>> INNER BEVEL

|
STEP 7
ACTIVATE Copy (3) of Raster 1
EDIT >>> Repeat Inner Bevel
ACTIVATE Copy (2) of Raster 1
EDIT >>> Repeat Inner Bevel
ACTIVATE Copy (1) of Raster 1
EDIT >>> Repeat Inner Bevel
ACTIVATE Copy of Raster 1
EDIT >>> Repeat Inner Bevel
|
|
STEP 8
EFFECTS >>> PLUGINS >>> EYE CANDY 3 >>> DROP SHADOW
|
|
STEP 9
ACTIVATE Copy (1) of Raster 1
EDIT >>> Repeat Drop Shadow
ACTIVATE Copy (2) of Raster 1
EDIT >>> Repeat Drop Shadow
ACTIVATE Copy (3) of Raster 1
EDIT >>> Repeat Drop Shadow
|
|
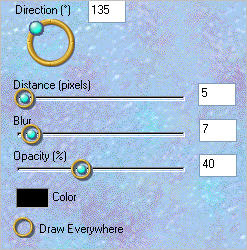
STEP 10
EDIT >>> Repeat Drop Shadow..
change DIRECTION to 135
ACTIVATE Copy (2) of Raster 1
EDIT >>> Repeat Drop Shadow
ACTIVATE Copy (1) of Raster 1
EDIT >>> Repeat Drop Shadow
ACTIVATE Copy of Raster 1
EDIT >>> Repeat Drop Shadow
|
|
STEP 11
ACTIVATE RASTER 1
SELECTIONS >>> SELECT ALL
SELECTIONS >>> MODIFY >>> CONTRACT = 15
SELECTIONS >>> INVERT
EFFECTS >>> 3D EFFECTS >>> INNER BEVEL
Same settings
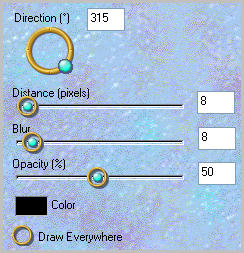
EFFECTS >>> 3D EFFECTS >>> DROP SHADOW
Vertical & Horizontal offsets = 1
Colour = Black
Opacity = 70
Blur = 0
Repeat Drop Shadow effect changing
Vertical & Horizontal Offsets to - ( minus ) 1
Click OK
|
|
STEP 12
EFFECTS >>> PLUGINS >>> EYE CANDY 3 >>> DROP SHADOW
|
|
STEP 13
EDIT >>> Repeat Drop Shadow..
change DIRECTION to 315
DESELECT
|
|
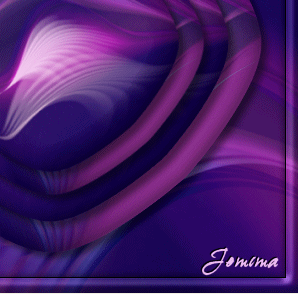
STEP 14
LAYERS >> NEW RASTER LAYER
Select your TEXT TOOL
with font and settings of your choice
add your name to the bottom right corner of the layer.
|
|
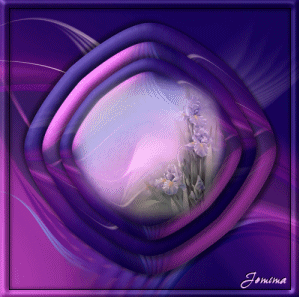
STEP 15
ACTIVATE Copy (4) of Raster 1
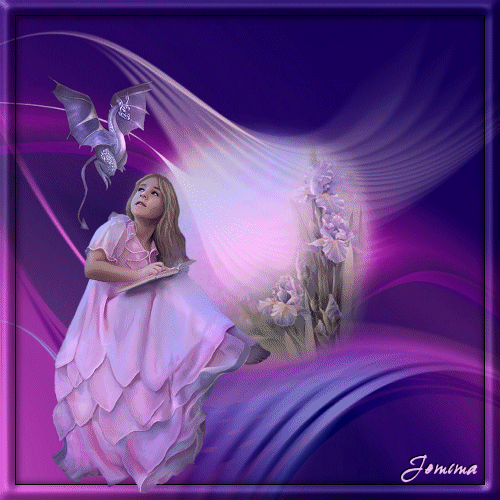
Open up the IrisMutedBack~V image
in your PSP workspace
Right click on the Title Bar
and select COPY from the options.
Right click on the Title Bar of your 'working' image
and select PASTE AS NEW LAYER from the options.
IMAGE >>> RESIZE = 65%
Ensure "Resize all layers" is UNCHECKED
Resample using WEIGHTED AVERAGE
LAYERS >>> DUPLICATE
LAYERS >>> MERGE >>> MERGE DOWN
Save as .pspimage
This is your 'working' image
|
|
|