NOTE:
For this tutorial I have supplied the original Jring tube ( 0224096.pspimage)
for future use and for your collection.
However to simplify this tutorial I have created a layered tube from it
(LayeredTube.pspimage)
which we'll use in this exercise.
.
|
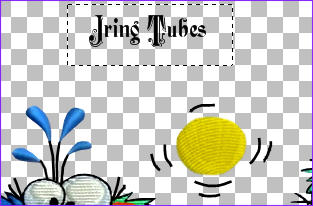
STEP 1
VIEW >>> RULERS
Open up the LayeredTube image in your PSP workspace
WINDOW >>> DUPLICATE
Close the original Image
Make sure the MERGED layer is active
Choose your SELECTION TOOL
Selection Type = Rectangle
Mode = Replace
Feather = 0
Antialias = UNChecked
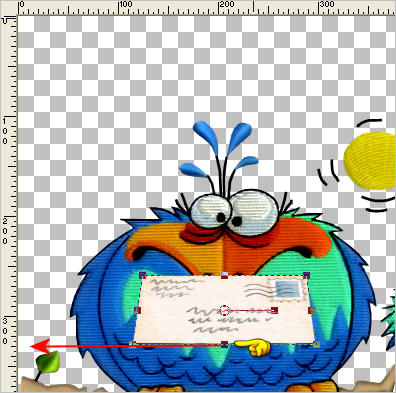
Select the watermark as shown
EDIT >>> CLEAR
DESELECT
|
|
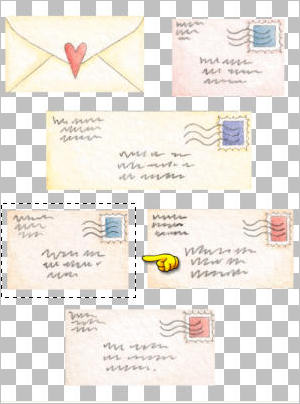
STEP 2
Open up the DM_Traveler-The Mails In_8-05~pjs image
in your PSP workspace
With your
SELECTION TOOL
same settings
Select the envelope shown
Right click on the Title Bar and select COPY from the options
Right click on the Title Bar of your tag image
and select PASTE AS NEW LAYER from the options.
LAYERS >>> ARRANGE >>> BRING TO TOP
|
|
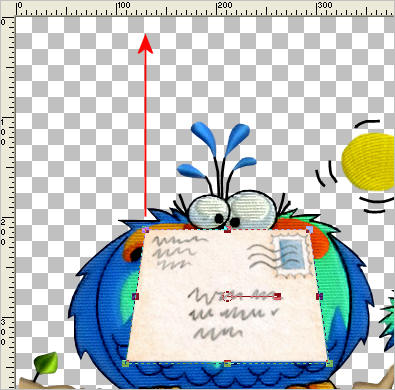
STEP 3
Select your DEFORMATION tool
Mode = SCALE
use default settings
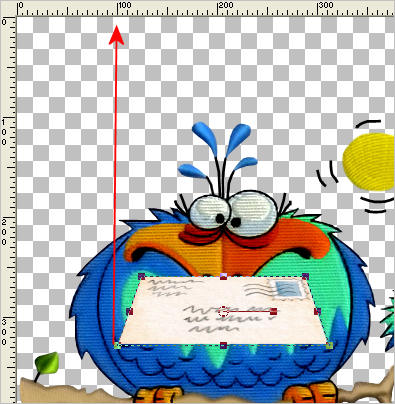
PSPX-X3:Select your PICK tool
Depress your SHIFT key and move the top left node
to the right to around the 130 pixel mark on your top ruler
|
|
STEP 4
Place your cursor over the small circle in the centre
of your image (rotating arm) and drag down as shown |
|
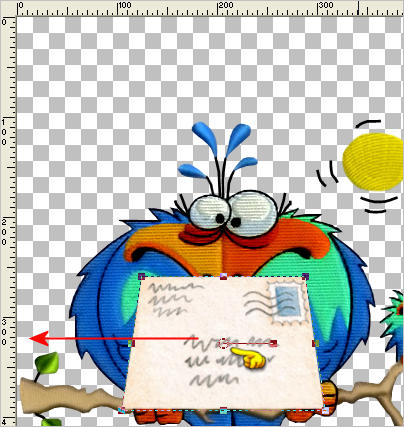
STEP 5
Move the centre bottom node up to around the 330 pixel mark
on your left ruler
|
|
STEP 6
Depress your SHIFT key and move the bottom left node
a little to the left around the 100 pixel mark on your top ruler
|
|
STEP 7
Click the RESET RECTANGLE arrow
Select the MOVER tool
to disengage the DEFORMATION tool (PICK tool)
In your LAYER PALETTE change the OPACITY to 65%
|
|
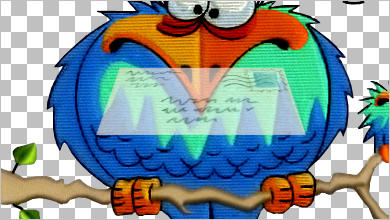
STEP 8
Choose your FREEHAND SELECTION TOOL
Selection Type = Point to Point
Mode = Replace
Feather = 0
Antialias = Checked
Select the beak area showing through the envelope
|
|
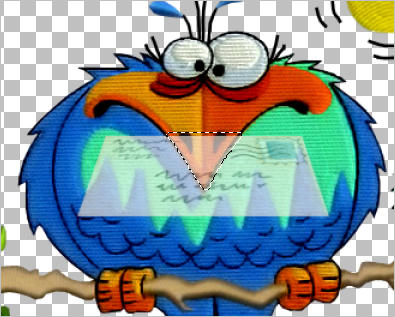
STEP 9
Hit your DELETE key
DESELECT
In your LAYER PALETTE change the OPACITY to 100%
|
|
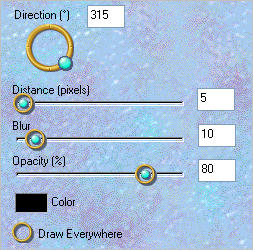
STEP 10
EFFECTS >>> PLUGINS >>> EYE CANDY 3 >>> DROP SHADOW |
|
STEP 11
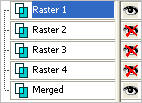
Set up LAYER PALETTE as shown
LAYERS >>> MERGE >>> MERGE VISIBLE
|
|
STEP 12
LAYERS >>> ARRANGE >>> SEND TO BOTTOM |
|
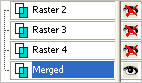
STEP 13
LAYERS >>> NEW RASTER LAYER
LAYERS >>> ARRANGE >>> MOVE DOWN
Flood fill with WHITE
Rename this layer bgd.
ACTIVATE THE MERGED LAYER
EFFECTS >>> PLUGINS >>> EYE CANDY 3 >>> DROP SHADOW
Same settings BUT change OPACITY to 65%
|
|
STEP 14
OPEN and ACTIVATE Raster 4
EDIT >>> Repeat Drop Shadow
|
|
STEP 15
OPEN and ACTIVATE Raster 3
EDIT >>> Repeat Drop Shadow
|
|
STEP 16
OPEN and ACTIVATE Raster 2
EDIT >>> Repeat Drop Shadow |
|
STEP 17
LAYERS >> NEW RASTER LAYER
Select your TEXT TOOL
with font and settings of your choice
add your name to the layer.
Rename this layer name.
I placed my name over the nest
|
|
STEP 18
LAYERS >> NEW RASTER LAYER
SELECTIONS >>> SELECT ALL
Flood fill with BLUE #075bc7
SELECTIONS >>> MODIFY >>> CONTRACT = 3
Flood fill with GREEN #37e195
SELECTIONS >>> MODIFY >>> CONTRACT = 3
Flood fill with BLUE #075bc7
SELECTIONS >>> MODIFY >>> CONTRACT = 3
EDIT >>> CLEAR
DESELECT
Rename this layer frame.
|
|
STEP 19
EFFECTS >>> PLUGINS >>> EYE CANDY 3 >>> DROP SHADOW
Same settings
EDIT >>> Repeat Drop Shadow.. change DIRECTION to 135
Save as .psp image
or
.pspimage
|
|
OK... Let's animate
Go to NEXT page
.
|
|
|