STEP 13
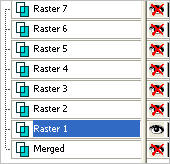
ACTIVATE RASTER 1
Flood fill with Purple
LAYERS >>> MERGE >>> MERGE VISIBLE
|
|
STEP 14
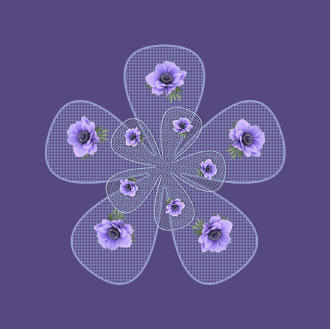
Open up the stars 20 shimmers Image2 image
in your PSP workspace
ACTIVATE Raster 15
Right click on the Title Bar and select COPY from the options
Right click on the Title Bar of your tag image
and select PASTE AS NEW LAYER from the options.
ADJUST >>> SHARPNESS >>> SHARPEN MORE
|
|
STEP 15
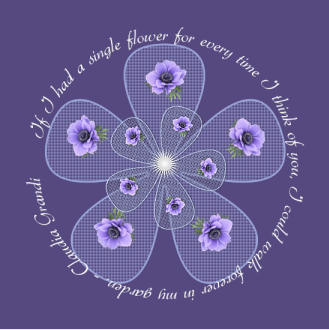
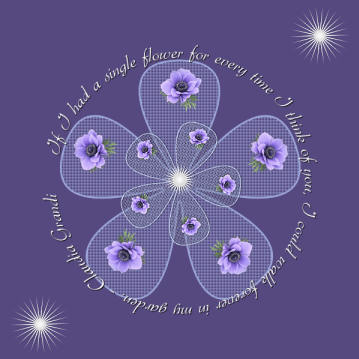
Open up the dranet-QuoteFramesGrandi image
in your PSP workspace
Right click on the Title Bar and select COPY from the options
Right click on the Title Bar of your tag image
and select PASTE AS NEW LAYER from the options.
ADJUST >>> COLOUR BALANCE >>> NEGATIVE IMAGE
PSPX - X3: IMAGE >>> NEGATIVE IMAGE
IMAGE >>> RESIZE = 85%
Ensure "Resize all layers" is UNCHECKED
Resample using WEIGHTED AVERAGE
ADJUST >>> SHARPNESS >>> SHARPEN
|
|
STEP 16
EFFECTS >>> 3D EFFECTS >>> DROP SHADOW
Vertical & Horizontal offsets = 1
Colour = Black
Opacity = 100
Blur = 0 |
|
STEP 17
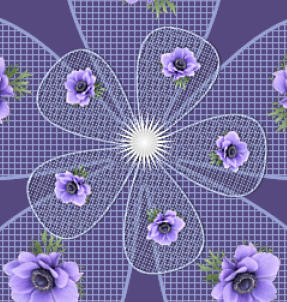
Go back to the stars 20 shimmers Image2 image
ACTIVATE Raster 18
Right click on the Title Bar and select COPY from the options
Right click on the Title Bar of your tag image
and select PASTE AS NEW LAYER from the options.
ADJUST >>> SHARPNESS >>> SHARPEN MORE
Reposition with your MOVER tool |
|
STEP 18
LAYERS >>> DUPLICATE
IMAGE >>> FLIP
IMAGE >>> MIRROR
|
|
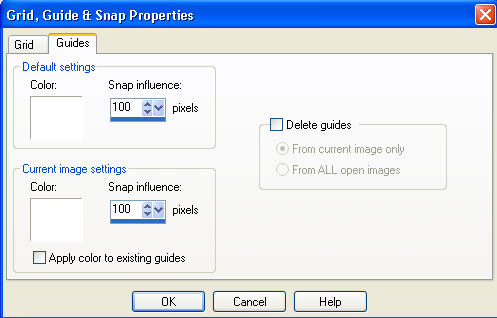
STEP 19
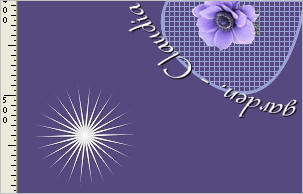
VIEW >>> CHANGE GRID, GUIDE & SNAP PROPERTIES
|
STEP 20
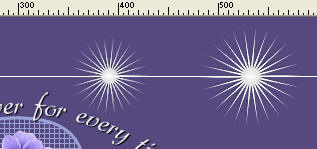
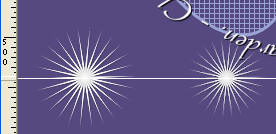
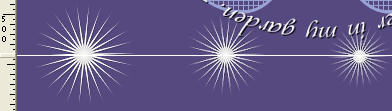
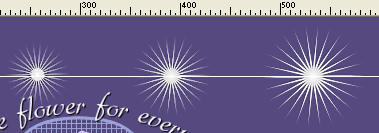
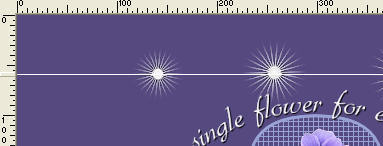
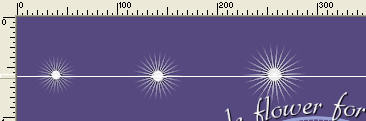
VIEW >>> GUIDES
Place your cursor on top ruler and drag down to centre line
in middle of lower star
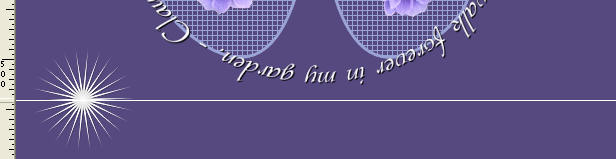 Place your cursor on top ruler and drag down to centre line
in middle of upper star

|
STEP 21
Still on layer Copy of Raster 3
LAYERS >>> DUPLICATE
IMAGE >>> RESIZE = 80%
Ensure "Resize all layers" is UNCHECKED
Resample using WEIGHTED AVERAGE
ADJUST >>> SHARPNESS >>> SHARPEN
Reposition with your MOVER tool
|
|
STEP 22
LAYERS >>> DUPLICATE
IMAGE >>> FLIP
IMAGE >>> MIRROR
|
|
STEP 23
LAYERS >>> DUPLICATE
IMAGE >>> RESIZE = 80%
Ensure "Resize all layers" is UNCHECKED
Resample using WEIGHTED AVERAGE
ADJUST >>> SHARPNESS >>> SHARPEN MORE
Reposition with your MOVER tool
|
|
STEP 24
LAYERS >>> DUPLICATE
IMAGE >>> FLIP
IMAGE >>> MIRROR
|
|
STEP 25
LAYERS >>> DUPLICATE
IMAGE >>> RESIZE = 80%
Ensure "Resize all layers" is UNCHECKED
Resample using WEIGHTED AVERAGE
ADJUST >>> SHARPNESS >>> SHARPEN MORE
Reposition with your MOVER tool |
|
STEP 26
LAYERS >>> DUPLICATE
IMAGE >>> FLIP
IMAGE >>> MIRROR |
|
STEP 27
LAYERS >>> DUPLICATE
IMAGE >>> RESIZE = 80%
Ensure "Resize all layers" is UNCHECKED
Resample using WEIGHTED AVERAGE
ADJUST >>> SHARPNESS >>> SHARPEN
Reposition with your MOVER tool |
|
STEP 28
LAYERS >>> DUPLICATE
IMAGE >>> FLIP
IMAGE >>> MIRROR |
|
STEP 29
LAYERS >>> MERGE >>> MERGE DOWN
ACTIVATE Copy (7) of Raster 3
LAYERS >>> MERGE >>> MERGE DOWN
ACTIVATE Copy (5) of Raster 3
LAYERS >>> MERGE >>> MERGE DOWN
ACTIVATE Copy (3) of Raster 3
LAYERS >>> MERGE >>> MERGE DOWN
ACTIVATE Copy of Raster 3
LAYERS >>> MERGE >>> MERGE DOWN
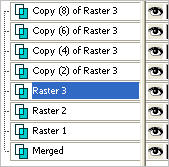
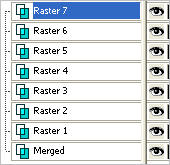
Rename layers as shown
on layer palette image
on the right
|
OLD .....................................NEW
 .  |
STEP 30
VIEW >>> GUIDES
(To remove guides)
Set up layer palette as shown
|
|
| |