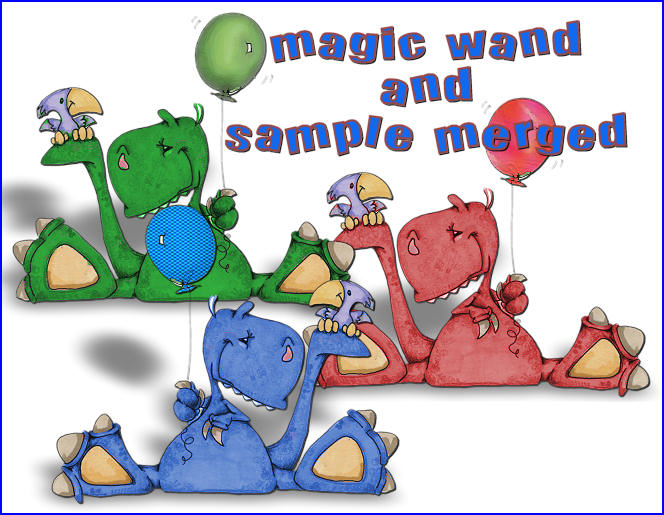
Using the MAGIC WAND and SAMPLE MERGED option.
PSP8 to PSPX3
This tutorial was written by Jemima ~ APRIL 2012
Copyright © 2012 ~ Jemima ~ All rights reserved
This was created using PSP9 but can be adapted for other versions of PSP.
********************************
You will need the
following to complete this tutorial
Materials
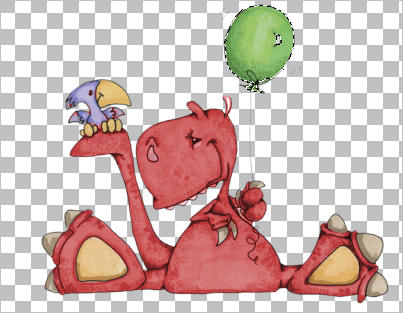
BabyDino_RmA.pspimage
Save to a folder on your computer
tuile279.jpg
Save to your PSP Patterns folder
PSP8: C:\Program Files\Jasc Software\Paint Shop Pro 8\Patterns
PSP9: C:\Program Files\Jasc Software\Paint Shop Pro 9\Patterns
PSPX: C:\Program Files\Corel\Corel Paint Shop Pro X\Patterns
PSPXI / X2: C:\Program Files\Corel\Corel Paint Shop Pro Photo X2\Corel_08
PSPX3: C:\Program Files\Corel\X3\PSPClassic\Corel_08
esp_orange_mesh.jpg
Save to your PSP Textures folder
PSP8: C:\Program Files\Jasc Software\Paint Shop Pro 8\Textures
PSP9: C:\Program Files\Jasc Software\Paint Shop Pro 9\Textures
PSPX: C:\Program Files\Corel\Corel Paint Shop Pro X\Textures
PSPXI / X2: C:\Program Files\Corel\Corel Paint Shop Pro Photo X2\Corel_15
PSPX3: C:\Program Files\Corel\X3\PSPClassic\Corel_15
Plugins
** NONE**
********************************
We are going to play around with your MAGIC WAND tool and
show the benefit in using SAMPLE MERGED setting
to select the same areas on different layers
all at the same time.
********************************
Open a new image 750 x 620
Transparent background
PSPX - X2: Colour Depth = 8bits/channel
PSPX3: Colour Depth RGB = 8bits/channel
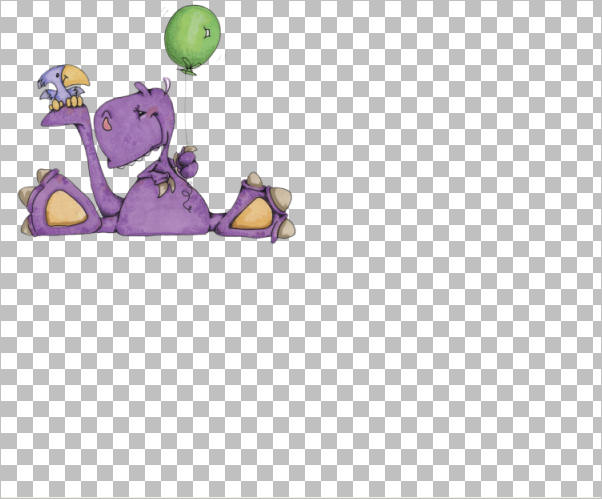
Open up the BabyDino_RmA image in your PSP workspace
Right click on the Title Bar and select COPY from the options
Right click on the Title Bar of your tag image
and select PASTE AS NEW LAYER from the options.
IMAGE >>> RESIZE = 40%
Ensure "Resize all layers" is UNCHECKED
Resample using WEIGHTED AVERAGE
Reposition with your MOVER tool
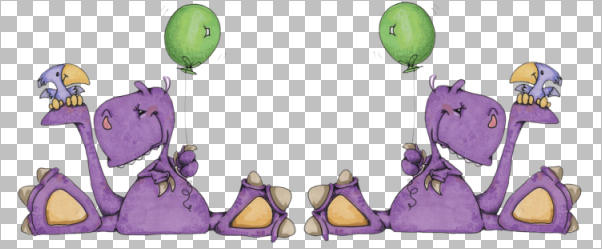
LAYERS >>> DUPLICATE
Rename RASTER 3
IMAGE >>> MIRROR
Reposition with your MOVER tool
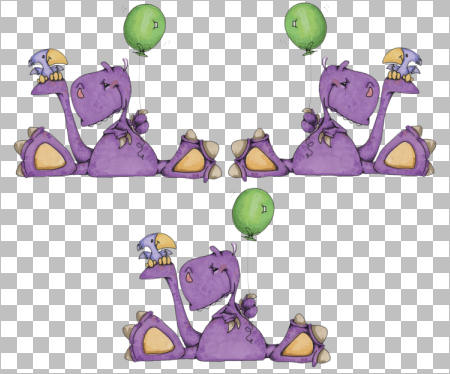
LAYERS >>> DUPLICATE
Rename RASTER 4
Reposition with your MOVER tool
ACTIVATE RASTER 2
With your MAGIC WAND
PSP8 - PSP9

PSPX - PSPX3

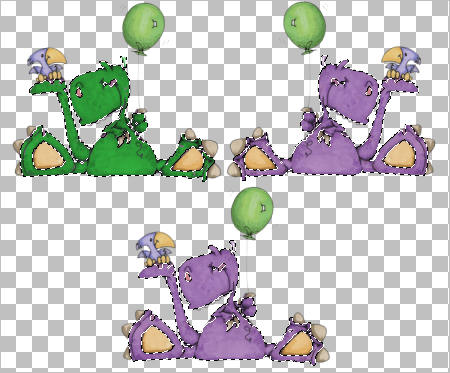
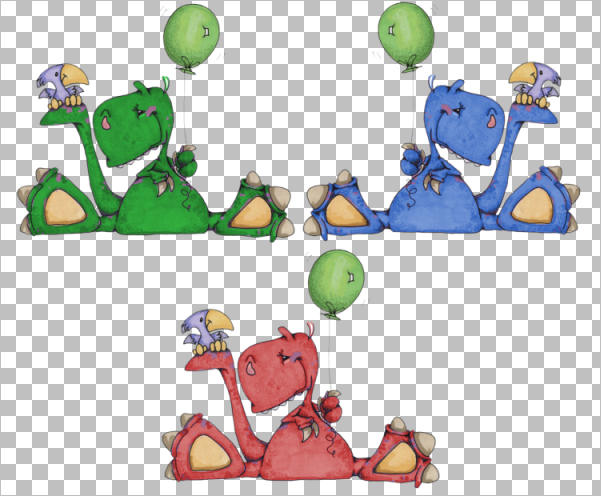
Click on the 'tummy' of the dragon
All 3 layers will have the same area selected

Now we'll change each dragon individually.
Still on Raster 2
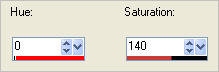
ADJUST >>> HUE & SATURATION >>> COLORIZE
ACTIVATE RASTER 3
ADJUST >>> HUE & SATURATION >>> COLORIZE
ACTIVATE RASTER 4
ADJUST >>> HUE & SATURATION >>> COLORIZE
DESELECT
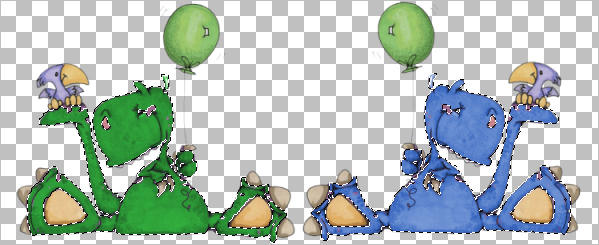
Still on Raster 4
With you Magic Wand... same settings
Select the area shown below
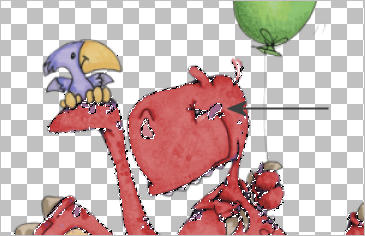
ADJUST >>> HUE & SATURATION >>> COLORIZE
ACTIVATE RASTER 3
ADJUST >>> HUE & SATURATION >>> COLORIZE
ACTIVATE RASTER 2
ADJUST >>> HUE & SATURATION >>> COLORIZE
DESELECT
Now, if you ZOOM in you will see there are still a few pixels that have not been changed
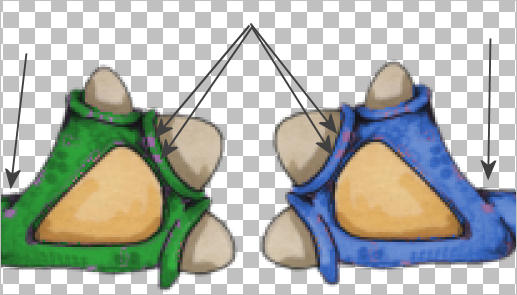
With your Magic Wand... same settings
Select one of these unchanged areas
ADJUST >>> HUE & SATURATION >>> COLORIZE
ACTIVATE RASTER 3
ADJUST >>> HUE & SATURATION >>> COLORIZE
ACTIVATE RASTER 4
ADJUST >>> HUE & SATURATION >>> COLORIZE
DESELECT
Your dragons should be perfect now... *S*
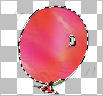
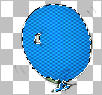
Let's select the balloons with your Magic Wand.... same settings
ADJUST >>> HUE & SATURATION >>> COLORIZE
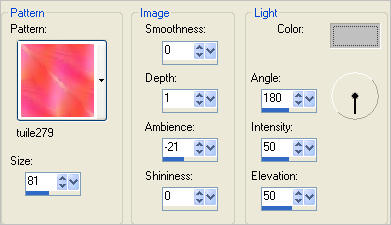
EFFECTS >>> TEXTURE EFFECTS >>> SCULPTURE
COLOUR = #c0c0c0
 . . 
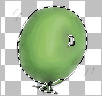
ACTIVATE RASTER 3
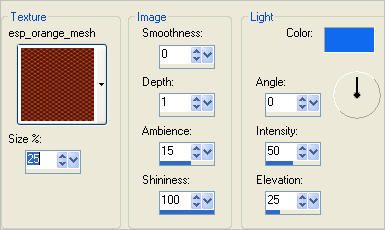
EFFECTS >>> TEXTURE EFFECTS >>> TEXTURE
COLOUR = #106af0
 . . 
ACTIVATE RASTER 2
EFFECTS >>> ART MEDIA EFFECTS >>> BRUSH STROKES
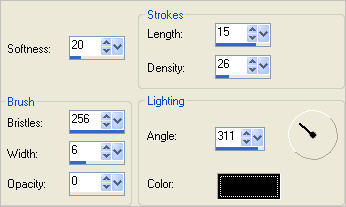 . . 
DESELECT
You can continue to change the feet, toes, bird etc if you wish, in the same manner.
Save as .psp image
or
.pspimage
Page designed by

for
http://www.artistrypsp.com/
Copyright ©
2003-2012 Artistry In PSP / PSP Artistry
All rights reserved.
Unless specifically made available for
download,
no graphics or text may be removed from
this site for any reason
without written permission from Artistry
In PSP / PSP Artistry
|