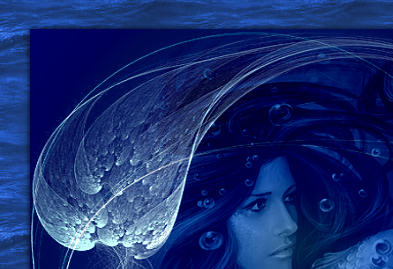
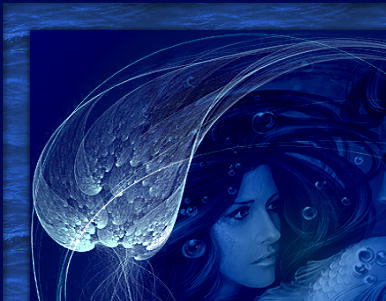
STEP 1
VIEW >>> RULERS
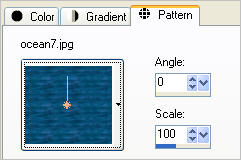
In your MATERIALS PALETTE
Load the ' ocean7 ' pattern in your foreground
using these settings
|
|
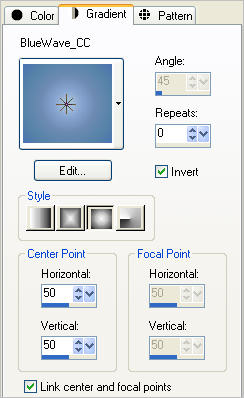
STEP 2
Load the ' BlueWave_CC ' gradient in your background
using these settings |
|
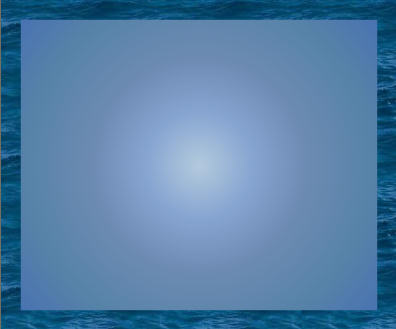
STEP 3
Open a new image 600 x 500
Transparent background
PSPX - X2: Colour Depth = 8bits/channel
PSPX3: Colour Depth RGB = 8bits/channel
Flood fill with ocean7 pattern
SELECTIONS >>> SELECT ALL
SELECTIONS >>> MODIFY >>> CONTRACT = 30
EDIT >>> CLEAR
Flood fill with BlueWave_CC gradient
DESELECT
|
|
STEP 4
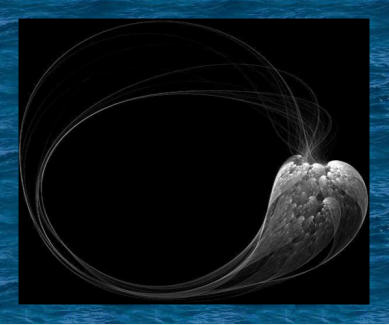
Open up the Narah_mask_Abstract176 image in your PSP workspace
Right click on the Title Bar and select COPY from the options
Right click on the Title Bar of your tag image
and select PASTE AS NEW LAYER from the options.
IMAGE >>> RESIZE = 88%
Ensure "Resize all layers" is UNCHECKED
Resample using WEIGHTED AVERAGE
Select your DEFORMATION tool
Mode = SCALE
use default settings
PSPX-X3:Select your PICK tool
Drag the centre right and centre left nodes out to meet
the edges of the gradient area below
Click the RESET RECTANGLE arrow
Select the MOVER tool to disengage
the DEFORMATION tool (PICK tool)
|
|
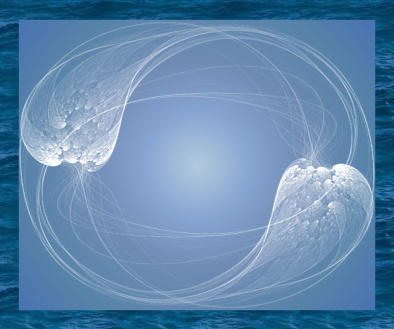
STEP 5
In your LAYER PALETTE change the BLEND MODE to SCREEN
ADJUST >>> SHARPNESS >>> SHARPEN MORE
LAYERS >>> DUPLICATE
IMAGE >>> FLIP
IMAGE >>> MIRROR
|
|
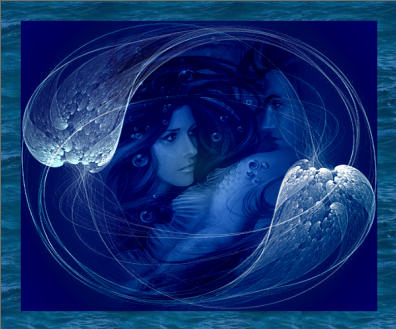
STEP 6
In your LAYER PALETTE change the BLEND MODE to OVERLAY
ACTIVATE RASTER 2
Open up the Cherokee~Sea Dancers by Diane Ozdamar
image in your PSP workspace
Right click on the Title Bar and select COPY from the options
Right click on the Title Bar of your tag image
and select PASTE AS NEW LAYER from the options.
In your LAYER PALETTE change the OPACITY to 32%
Change the BLEND MODE to LUMINANCE (L)
|
|
STEP 7
ACTIVATE RASTER 2
With your MAGIC WAND
Mode = Replace
Match Mode = RGB Value
Tolerance = 0
Feather = 0
Antialias = UNchecked
Sample Merged = UNCHECKED
PSP9 - X3: Check CONTIGUOUS
PSPX - X3: There is no " Sample Merged"
PSPX - X3: Use all layers = UNChecked
Select the outer edge
|
|
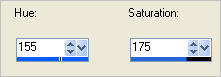
STEP 8
ACTIVATE RASTER 1
ADJUST >>> HUE & SATURATION >>> COLORIZE
SELECTIONS >>> INVERT
EFFECTS >>> PLUGINS >>> EYE CANDY 3 >>> DROP SHADOW
|
|
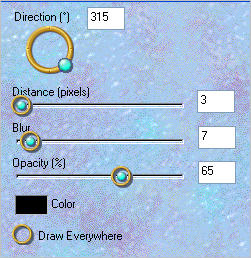
STEP 9
EDIT >>> Repeat Drop Shadow.. change DIRECTION to 135
DESELECT
|
|
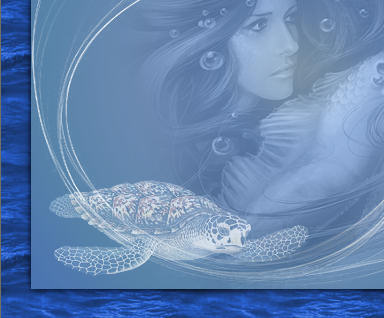
STEP 10
CLOSE Copy of Raster 2
ACTIVATE RASTER 3
Open up the DEA 080307 SeaTurtleWP image in your PSP workspace
Right click on the Title Bar and select COPY from the options
Right click on the Title Bar of your tag image
and select PASTE AS NEW LAYER from the options.
IMAGE >>> MIRROR
IMAGE >>> RESIZE = 65%
Ensure "Resize all layers" is UNCHECKED
Resample using WEIGHTED AVERAGE
ADJUST >>> SHARPNESS >>> SHARPEN
In your LAYER PALETTE change the
BLEND MODE to SCREEN and OPACITY to 70%
Reposition with your MOVER tool
|
|
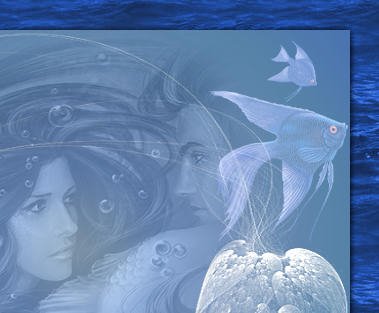
STEP 11
Open up the MeyerIlene~2ndOrbit~JW image in your PSP workspace
Right click on the Title Bar and select COPY from the options
Right click on the Title Bar of your tag image
and select PASTE AS NEW LAYER from the options.
IMAGE >>> RESIZE = 70%
Ensure "Resize all layers" is UNCHECKED
Resample using WEIGHTED AVERAGE
ADJUST >>> SHARPNESS >>> SHARPEN
In your LAYER PALETTE change the
BLEND MODE to SCREEN and OPACITY to 70%
Reposition with your MOVER tool |
|
STEP 12
ACTIVATE RASTER 3
Reposition with your MOVER tool
This doesn't have to be exact... it's only to show more of the man's face *S*
|
STEP 13
OPEN & ACTIVATE Copy of Raster 2
LAYERS >>> NEW RASTER LAYER
Flood fill with #000852
SELECTIONS >>> SELECT ALL
SELECTIONS >>> MODIFY >>> CONTRACT = 3
EDIT >>> CLEAR
DESELECT
EFFECTS >>> PLUGINS >>> EYE CANDY 3 >>> DROP SHADOW
Same settings
EDIT >>> Repeat Drop Shadow.. change DIRECTION to 315
|
|
STEP 14
LAYERS >>> MERGE >>> MERGE ALL (Flatten)
Save as .jpg image |
|
|